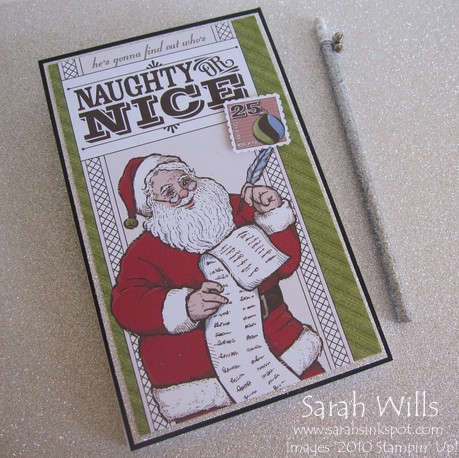
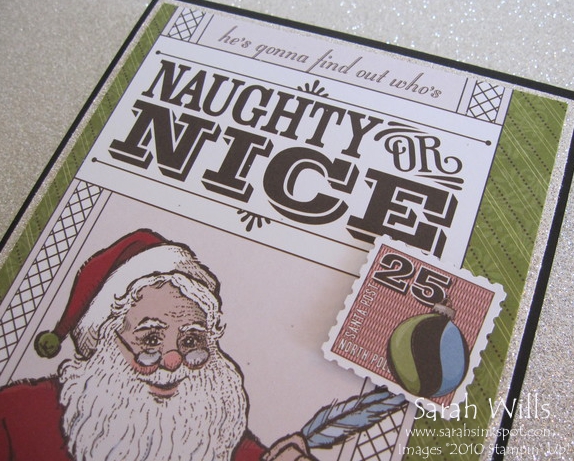
This is a beautiful covered Holiday Notepad that is so quick & easy to make – it is very economical and is just a perfect little gift for kids and grown-ups alike…
My girls have already started writing their wish lists for Santa – LOL – and that is what gave me the idea for making these cute notepads – I have made them one each and there are plenty of papers in there for them to constantly update their lists – which they will be doing almost daily for the next few months!
Underneath that top cover is a Junior Legal Pad – and the thing I love about those is that the pages can easily be torn out or folded over.
And for grown-ups? These would make fabulous pads for holiday planning – shopping lists, wish lists, need to do lists…fab little gifts to make for friends, family, teachers & co-workers.
Here is my tutorial so that you can make your very own Santa Holiday Notepad – at the end of this tutorial you will find a printable version too so that you can print it out and keep it for reference.
To get a closer view of the photos below, click on them – this will enlarge each for easier viewing.
You’ll need to gather a few supplies together:
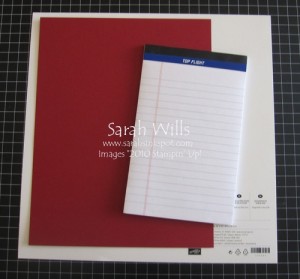
- Mini/Junior Legal Pad – I found them in a pack of 5 for $3 in the business supplies aisle in Target
- Sheet of cardstock in the color of your choice
- Sheet of thin chipboard or thick card
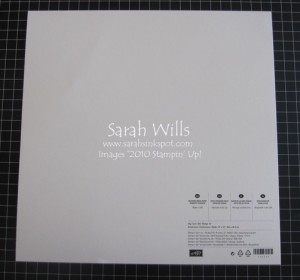
Take your sheet of thin chipboard or thick card – recognize what I am using? It is the piece of card that comes in the packing at the back of packs of Designer Series Papers…
These sheets are SO useful and I always keep them for projects such as this – and even better is that they are free!
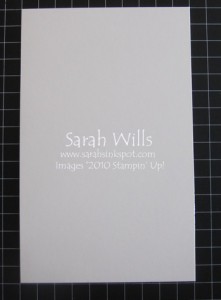
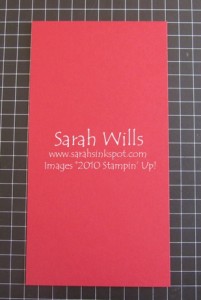
And cut it to be sized 8 1/8″ x 5″…
Next take your sheet of cardstock and cut it to be sized 9 5/8″ x 5″…
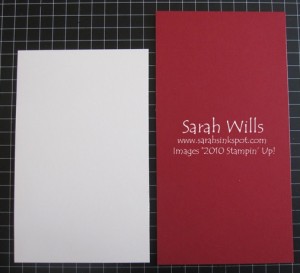
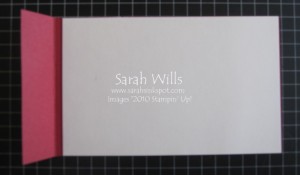
And this is what you will have…
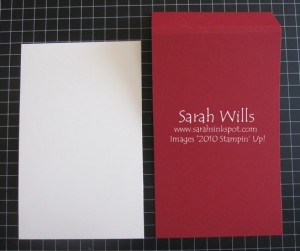
And place into your Score Tool or Paper Trimmer with score blade inserted – with the longest edge along the top – and score at 8 1/8″ and 8 3/8″ and fold along those score lines…
Psssst – want a cool sneak peak? Stampin’ Up! have a FABULOUS NEW PRODUCT debuting in the Holiday Mini Catalog on September 1st – it is called SIMPLY SCORED and it is our own fabulous scoring tool!!!
I’ve been using mine like crazy and I LOVE IT!!! It has tracks every 1/8″ and a gorgeous metal stylus making projects like this so easy to do! I can’t show it to you until September 1st but I guarantee you are going to love it too!
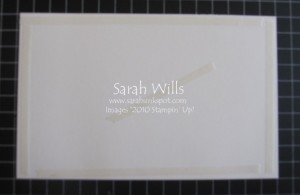
Now to adhere that card panel onto your cardstock…use very strong adhesive tape such as Sticky Strip and add it to one side of your card…
Then adhere this to the long panel of your cardstock like so…
And now your cover is ready to add to your notepad.
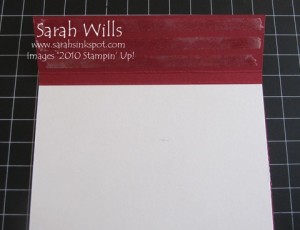
Apply Sticky Strip to the flap at the very top – I use lots as my little people will be using their books daily…
Take your Legal Pad and lay it face down onto the inside of your cover – to line it up easily I go by the bottom edge – make sure the bottom edge of your pad is in line with the bottom edge of your cover…
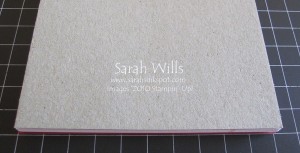
And then simply pull that cardstock flap up and over the back of the legal pad, pushing down firmly to adhere it in place on the back of that legal pad…
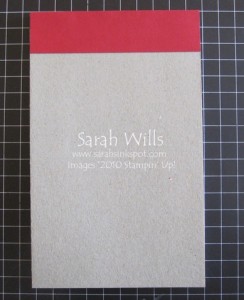
And this is what the back will look like when you are done…
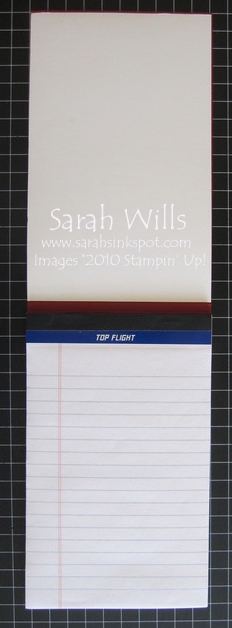
Turn it over and the front will be your plain cardstock cover…open it up and this is what you will see…
Now I don’t adhere that center little 1/4″ panel to the top of my legal pad cover because it will be easier for my girls to simply open the cover and lay it flat – but you can if you wish by simply adding a strip of Sticky Strip to it.
Prettying your Notepad up…
For my holiday notepads I decided to use the gorgeous and fun papers in the Letters to Santa Designer Series Paper pack that you can find on pg 186 – each pack contains 12 double sided sheets of papers – 2 of each design.
For planning purposes, if you wanted to make them like I did with that santa on the front, you would get 2 sheets of santa paper per pack…also in that pack are 2 sheets of a similar style with ornaments down the side – perfect for kids a bit older & grown ups too!
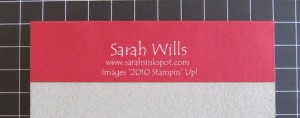
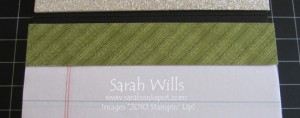
I like to cover the top of the legal pad with a little patterned paper to make it look pretty and to continue my theme…to do this simply cut a piece to be sized 5″ x 7/8″ and adhere in place…
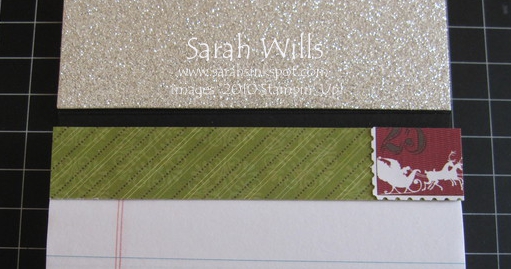
You can embellish this little strip if you wish – I would advise using flat embellishments on it – to mine I added a simple image from a piece of paper that is covered in ‘postage stamps’ in Letters to Santa – just love that pack!
And if you wish you can cover the inside of your cover – I used a piece of the beautiful and sparkly new Silver Glimmer Paper (also in the Holiday Mini Catalog!) – my girls and I just love glitter!!!
And here is a close-up of my front cover – I made my cover for my legal pad with Basic Black cardstock and matted on a piece of Silver Glimmer Paper – and onto this I simply matted a piece of DSP from Letters to Santa – isn’t he fun?
For a little embellishment I punched out a postage stamp from another sheet of DSP using my Postage Stamp Punch (pg 212) which is the perfect size, and added it using Dimensionals…
I added a silver glittered pencil that I found in the dollar spot in Target and added some cute Jingle Bells to the very top of it using some silver cord – Jingle Bells I hear you say? Yep, another fabulous new product that you can get in the Holiday Mini Catalog on September 1st!
I think my girls are going to LOVE their notepads – and I loved making them for them – I hope you enjoy making some too!
WANT TO PRINT OUT THIS TUTORIAL? PLEASE CLICK HERE FOR A PRINTABLE VERSION WHICH WILL OPEN IN A NEW BROWSER WINDOW
Please click HERE to view my other Project Tutorials
