A very warm welcome to my very first Tutorial Tuesday – I will be posting a new tutorial every week so be sure to come back and visit!
Each week I will have a new tutorial here and it will be posted in my growing library of Project Tutorials so that you can come back and find it easily – you can find my Project Tutorials by clicking on the Free Tutorials tab at the very top of my blog. At the end of my blog post here and on each tutorial you will find a link to a pdf version so that you can print it out and keep it too!
To celebrate my very first Tutorial Tuesday I am also offering up some blog candy – details of that are at the bottom of this post…
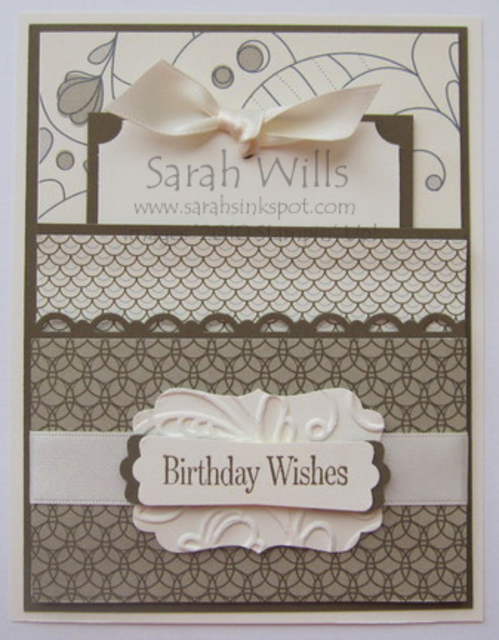
Today I thought I would show you something that you can use throughout the year – a Double Pocket Gift Card Holder…
This card is a beautiful way to package a gift card and by using different patterned papers can be themed for any occasion – birthdays, thank yous, weddings, new baby, student, thanksgiving, christmas…
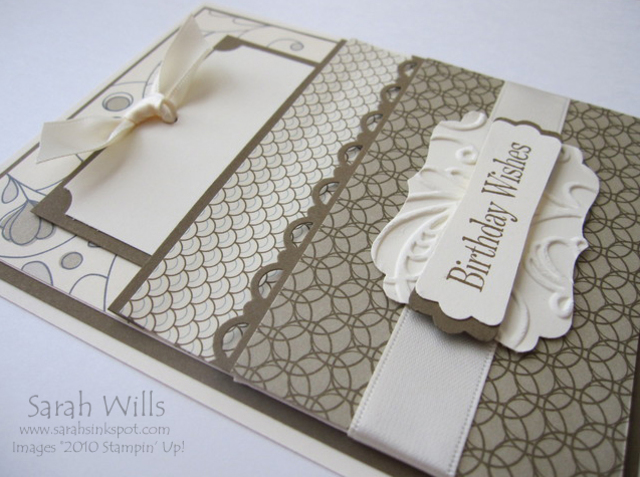
It features two pockets in the front – the top one for a pull out tag onto which you write your sentiment and the bottom one to place your gift card into…I choose to use Very Vanilla and Soft Suede as my color scheme and I pulled in some Designer Series Papers from Elegant Soiree which you can find on pg 175…
I trimmed the lower pocket using the Scallop Trim Border Punch (pg 200) and used Very Vanilla Satin Ribbon (pg 191) to give a little luxurious touch…I ran a piece of vanilla cardstock through my Big Shot with the Elegant Lines Embossing Folder (pg 214) to texture it and punched out that gorgeous shape using the brand new Decorative Label Punch that you can find on pg 25 of the Holiday Mini Catalog…
Finally I stamped a sentiment from Occasional Quotes (pg 15) onto a piece of cardstock that I punched out using my Modern Label Punch and used Dimensionals to adhere it to my base…I punched out another using Soft Suede, cut it in half and used it to edge my sentiment…
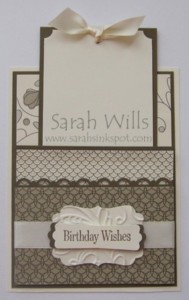
The top pocket houses the pull out tag – to give a little definition to it I used my Ticket Corner Punch (pg 200) on the corners, punched a small hole and tied through a piece of that gorgeous satin ribbon…it just slides out…
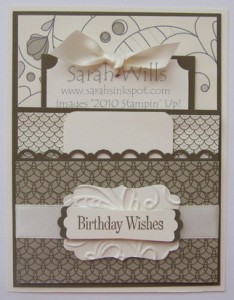
The bottom pocket is where the gift card goes…shown with a piece of vanilla cardstock in it below…you could make a few of these cards to have on hand for quick and easy gifts – most supermarkets now carry gift cards for many stores at the checkout and so all you would need to do is pop in, pick one up, put it in your beautiful hand made card and you are done! How fab would that be for easy birthday, thank you and teacher gifts?
WANT THE TUTORIAL SO YOU CAN MAKE ONE OF THESE BEAUTIFUL GIFT CARD HOLDER CARDS? Click HERE to find my Project Tutorials where it is at the top of the list – in that tutorial you will also find a printable version too!
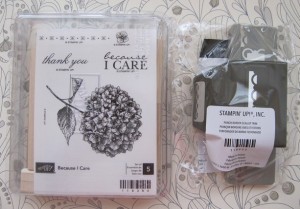
Now onto the Tutorial Tuesday Blog Candy…leave me a comment to let me know what you think about my tutorials or if there is anything you would like to see a tutorial on, and you will be entered into a drawing where one lucky winner will be randomly chosen this Friday morning – that lucky winner will win their choice of either the Scallop Trim Border Punch OR the Level 1 Hostess Set Because I Care!
And you can get more chances to win – place an order with me before 9 am on Friday and you will get an extra ticket in the hat too!
Come back and visit Friday to see if you won and to check out my Festive Friday item for this week…it’s a good one even if I do say so myself!
What a fabulous card – I can see so many uses for this, especially with the gift card pocket. Thank you for a great tutorial!
I really like this very much. I printed off the tutorial because I love it. Great idea.
Patricia
Stunning! I love the idea of being able to add a gift card.
Beautiful card! I loved the soft colors and the tutorial! Thank-U!
Shelia
I love the card. Thanks for the tutorials – I love knowing how to do all the fanatastic projects!
I love your cards and also think it’s fabulous that you do the tutorials, even putting them in a printable version. Thank you so much. I’m rather new to your blog and I’m really enjoying it.
Sara,I love ALL your ideals you share! Keep up the good work.
Hi Sarah!! Love this give card idea. The colors are beautiful. Your talent shines through!!
Lesa
Love your colors! This tutorial is really nice and clear for the cutting instructions–easy to follow.
Thanks much!
This is great! Beautiful elegant card!
I would love to see more tutorials for different stamping techniques.
Thanks for the chance to win!
Awesome tutorial and fabulous card idea for those wonderful gift cards! Love that monochromatic look. Sure hope I win as I would be thrilled with the stamp set! Keep up the Tutorial Tuesdays!
Sarah what a great gift card idea! Thanks so much for sharing!! This will really be great to make for Christmas gifties. I really appreciate you generousity and I love your tutorials!
Thanks again ~ Judy
What a super cute idea. I just love the DSP you used…but my mind is already thinking about all the other DSP that can be used for other occasions.
Thanks for sharing. Looking forward to Tuesdays on your blog!!
I love the idea of having the gift card holder as part of the card. Thanks for sharing!
I think you did an awesome job with the tutorial! I plan to use this in one of my workshops very soon!!! Thanks for the inspiration!
Great tutorial! I love to print these off then refer to your examples. This one can be adapted to any occasion! Thanks for your hard work!
Good tutorial on a great card. I really like how you embossed the decorative label punch piece used behind the greeting. I’m always on the lookout for smaller 3D treat holders should you want to do a tutorial of that sort. Thanks for sharing.
jmniffer at comcast dot net
absolutely love your work ~ thanks for sharing!
Love the tutorial! The card is gorgeous, and the directions are easy to follow! Your style is classic.
Beautiful card! Love the two-pocket idea.
Sarah-
Thanks for the great tutorial! This card is beautiful! I’m loving that DSP:)
Love your tutorials…even if I don’t quite “get it” at first with a little trial and error it came out just fine! I love this card. One of my favorites is the tea bag holder. I am already thinking of a friend’s card and instead of a real gift card – put a little card that says “Made you Look!” just so we could get a laugh out of it! Kinda lame but we need a little giggle now and then. She sent me a deflated balloon once because a blown up one was too hard to mail! Thanks for sharing your talent with us!
Thanks for sharing the great tutorial. Always fun to hear about new things. A chance to win to boot? Wow, thanks!
I enjoy all the new ideas and tutorials you have on your site. This card is beautiful. Thank you for being a fantastic consultant.
I just happened upon your blog and must say your creations are awesome…
Your card is totally adorable and is perfect for so many occasions. I really like the monochromatic look and the card looks so elegant.
Th♥nks for the tutorial, you have explained it so simply that anyone could follow it, even me.
Regina*
That is a great way to give out gift cards or any little gift. Thanks for the great idea.
I love the idea of having the gift card holder as part of the card. Thanks for sharing!