After a good few days without a fully usable computer I’m back!!! My graphics card went wrong and needed replacing – hubby just finished doing that and I am back on track with a working machine – yay!
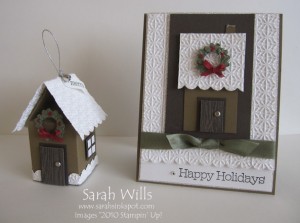
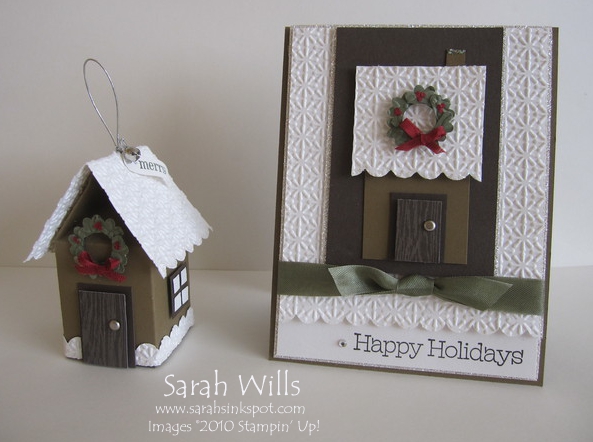
And I was sooo excited to be able to show you my cute Gingerbread projects at last! I created a Gingerbread House Ornament and a co-ordinating Card…
And the best bit is this…customers who place an order for $50+ through me from December 1st through December 20th will receive Kits in the mail to make BOTH of these items for FREE!
In the Kit will be ALL the consumable supplies needed to make both of the items shown below along with the Tutorials showing you how to put them together…
Want your Gingerbread House Ornament & Card Kit? Simply place an order with me in my Online Store by clicking HERE or by emailing it to me and your Kit will be on it’s way to you the next day!
Here they are…
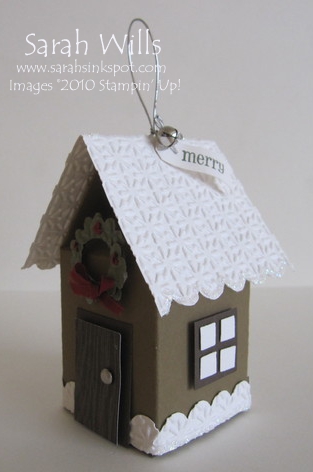
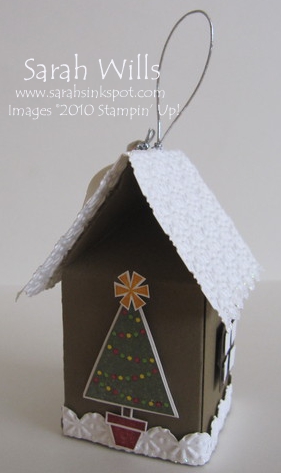
That Gingerbread House Ornament is adorable…you can peel that snowy roof off to access the box beneath – and inside that box you can put little gifts or candies to make a super cute yummy treat…it even has a hanging loop…
The roof and trim is textured using the Snow Burst Embossing Folder and I added Dazzling Diamonds Glitter to the edges of my roof to give a nice snowy look – to make this SUPER easy I used Dazzling Details Glitter Glue that you can find on pg 41 of the Holiday Mini Catalog…
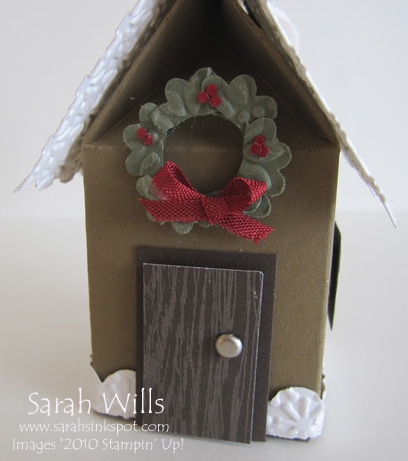
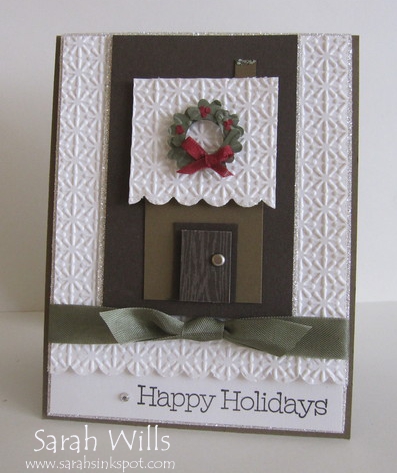
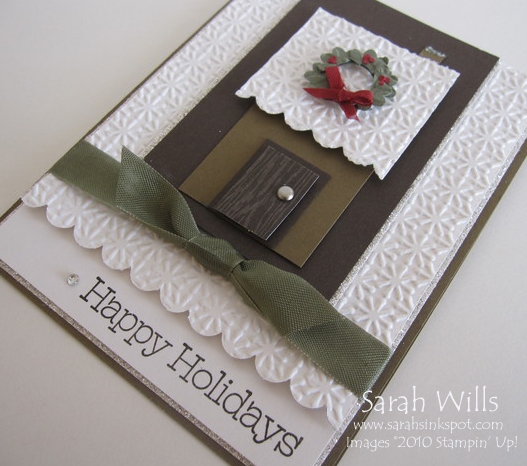
And check out that door & the wreath that I made…aren’t they cute? The Kit will contain EVERYTHING you need to make this house – including all the pieces to make the door and that wreath…you just have fun putting it together!
I didn’t want to leave the back of the house empty and so my girls suggested a Christmas Tree…I used stamps from Pennant Parade (pg 69) to make my tree and colored in the little baubles with markers and I think it turned out just perfect…
And now onto my Gingerbread House Card…
I wanted it to co-ordinate with my Ornament so that both items can be given as a little gift package…
I used the same colors and kept the snowy theme to tie it in with my Ornament and made the Gingerbread House to match as well…
I also added some gorgeous Seam Binding for a luxurious look and some Silver Glimmer Paper to the edges for even more sparkle.
My sentiment is from the set Many Merry Messages (pg 166) and as a final finishing touch I added a little Rhinestone…you can’t have too much sparkle & glitz on a Christmas card, can you?
I think they turned out cute? But I’d love to hear what you think of them…
EVERYONE Who places an order for $50+ through me from NOW through December 20th will receive Kits in the mail to make BOTH of these items for FREE!
 How do you place your order with me?
Your Kit will be mailed out straight after you place your order to ensure you have plenty of time to assemble it before Christmas…and that is why I have a cut-off date of December 20th…
What will be in the Kit that you receive?
ALL consumable supplies need to make both the Ornament & the Card including:
- All pre-cut & scored Cardstocks
- All textured cardstocks
- All punched out Images & punched Edging
- Medium Envelope
- Tutorials
- All Embellishments – Seam Binding, Rhinestone, Brads, Jingle Bell & ribbon
- Silver Cord
- Pre-cut Designer Series Paper
- Pre-cut Silver Glimmer Paper
- Stamped Christmas Tree, Sentiment & Sentiment Tag
*** YOU GET ALL THIS FOR FREE WITH A $50+ ORDER! ***
THIS OFFER ENDS ON DECEMBER 20th – CLICK HERE TO PLACE YOUR ORDER ONLINE!
Sarah these are adorable, you really are the queen of creation lol. I’m thinking that the gingerbread house was made using the mini milk cartons template? I must have a go at this. Thanks for sharing your creation.
Cheers
Elaine
Good heavens, Sarah!! This is even more amazing than your normal level of amazing! Love it, every bit of it!
OMG – these are fabulous and thank for sharing the info with us who are not customers but fellow demos!