I was wandering around a big box store yesterday and happened across the Halloween aisle full of fun glittery decorations…
And then I came to the Halloween candy department and stopped in my tracks…they had bags of Candy Corn M&Ms and I have never seen them before…so of course I had to buy a bag to take home and try…
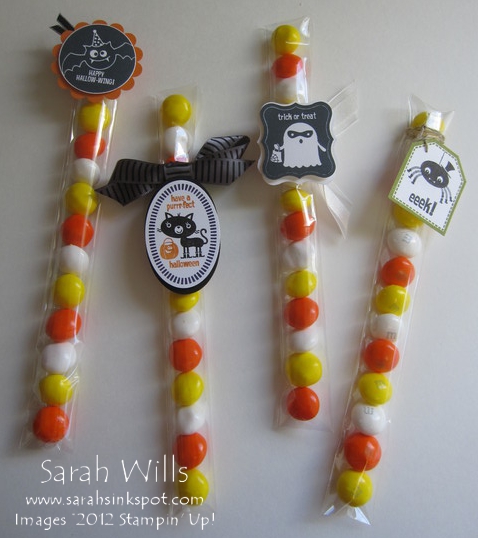
They are absolutely delicious and I wanted to create some quick & easy kids treats to show you today using them with the 1″ x 8″ Cellophane Bags and the cute Halloween set Tricky Treats – here they are…
Aren’t they adorably cute?! I love them all and used all four stamps in Tricky Treats to make em – and to make it even easier, all four of the stamps in that set co-ordinate with Stampin’ Up! punches, meaning you can stamp and cut them out FAST – those punches are:
- Bat stamp – 1 1/2″ Circle Punch
- Cat stamp – Extra-Large Oval Punch
- Ghost stamp – Curly Label Punch
- Spider stamp – Extra-Large Tag Punch
The 1″ x 8″ Cello Bags – you can find them on pg 161 or by clicking here and they come in a pack of 50 which costs just $2.50 – a fab price!
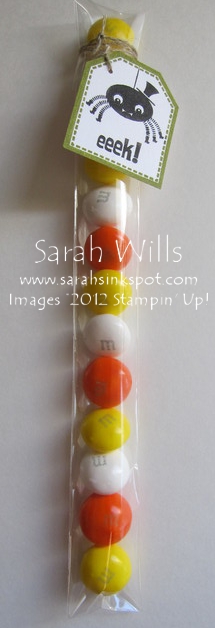
Simply slide in those M&Ms or similar sized candy, seal the end and that bit is done!
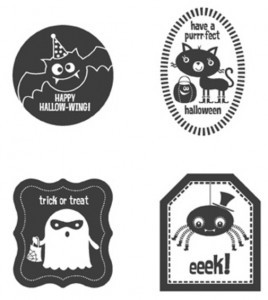
The stamps – you can find the set Tricky Treats on pg 28 of the main Catalog or by clicking here and it features those 4 stamps that I used to decorate my treat bags…here is a look at each bag…please click on any photo for a larger view…
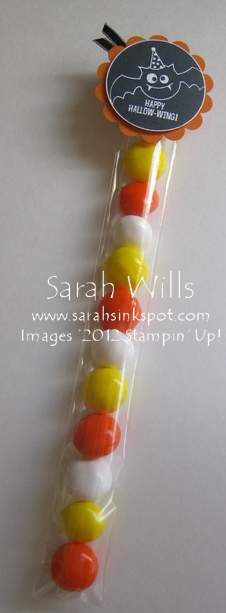
The Bat bag…I stamped my Bat using Basic Black Ink and punched it out using my 1 1/2″ Circle Punch – I then punched out a Scallop Circle from Pumpkin Pie cardstock and added my bat to it using Dimensionals – I then added a bit of 1/8″ Taffeta Ribbon for a cute finishing touch…
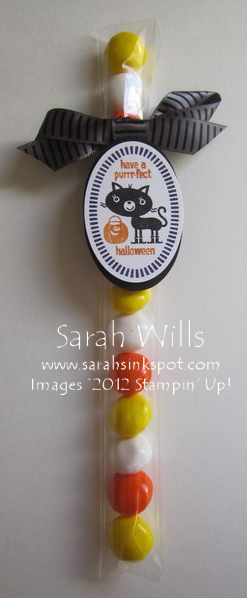
The Cat bag…I used my Markers to color directly onto my rubber stamp – I used the colors Basic Black, Pumpkin Pie and Elegant Eggplant – and then stamped onto white cardstock.
I used my Extra Large Oval Punch to punch my image out and then punched out a couple more ovals in black cardstock – I added these to the back to create more of a framed look.
To finish, I tied a bow using some of that beautiful 1/2″ Satin Striped Ribbon that you can find on pg 26 of the Holiday Mini Catalog – LOVE that ribbon!
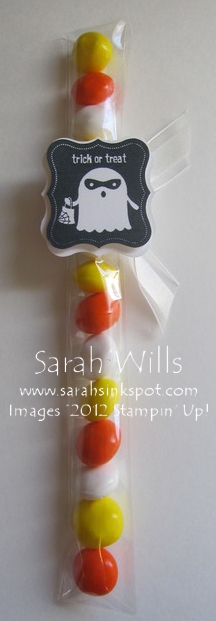
The Ghost bag…I stamped my Ghost using Basic Black Ink and punched it out using the Curly Label Punch – I then punched out some more Curly Label shapes from white cardstock and layered them onto the back of the ghost image to give him a nice framed look….
I decided to add a bit more white in the form of the beautiful and ghostly White Organza Ribbon – LOVE that look…
The Spider bag…I used my markers to color this stamp – Old Olive for the border and Basic Black for the center – I then punched out my image using the Extra Large Tag Punch, made a small hole with my Paper Piercing Tool and tied through some Linen Thread…
I then wrapped the thread around my bag a few times and tied in knots…
I just love how these treats turned out and plan to make a bunch more of them…I think even the teachers will love em…
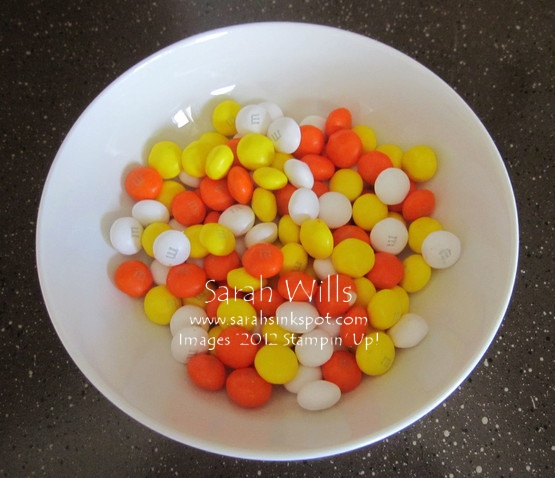
Here is my bowl of leftover candies…aren’t those colors amazing? What do you think the chances of them lasting to fill more treat bags is?!
Using those 1″ x 8″ Cello Bag makes for making very quick & economical treats – you can even use your scraps to stamp & punch for projects like this, which is what I do – it’s a great way to use em up!
AND WHEN YOU PLACE AN ORDER WITH ME DURING SEPTEMBER…I am going to send you a Kit to make one of these cute Treat Bags amongst other free make & takes as a thank you – find out more by clicking HERE
Here are the images that you get in that cute set Tricky Treats…find it on pg 28 of the main Catalog or click HERE to view it in the online store – it comes in both Wood & Clear Mount versions…
FOR NEW-TO-ME CUSTOMERS – PLACE YOUR FIRST ORDER WITH ME USING THE LINK BELOW AND GET A COUPON FOR FREE SHIPPING ON YOUR NEXT ORDER!
CLICK HERE TO ORDER YOUR STAMPIN UP SUPPLIES ONLINE!
super cute
rosiemini@gmail.com
http://www.scraplovingminis.blogspot.com
These are soooo cute and thank you for sharing about the new Candy Corn M’n’Ms….gotta go shopping! TFS everything…your bags are great!