In our family we have a lovely lady who is just about to celebrate her 98th Birthday – it is mind boggling just thinking about what she has seen and experienced in her lifetime – it is absolutely amazing and so is she!
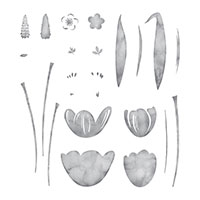
And so I wanted to make her a special card for her special day and found the most perfect stamps to use for my card in the Host set Tranquil Tulips…oh my you can make some beautiful things with these stamps!
And here is the card I made for her…I wanted to make it a bright & colorful card and employed two of the new In Colors to help me out…
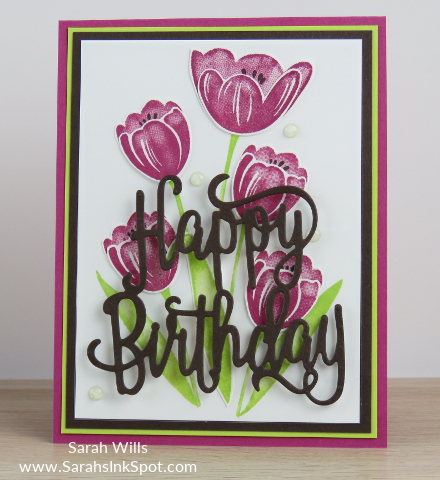
I have a Project Sheet for you below detailing all measurements, the colors I used & full instructions on how to make this card below – just look for the red words to find it…
What do you think? My hope is that it makes her smile when she opens it – I love to send happy mail!
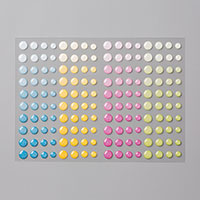
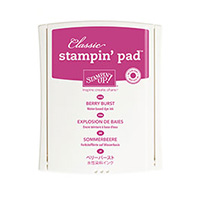
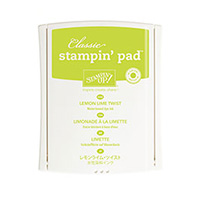
The two fun new In Colors I used on this card are Berry Burst and Lemon Lime Twist and those little white sparkly dots that you can see are from the fabulous Glitter Enamel Dots – I used the lightest green dots in the pack and they tied in beautifully…
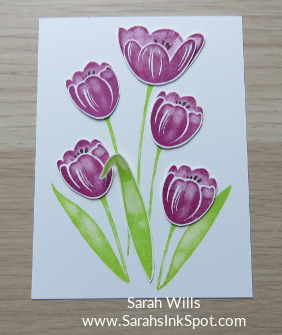
I stamped the stems & two of the leaves directly onto the background and fussy cut all flower pieces and the center leaf and added them on after for a bit more of a 3-D look – this is how it looked after I had done that…
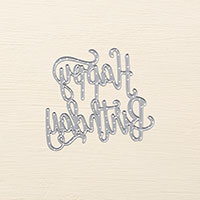
I loved it just by itself but I wanted to add Happy Birthday in there somewhere but wasn’t sure where to add it and so I decided to leave it overnight and have a think…I find that when I am stuck on a project and my wheels are spinning, I will take a break and then some hours later I can clearly see what is missing…and that is exactly what happened because the next morning I had a light bulb moment and realized that I could die cut the bold Happy Birthday wording and position it over the top of the flowers!
And so I did that by die cutting Happy Birthday out of Early Espresso cardstock, adding thin strips of cut-up Dimensionals to the back and to give it dimension so that it really stood out and didn’t detract from the beauty of the flowers, and then I attached it to a piece of window sheet that I cut to be the same size as the layer that the flowers are stamped on to…
Can you see how I added the Window Sheet to my stamped image without any adhesive showing?
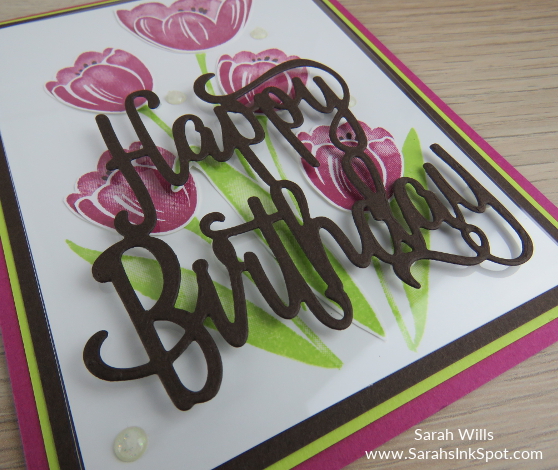
I added a half of a Mini Glue dot to the top of each of the four Glitter Enamel Dots and they hold that window sheet firmly in place – with no sign that they are doing it – it is awesome!
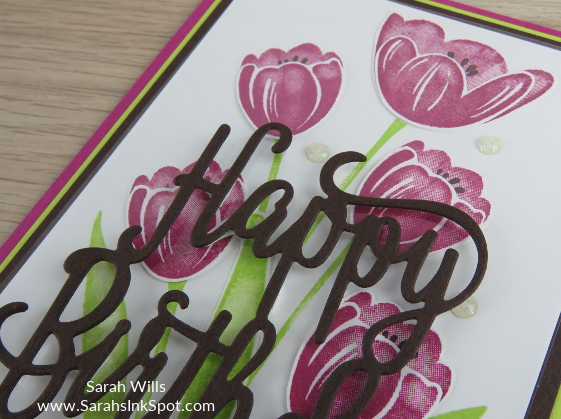
This card has a lot of dimension in real life – it’s so hard to capture in photographs but you can get an idea from the shadowing in the photo above.
The stamp set Tranquil Tulips is one of the Host sets that you can get for free as part of the Stampin’ Rewards program when you place an order for $150+ – click HERE to find out more about this fabulous program.
WANT MY PROJECT SHEET FOR THIS CARD? Click HERE to find it – then you can download it or print it out to keep for easy reference!
The photo below shows the key products I used to make this card – if you’d like, you can save it for reference or hover over it to pin it to one of your boards on Pinterest…
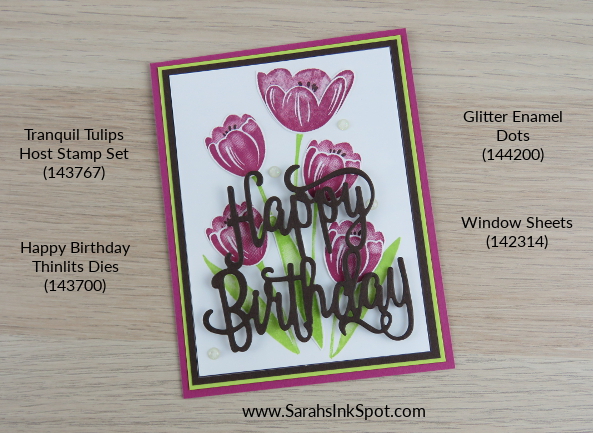
Here are the supplies I used to make this card – click on any of the products below to find them in my Stampin’ Up! online store:
Thanks so much for visiting – wishing you a wonderful day!

Current Specials:
BONUS DAYS ARE HERE AGAIN! Get a $5 COUPON FOR EVERY $50 you spend in July – click HERE to find out more!
The NEW ANNUAL CATALOG is here – click HERE to find our new & fabulous products!
USE MY JULY HOST CODE to get yourself a FREE Stampin’ Up Classic or Archival Ink Pad of your choice – click HERE to find out more!








Beautiful card, Sarah. Great job!!