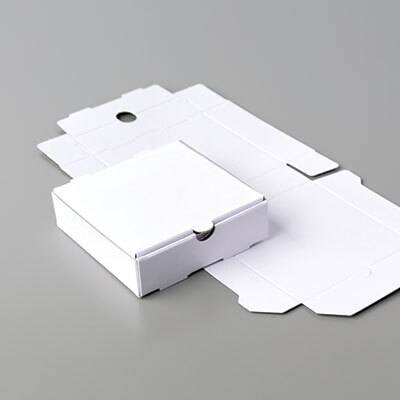
Today I am showing you the second of my Holiday gift packaging ideas which is the Mini Pizza Boxes and cute peeking Santas!
Below you will find all the details along with a FREE Project Sheet which contains all measurements, colors and supplies that I used to make each one of them – just look for the red words near the end of the post and click on the link – you can then download or print the Project Sheet to keep for reference.
Here are those three boxes…
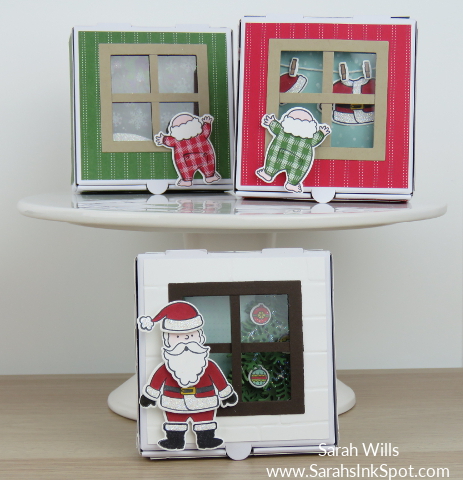
Oh my gosh I think they all turned out so cute – I absolutely love them and they are going to be very hard to part with!
All boxes have the same window – I used a die from Layering Squares Framelits to cut the square out of the Mini Pizza Box lid – YES they will cut through that thicker material, you just have to run it back and forth a few times to get that cut all the way through – and then I used different sized square dies to make the window frame and cut strips for the cross sections and used Window Sheet to cover the holes for a more realistic look – exact sizes & instructions are in my Project Sheet below.
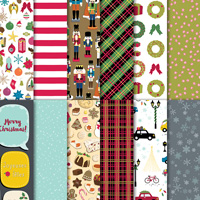
The first one has the classic red & green colors of Christmas…and shows Santa inside his house peeking out at the clothes line against a blue snowy sky…
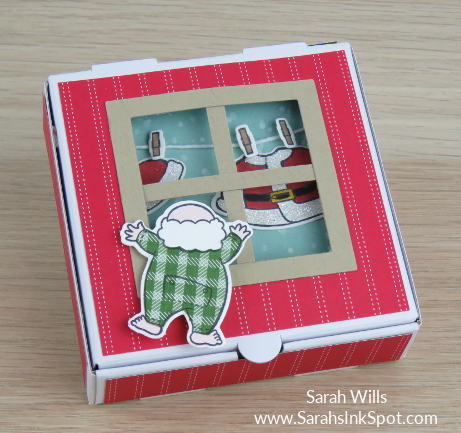
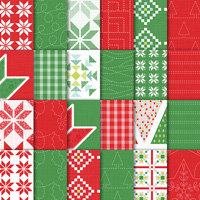
Using patterned papers definitely makes projects like this easy to do – the papers for the outside of the box and Santa’s underwear are both found in Quilted Christmas DSP and the blue snowy paper is from Christmas Around the World.
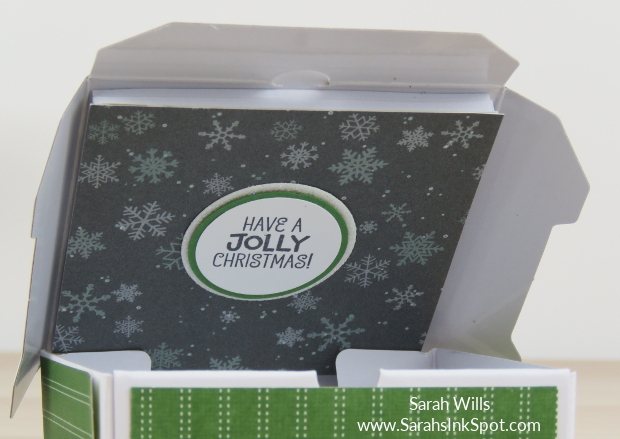
To continue that theme inside, I used that paper to line the lid and added a cute little tag in the center…
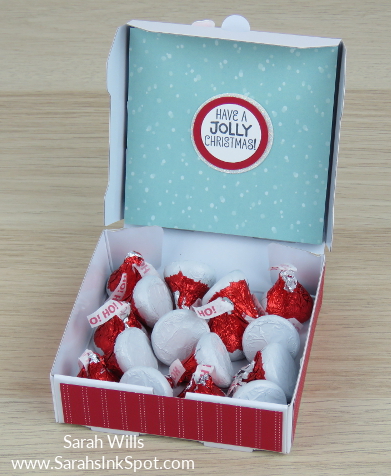
As you can see, there is room for plenty of small candies in there or a gift card or other small gift item.
Then second one uses red and green but in a more subdued way…this time Santa is peeking out of his house at the snow falling…
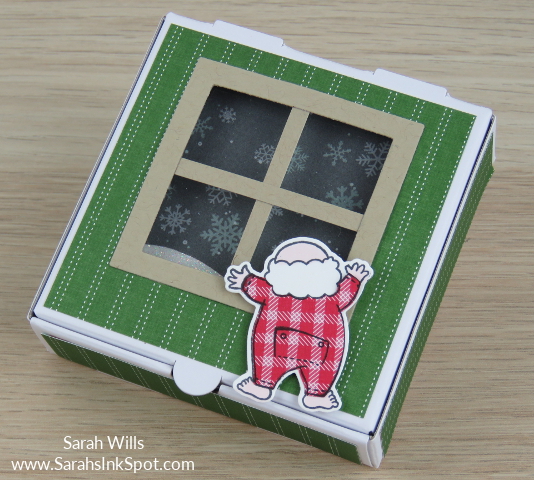
You can see a snipet of sparkling white snow on the ground at the left of the window – I cut Dazzling Diamonds Glimmer paper to form a little hill that the snow falls onto.
Again, I used papers from Quilted Christmas for the outside of the box and the snowflake design can also be found in Christmas Around the World which is also on the inside of the lid.
On all windows you can see that the background is set back from the window which gives it some dimension – I used a double layer of Foam Adhesive Strips to attach the background to the inside of the lid to get this effect – here you can see the front bit of those strips creating the border…
Even with this drop down from the lid, there is still plenty of room for treats or gifts!
The third one is the other way around…here is Santa standing outside against a brick wall with a glimpse into a festive living room behind him…

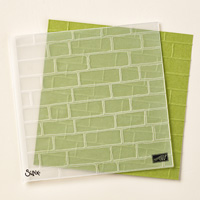
The brick wall was simple to create using the Brick Wall Embossing Folder and White cardstock – be sure to cut the window opening BEFORE you emboss your cardstock – do it the other way around, and your embossing will get squished & diluted when you cut the square hole!
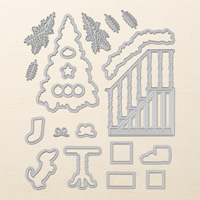
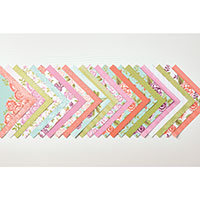
I made the tree using dies from Christmas Staircase Thinlits and the background for the tree is a piece of paper from Petal Garden – I wanted a subtle but light background to keep it bright and cheerful. And because of the dimension of the die cuts on the tree, I used three rows of Foam Adhesive Strips to drop this background down even further for this one.
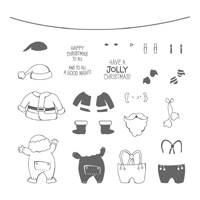
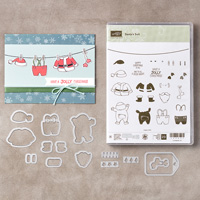
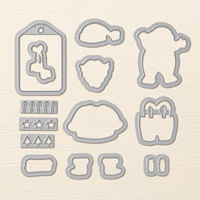
Santa was created using stamps & dies from the Santa’s Suit Bundle and glitterized with some Dazzling Diamonds – I also splashed some glitter onto the tree branches to give some shimmer inside the box too.
And as for coloring him in, I used the new fabulous Stampin Blends Markers – they make it SO EASY to get great results first time!
IF YOU CAN’T GET THE MINI PIZZA BOXES IN TIME FOR YOUR PROJECT, YOU CAN MAKE YOUR OWN JUST BY USING HALF A SHEET OF CARDSTOCK – click HERE for my FREE tutorial that shows you how!
WANT MY PROJECT SHEET FOR THIS PROJECT? It has a full list of items I used along with step by step instructions – click HERE to find it – then you can download it or print it out to keep for easy reference!
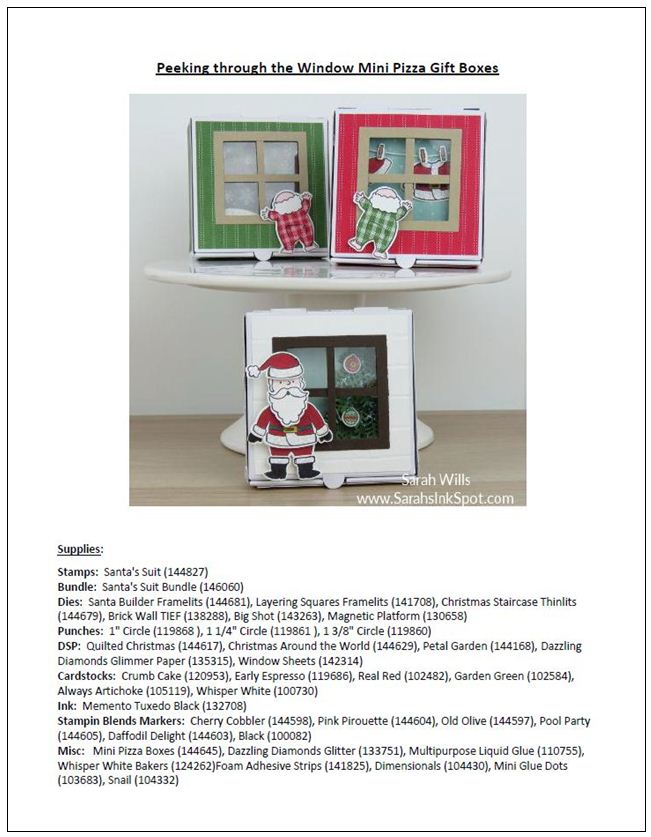
Here are the supplies I used to make these cute boxes – click on any of the products below to find them in my Stampin’ Up! online store:


Thanks so much for coming by and don’t forget to pop back tomorrow for all the details of my mason jar project – happy Tuesday!

Current Specials:
USE MY NOVEMBER HOST CODE to get yourself a FREE STAMPIN’ BLENDS MARKER IN THE COLOR OF YOUR CHOICE plus BONUS with qualifying order – click HERE to find out more!