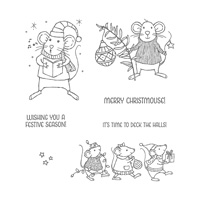
Have you seen the super sweet set Merry Mice? You can find it on pg 23 of the Holiday Catalog and it is absolutely adorable…and even better – it’s one of the sets that is on sale at 25% off during November!
I decided to pair this set with one of the square Stitched Shapes Framelits Dies to create a Holiday card and actually decided to ‘alter’ the die cut image…can you see what I did? I EXTENDED it from a square into a rectangle shape! Being able to make rectangles like this makes this set of dies even more versatile! How did I do that?
You will find a link to the printable/downloadable Tutorial showing you how to alter Stitched Shapes Square Dies, along with the Project Sheet for this card – look for the red text!
And here is my card…I love that band of merry mice – they just make me smile!
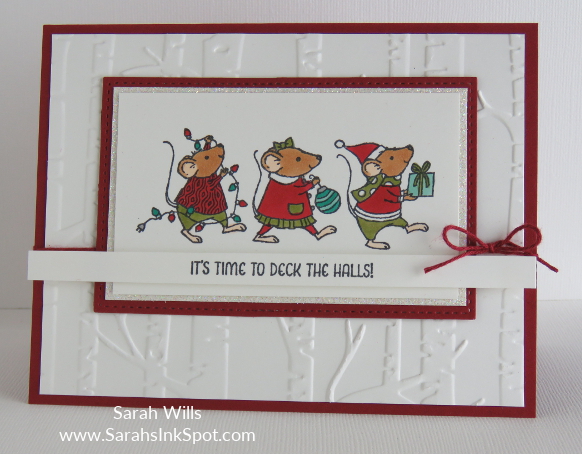
I decided to keep my color palette simple to make the colorful center panel pop out and used Cherry Cobbler for the red and of course Whisper White along with a splash of sparkle behind the panel – Dazzling Diamonds Glimmer Paper – because in my world any holiday card has to have some kind of sparkle!
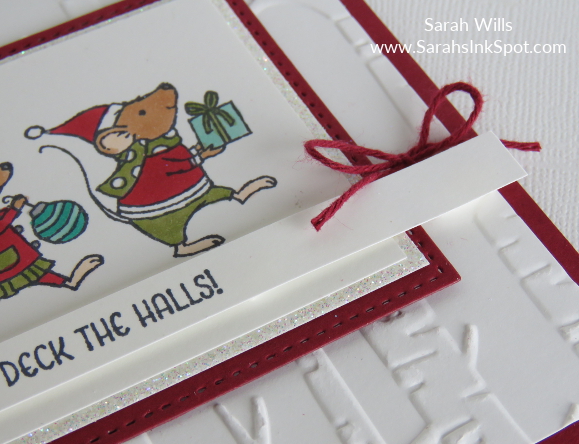
Here is a close up of that cool Stitched Shapes die cut…isn’t that neat? And SO MUCH EASIER than using a Paper Piercing Tool & template!
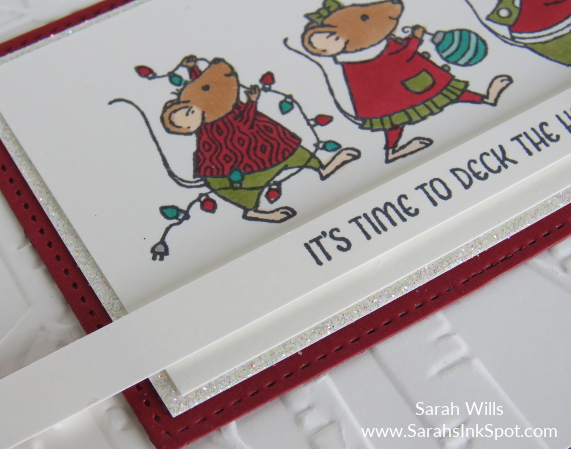
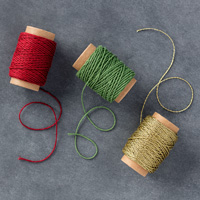
Here’s another close up…here you can also see the bow which I tied using a piece of Cherry Cobbler Twine from Bakers Twine Trio in the Holiday Catalog…
How did I turn a Square die into a Rectangle? I used the largest square die which is sized at 2 5/8″ and turned it into a rectangle sized 4 1/8″ x 2 5/8″ to make a panel for my stamped image – you can find my FREE Tutorial showing you how to do it by clicking HERE – it’s like magic!
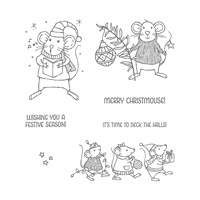
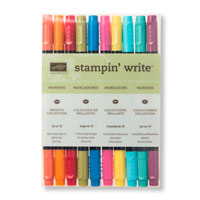
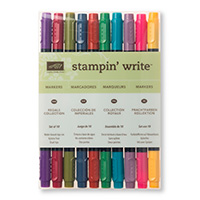
Oh those mice…super sweet…in this stamp set you get 3 different images – 1 group of 3 mice, which I used today, and two larger stamps featuring single mice. You can use whatever medium you like to color in those super cute mice – I must admit that I did use retired items to color mine – I still have my Blendabilities and just love coloring with them – but Stampin Up’s current Markers would work just fine too – the colors I used are Old Olive for the green, Cherry Cobbler for the red and Coastal Cabana for the blue – Tempting Turquoise would work just as well to give that blue pop amidst the sea of green & red…
Here is a close up of my coloring…but don’t look too closely or you’ll see my mistakes LOL!!!
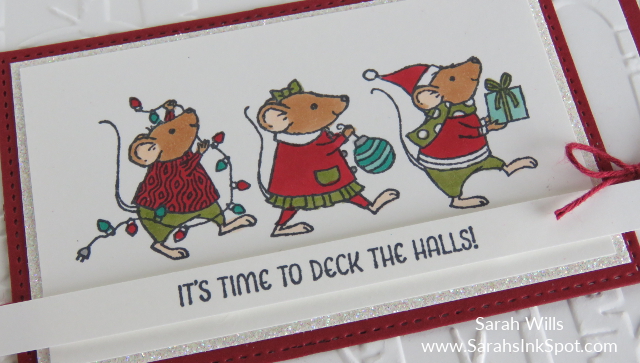
As you can see I added a panel of Dazzling Diamonds glitter paper behind my mice to give a nice little sparkle.
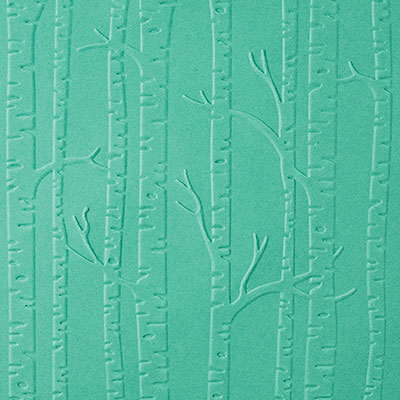
The textured background was super easy to make using the Woodland Embossing Folder – it’s a wide embossing folder and is wide enough to create a full background for a landscape card and I used it because I thought it would give my card the feel of the mice walking through the forest to ‘deck their halls’!
WANT MY FREE PROJECT SHEET FOR THIS CARD? Click HERE to find it – then you can download it or print it out to keep for easy reference!
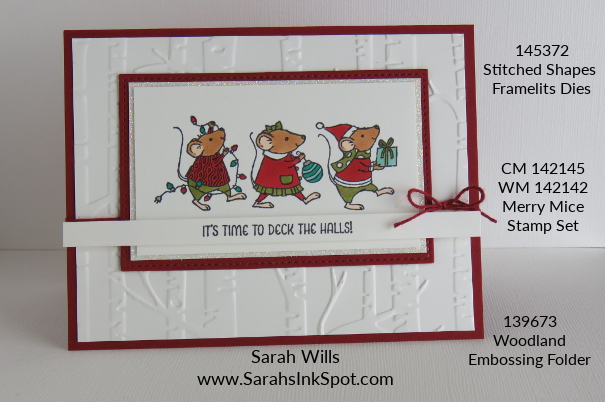
Here are the supplies I used to make this card – click on any of the products below to find them in my Stampin’ Up! online store:
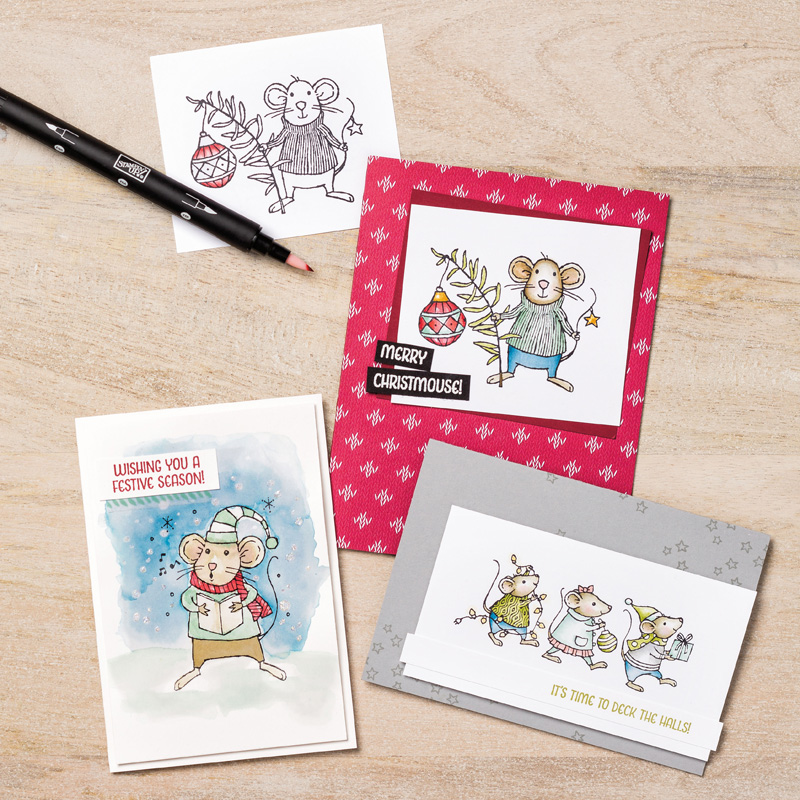
Here are a few more ideas from Stampin’ Up! showing you the cute stamps that you get in Merry Mice…I think my girls are going to LOVE using these stamps to make their Christmas cards this year – as you can see, these images are perfect for kids to color in as well as stampers…
Thanks for stopping by – come back tomorrow to see another way to use these cool dies in your paper crafting projects!
![]()

