Welcome to 3-D Thursday in hot & sunny July! This week is my turn to design a little something and because summer is in full swing, I wanted to make something you with an outdoorsy theme…

And so I came up with a little package of goodness that you could hand out at a summer backyard gatherings or take on a camp trip – we go on group camp trips a couple of times a year and I think these would be a perfect little treat for the kiddos…further down this post you will find a link to the FREE Project Sheet that has step by step instructions & color photos so that you can create your own!
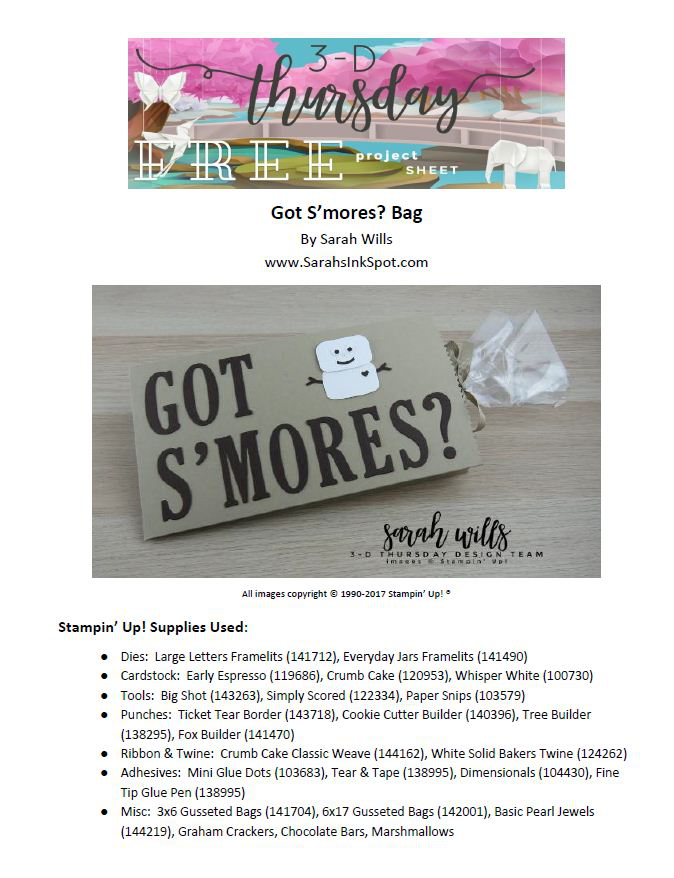
And here is my little project…a sweet brown bag filled with all supplies needed to make S’mores for one!
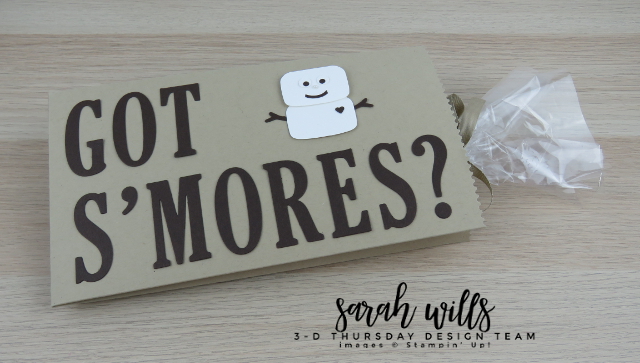
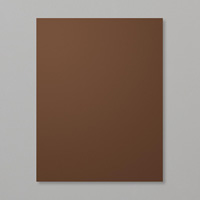
The bag itself is super easy to make – no cutting required since it uses two full 8 1/2″ x 11 sheets of card stock to which you simply score lines to fold along & shape the top edge to make it look like a proper brown paper bag – I used Crumb Cake card stock to get the brown bag color – and add strong adhesive tape to hold it together…
And I purposefully kept this project simple, so that it would be easy and very doable to make a bunch of them in a pretty short amount of time.
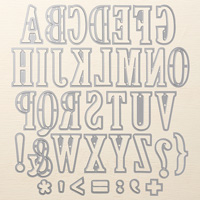
The big letters were die cut using Large Letters Framelits and they are awesomely easy to work with and create a very bold and fun statement…
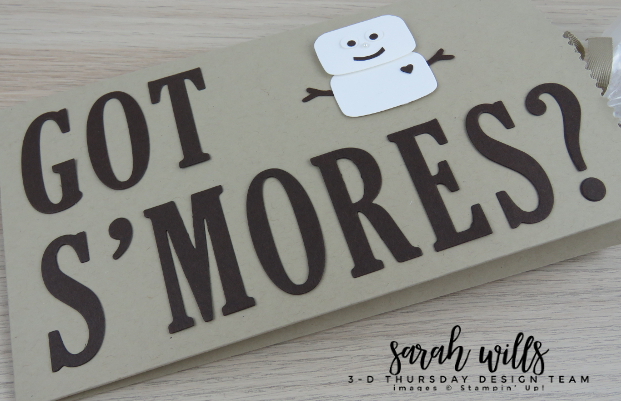
And check out my little Marshmallow Man…isn’t he sweet? And so fun to make! Can you guess what I used to cut him out?
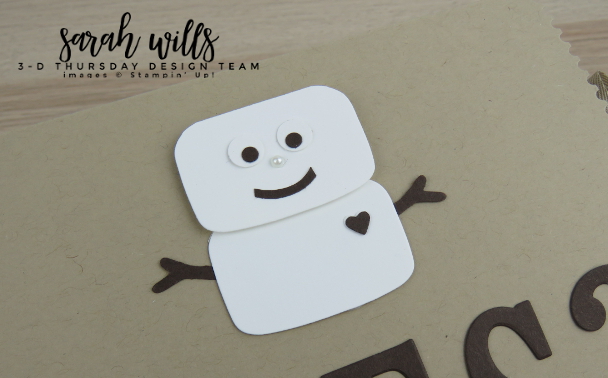
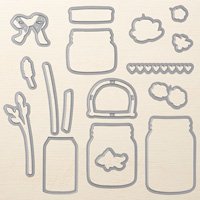
The small jar die from Everyday Jars Framelits Dies! His features were made with various punches which are fully detailed in my Project Sheet.
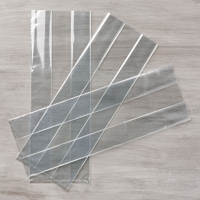
Sooo…what’s inside the bag? Take a peek…it’s a cello bag with a beautiful bow on top and when you pull it out…
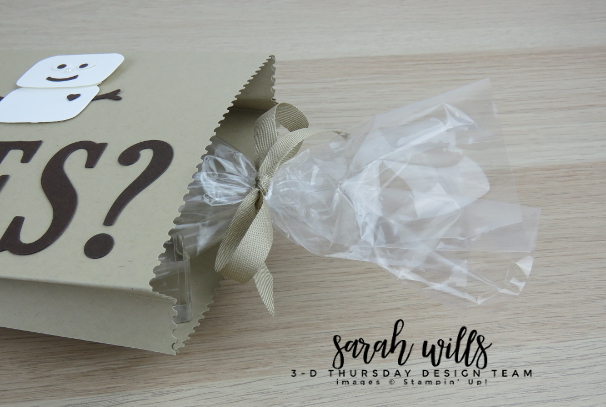
You will find all the yummy supplies needed to make S’mores for one! You can fit more in if you would like…there is room!
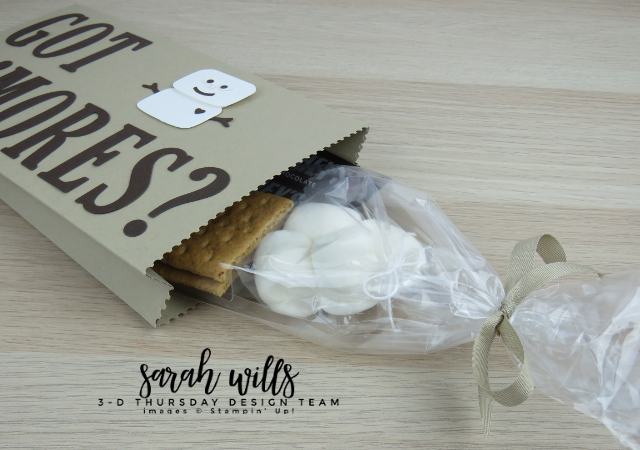
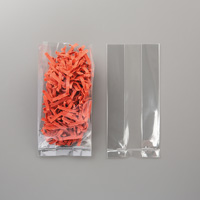
And before you ask – yes, the cello bags that Stampin’ Up! sells are food safe so you can package things directly into them. I think that kids (and adults) are going to love these fun bags of yum!
And here’s one last look so that you can see the shape of the bag – it’s tapered so that the bag of goodness is held snugly inside but also allows for larger marshmallows so you are not limited in what supplies you can put in it…
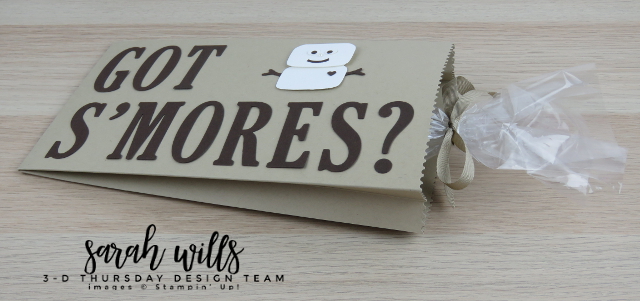
This bag was a lot of fun to make – especially the little Marshmallow man – BUT I am not going to tell you how many real marshmallows were eaten during the making of this…lets just say a few (smile!)
WANT THE FREE PROJECT SHEET FOR THIS PROJECT? Click HERE to find it – then you can download it or print it out to keep for easy reference!
Here are the supplies that I used to make this sweet treat box – click on any of the products below to find them in the Stampin’ Up! online store:
Thanks so much for visiting – be sure to come back next Thursday for the next 3-D project when it’s Twila’s turn to create something – to make this easy, you can subscribe to my blog using the ‘Get Blog Posts by Email’ button on the right so that new posts will be delivered automatically into your inbox!
Current Specials:
BONUS DAYS ARE HERE AGAIN! Get a $5 COUPON FOR EVERY $50 you spend in July – click HERE to find out more!
The NEW ANNUAL CATALOG is here – click HERE to find our new & fabulous products!
USE MY JULY HOST CODE to get yourself a FREE Stampin’ Up Classic or Archival Ink Pad of your choice – click HERE to find out more!









Really a cute sweet treat bag!!!! Love the marshmallow man!!!