Today’s project is one that I had a lot of fun creating because it involved a lot of die cutting and playing with pretty paper flowers and glitter!
I wanted to use the Wood Crate die to make a centerpiece for our Christmas table that was filled with poinsettia flowers and this is what I came up with…
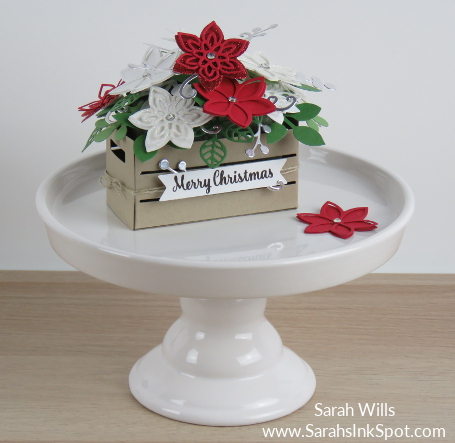
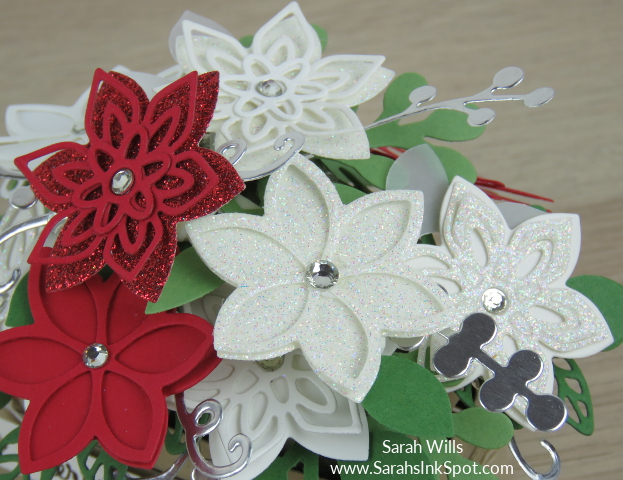
Here’s a closer look…whilst all the flowers have the same basic die cuts, you can get them to look really quite different by using a variety of plain and glittered cardstocks and by not removing all of the die cut pieces from the intricate layer…
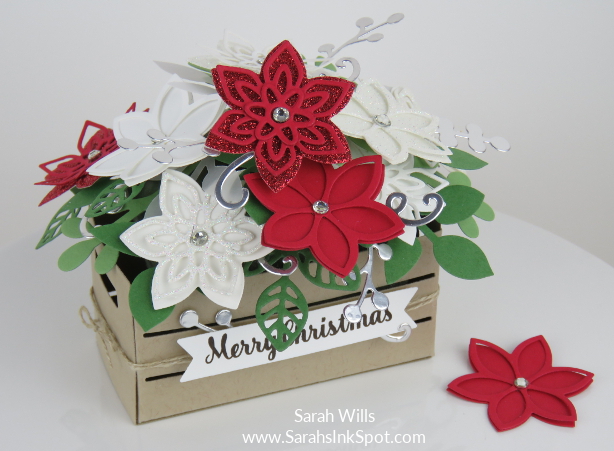
I have a FREE Project Sheet for you that contains the instructions to make this along with photos and the colors I used – look for the red words below to find it.
I took bunches of photos and just couldn’t decided which I liked best – the white or brown background – so I’ve shown a variety of each here! The brown I think shows off the flower colors a bit better…
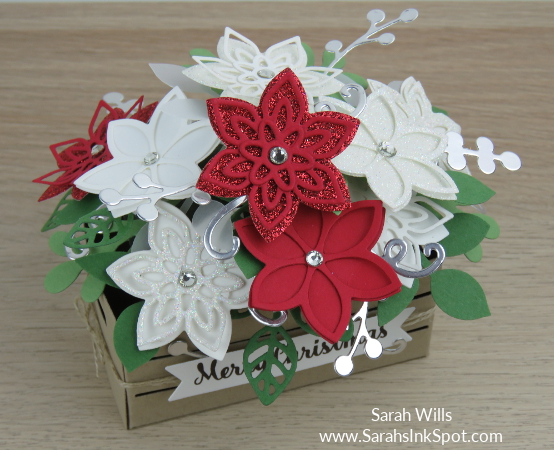
Here is the view from the other front corner – I love how the flowers look like they are spilling over one another…
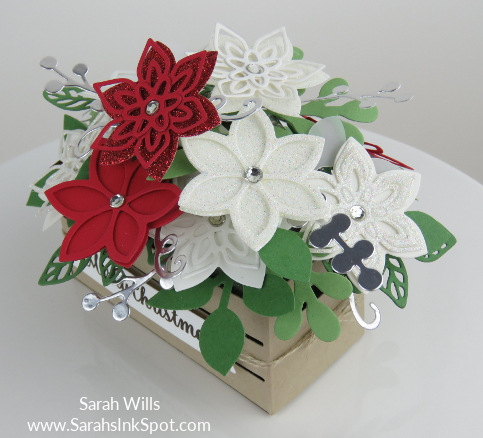
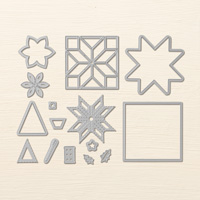
I found two dies to make the flowers in the new Quilt Builder Framelits Dies that you can find on pg 5 of the Holiday Catalog or by clicking HERE – but I decided I needed a bit more variety for my flowers. So off I went looking through my die collection for different flowers that might fit with them and you know what I discovered? Something AWESOME!!!
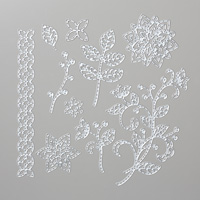
In Flourish Thinlits I found an intricate flower die that has the same basic shape and fits exactly onto the base flower from Quilt Builders Framelits – I was SO happy! And even better is that there is a little flower shaped center die that goes with it – you can see how I used a combination of them to layer up my flowers here using a mix of plain cardstocks and glitter papers…
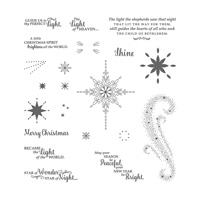
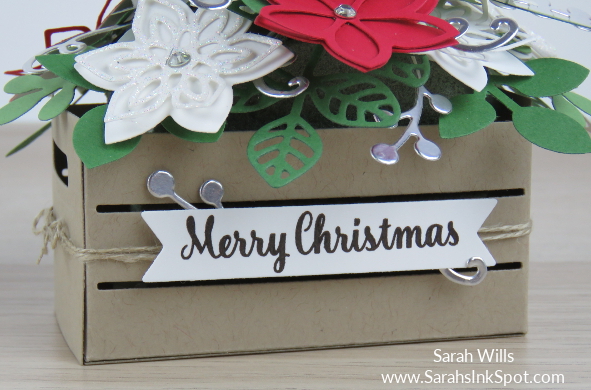
I found a stamp in the set Star of Light for my sentiment and shaped it using the Banner Triple Punch.
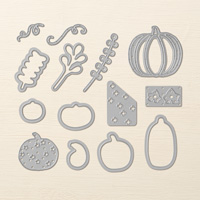
For variety, I used two different greens for the leaves and they were cut out using the Leaf Punch and dies from Flourish Thinlits and Patterned Pumpkin Thinlits – and I used swirl and berry dies from that last set to create the Silver Foil accents…
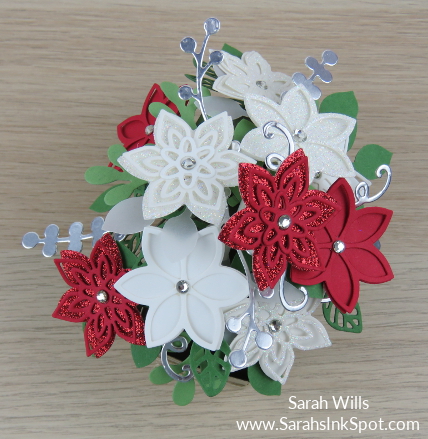
Here is a birds eye look at the flowers…I also added a few Vellum Cardstock leaves in there for a frosty look…
And before I end, let’s go back to the flower layers – here is a visual of the dies I used to make them and the two sets that they come from…
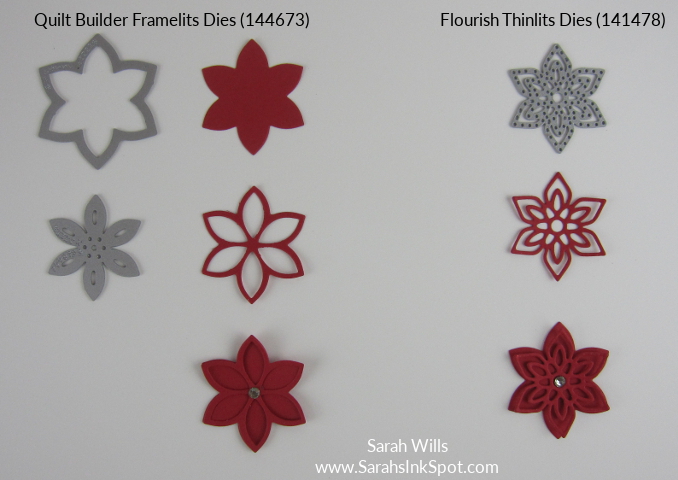
Cutting a mix of these three basic shapes from plain and glittered cardstocks gives you a lot of flower power for a project like this – have a play and see what you can come up with!
WANT MY PROJECT SHEET FOR THIS PROJECT? Click HERE to find it – then you can download it or print it out to keep for easy reference!
Here are the supplies I used to make this project – click on any of the products below to find them in my Stampin’ Up! online store:
Other supplies: Foam (craft store), Mini Cake Stand (Target dollar spot)
Thanks so much for stopping by – wishing you a wonderful weekend!

Current Specials:
USE MY SEPTEMBER HOST CODE to get yourself a FREE PACK OF HOLIDAY CATALOG EMBELLISHMENTS of your choice – click HERE to find out more!
