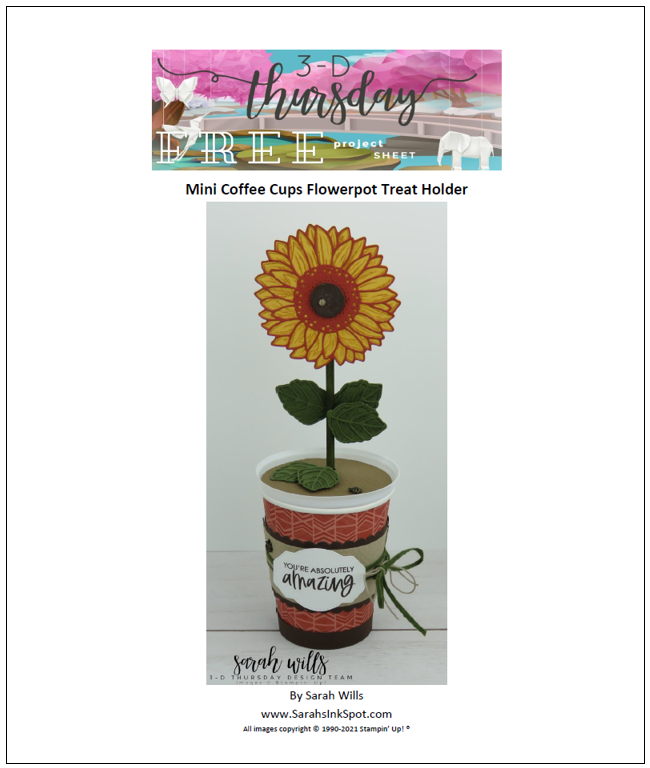
You know what? I was so busy last week that I totally forgot to publish my 3-D Thursday post! And it was also my turn to create – I cannot believe I forgot to post what I had come up with! So I decided better late than never, so here it is…a fun way to change a mini Coffee Cup into a Mini Flower Pot to hold treats!

Further down this post you will find a link to the FREE Project Sheet that has step by step instructions & color photos that you can save to your computer or print out and have on hand for easy reference PLUS you will find a full list of Supplies used to make this at the end of this post.
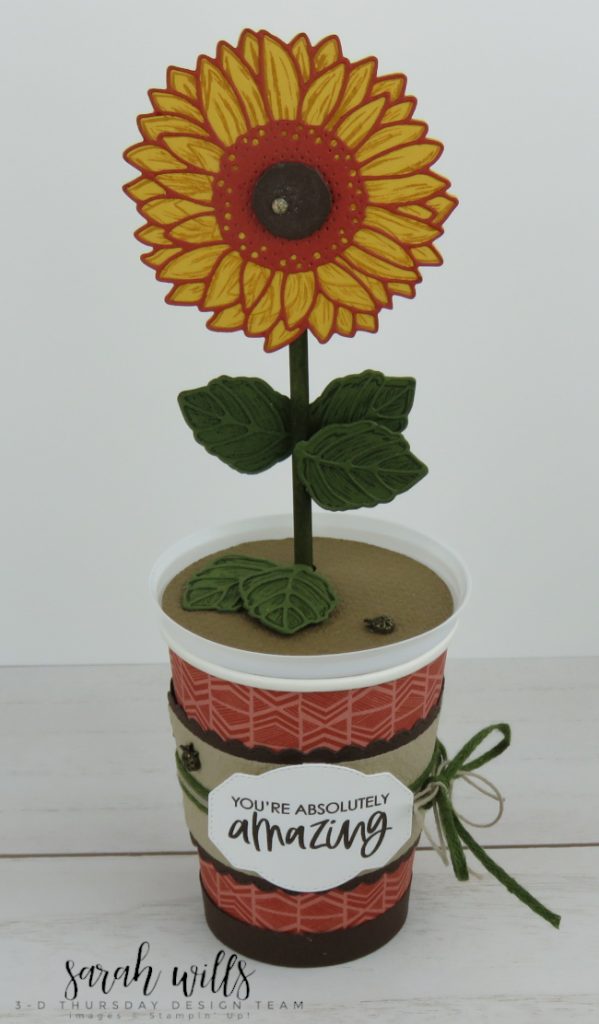
And here it is…sunflowers happen to be my most favorite flowers and so this was a really fun one to create!
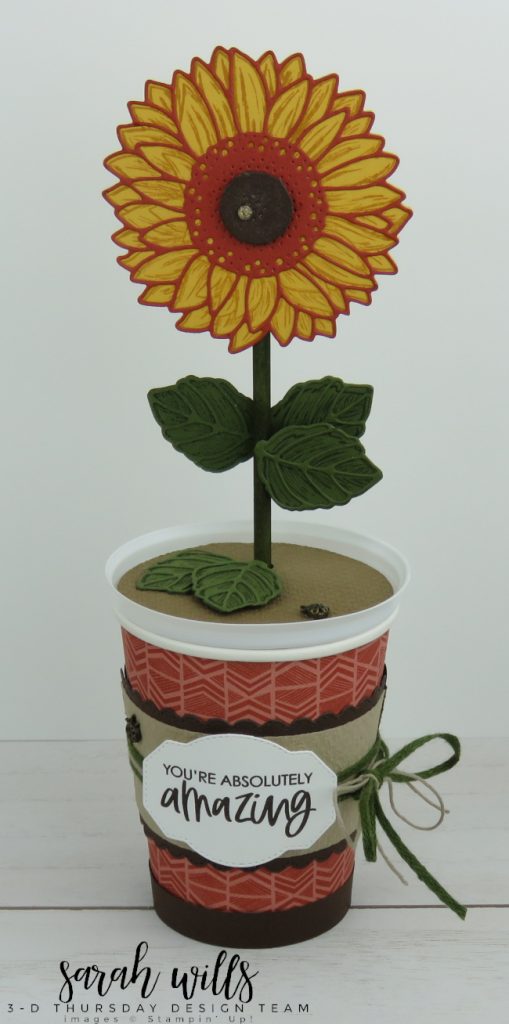
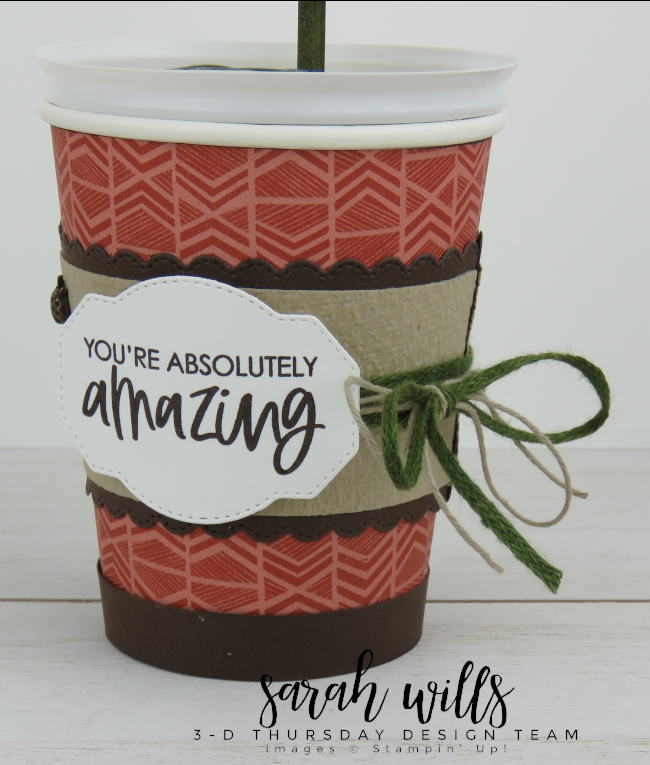
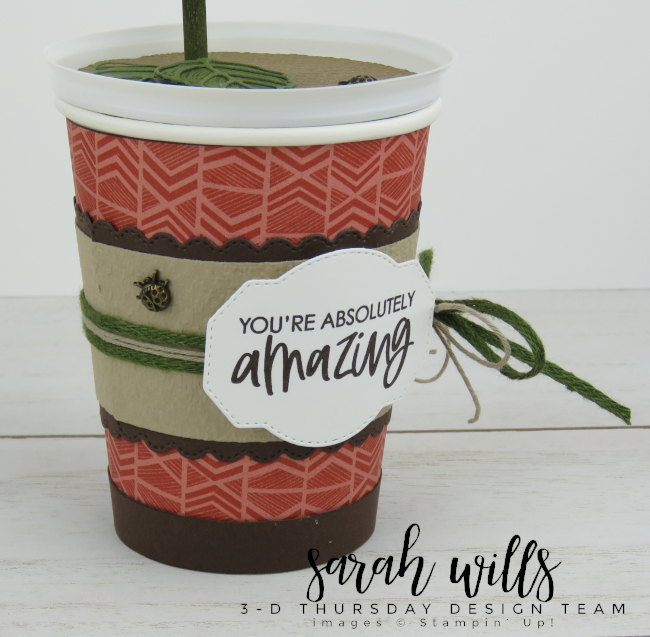
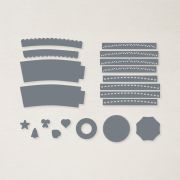
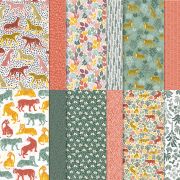
I used patterned paper from In the Wild DSP to cover the pot and created the belly band using dies from Warm Wraps Dies…
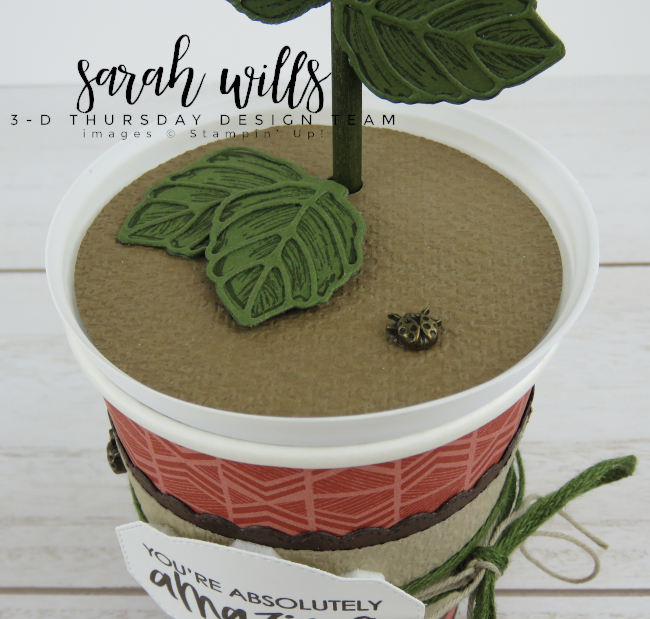
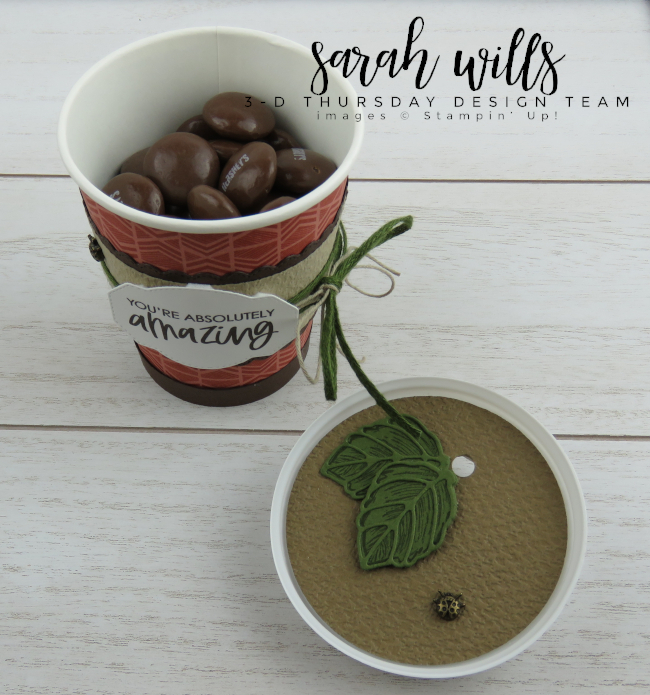
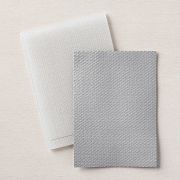
I turned the coffee cup lid upside down and popped in a circle of Soft Suede cardstock that I textured using the Tasteful Textile 3D Embossing Folder to give it a bit of a dirt-like look.
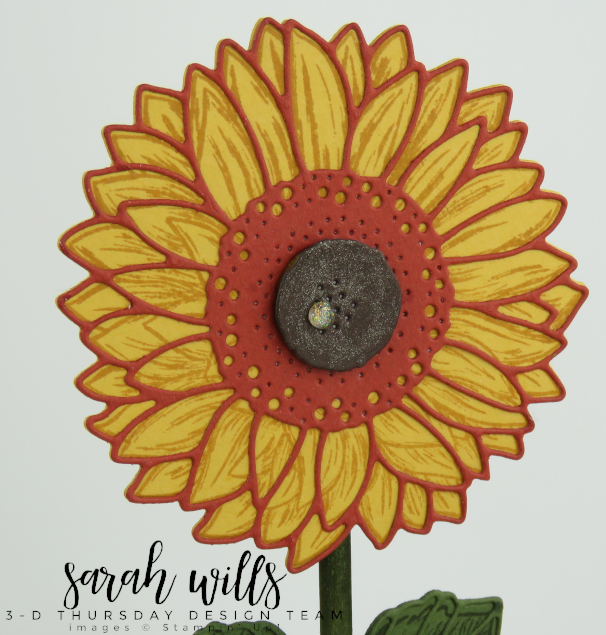
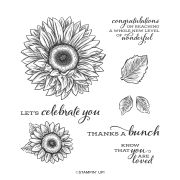
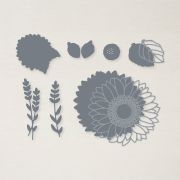
The leaves and sunflower were all stamped using stamps from the Celebrate Sunflowers Stamp Set and cut out and layered using coordinating dies from Sunflowers Dies
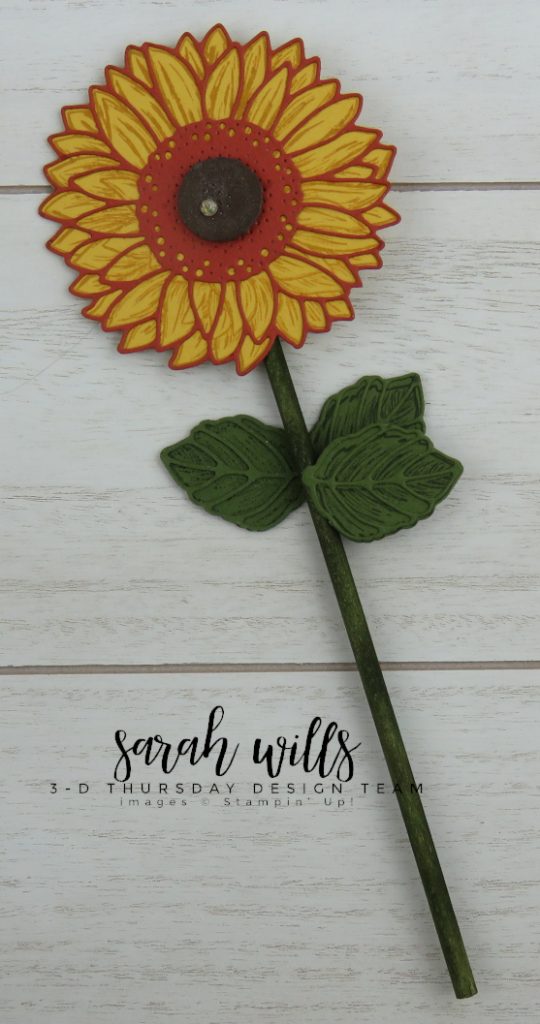
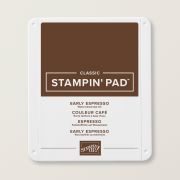
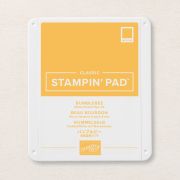
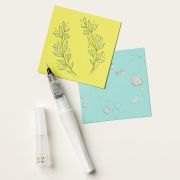
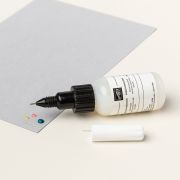
Here is a close up of the sunflower – I used the colors Bumblebee and Cajun Craze for the flower and the center is Early Espresso that I made sparkly with the Wink of Stella Clear Glitter Brush…
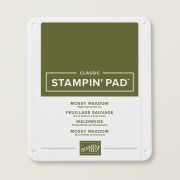
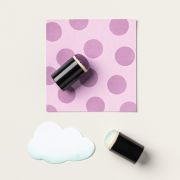
The sunflower slides right out of the cup – I used my Mossy Meadow ink pad and a sponge dauber to color the wooden dowel stem…
Take the lid off and inside you can add whatever treats you would like…
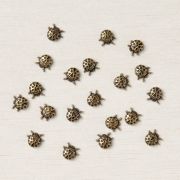
Here is the other side of the cup – did you notice the cute ladybugs? If you want them, hurry as they are retiring on June 30th!
Here is one last look – it makes me soooo happy to look at on my desk!
WANT THE FREE PROJECT SHEET FOR THIS PROJECT? Click HERE to find it – then you can download it or print it out to keep for easy reference!
Here are the supplies used to create this project – click on any of the products below to find them in my Stampin’ Up! online store:
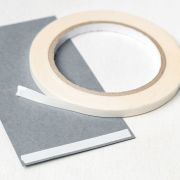
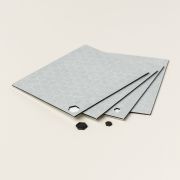
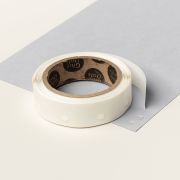
And here are the Adhesives & Tools used on this project:
Other supplies used: Wooden Dowel Rod, filler for inside
Thanks so much for visiting – be sure to come back next Thursday for the next 3-D project – to make this easy, you can subscribe to my blog using the ‘Get Blog Posts by Email’ button on the right so that new posts will be delivered automatically into your inbox!
Current Specials:
DON’T FORGET TO USE MY HOST CODE – J3Z3S7W6 – to get yourself ONE FREE ROLL OF IN COLOR OPEN WEAVE RIBBON IN THE COLOR OF YOUR CHOICE! There are FIVE NEW COLORS to choose from! CLICK HERE to find out all about my Host Code program that gives YOU a FREE gift with EVERY order that you place in my store!


So cute, Sarah & I love the filling too!! :)