You can use your own stamps and inks to create a background for your cards and scrapbook pages…it is fun to do and means that you can customize your background however you please…
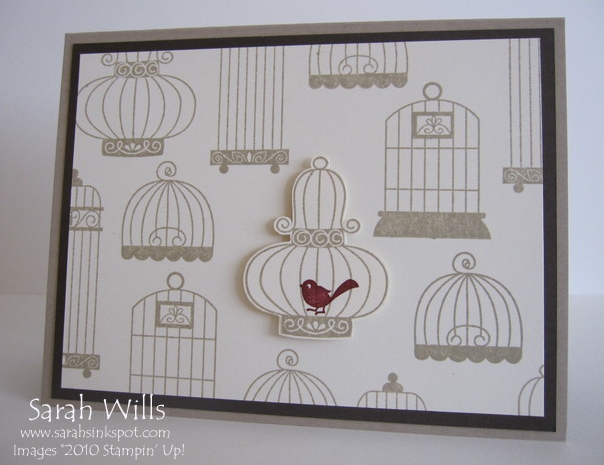
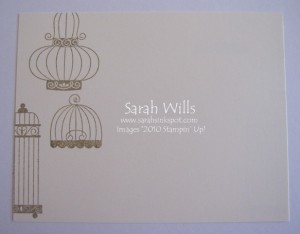
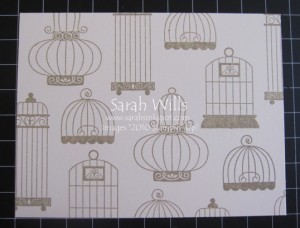
Here is a background that I created using the bird cages from the stamp set Aviary…
This is a great way to make backgrounds for those on a stamping budget – rather than use consumable patterned papers and texture, you can create your own great backgrounds using what you already have.
All you need to do it are stamps, inks and the fabulous Stamp-a-majig tool which you can find on pg 198 of the Catalog and it is priced at just $11.95 – if you don’t have one of these tools, let me tell you that it is invaluable for precisely stamping your images – I promise you that once you have one, you will reach for it constantly – I keep mine out on my desk as I use it daily!
Not sure what the Stamp-a-majig is? Click HERE for more details along with my printable Tutorial showing you how to use it.
Here is my tutorial showing you how to create stamped backgrounds – at the end of this tutorial you will find a printable version too so that you can print it out and keep it for reference.
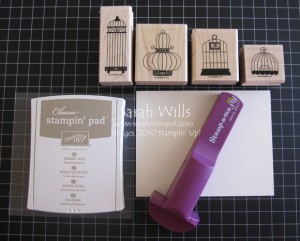
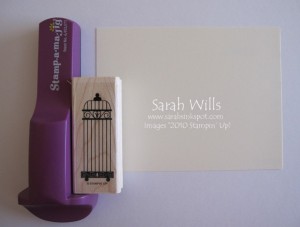
Gather your supplies together – you will need your Stamp-a-majig (SAMJ), ink pad, stamps and cardstock – I am using stamps from Aviary, Crumb Cake Ink and Very Vanilla card stock…you will also need a scrap piece of paper to work on – I like to use a piece sized around 8 1/2″ x 11″…
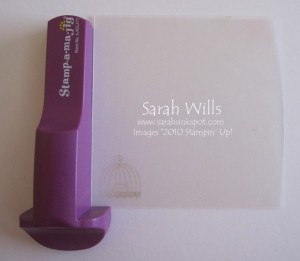
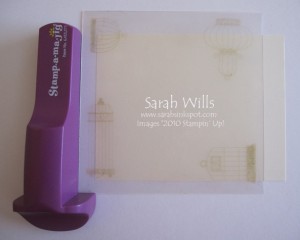
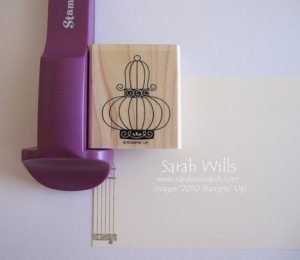
Firstly you need to transfer your images onto your Stamp-a-majig imaging sheet – to do this take your SAMJ tool and push the imaging sheet firmly into the corner – ink up your stamp and align it with the two sides of your SAMJ and push down firmly – and you will have stamped your image onto the imaging sheet.
NOT USED A STAMP-A-MAJIG BEFORE? Click HERE to go to my tutorial!
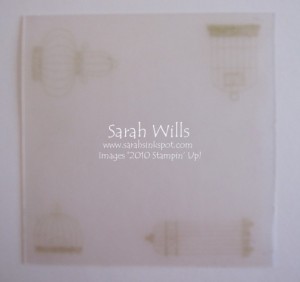
Continue using all the images you want to use – one on each corner of your imaging sheet…as you can see, I am using all 4 bird cages…
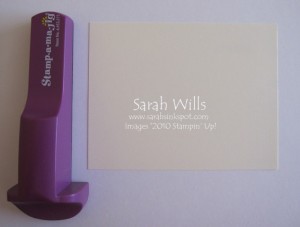
Take your piece of card stock and lay it onto your piece of scrap paper…
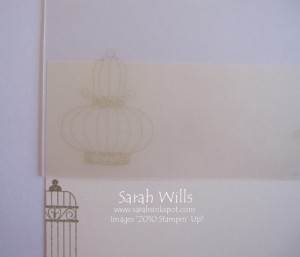
Decide which stamp you wish to use first and use your SAMJ to align it where you want to stamp it – I am using my tallest bird cage and want to position it so that it is partially on my card like this…
Remove the imaging sheet…
And then ink up your stamp and push firmly down, using your SAMJ for guidance…
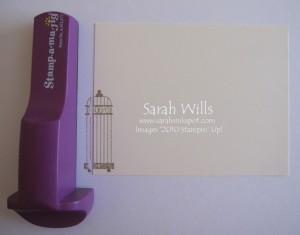
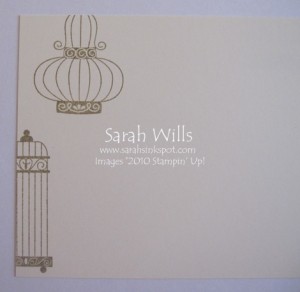
Here is my stamped bird cage – and now you can see why you need that piece of scrap paper underneath…
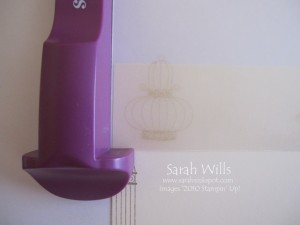
Using the imaging sheet, decide which stamp you want to use next and where, and position the imaging sheet in place…
Position your SAMJ…
And again, ink up and stamp your image…
And that is what you will have…
Repeat for the third image…
And so on until your sheet is full…
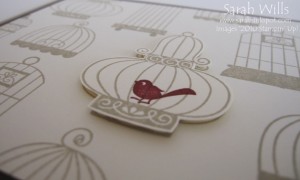
I decided to make a very simple all-occasion card but wanted to add a little something – and so I simply stamped a bird cage onto another piece of card stock, cut it out, added a cute bird and attached it to my card using Dimensionals to make it pop up…
And there is one very fun and easy way to create your own backgrounds.
WANT TO PRINT OUT THIS TUTORIAL? PLEASE CLICK HERE FOR A PRINTABLE VERSION WHICH WILL OPEN IN A NEW BROWSER WINDOW
Please click HERE to view my other Technique & Project Tutorials
