How to add Clear Embossing Powder to your stamped images…
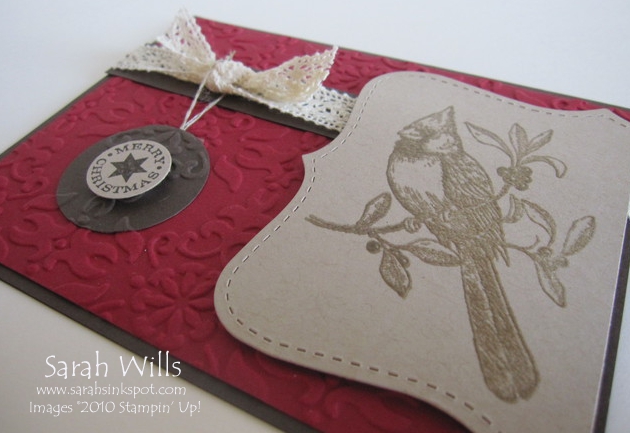
Clear embossing powder gives a beautiful glossy glazed look to your images whilst allowing the color of your stamped image to show through as in my Cardinal below…it is perfect to add a little classy bling and especially amazing on holiday projects…

You can find all the supplies you need on pgs 195-196 of the Catalog.
You will need:
100005 Heat Tool – $29.95
102283 Versamark Ink – $7.50
109130 Clear Embossing Powder – $4.75
And on pg 198:
101049 Stamp-a-ma-jig – $11.95
FIND THE VERY COOL STAMP-A-MA-JIG TOOL IN THE ONLINE STORE BY CLICKING HERE!
And there are some very useful add-ons too:
103083 Embossing Buddy – $5.95
102197 Powder Pals – $19.95
A bundle of these Embossing products would make a fabulous gift for that special papercrafter in your life – you can order them by clicking HERE
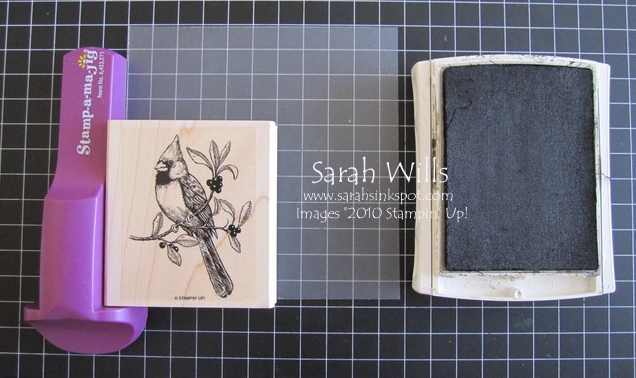
For this project you will need: Clear Embossing Powder, Versamark Ink Pad, Heat Tool, Stamp-a-majig tool, your cardstock, stamp & ink pad
Not used a Stamp-a-majig (SAMJ) before and are wondering what it is? Click HERE for my tutorial on how to use this amazing must-have tool!
Gather your supplies together…
![]()
Firstly you are going to take your Stamp-a-majig (SAMJ) and position the imaging sheet like so…be sure that the imaging sheet is pushed firmly it into the corner.
Take your stamp, ink it up using the color ink of your choice and stamp it onto your imaging sheet, being sure to press firmly into the corner of the SAMJ…I use dark ink such as Early Espresso to get a good visible image…
Take away your stamp and here is your inky impression on that sheet (I have put a sheet of cardstock beneath so that you can see my image clearly)…
![]()
Put your SAMJ and imaging sheet to one side.
Ink up your stamp again in the color ink of your choice and stamp onto your piece of cardstock – I used Crumb Cake Ink and stamped it onto Crumb Cake cardstock…and you will end up with a stamped image on your cardstock PLUS a stamped image on the imaging sheet…be sure to clean your stamp at this stage…
![]()
Take your imaging sheet and line it up over your image you stamped onto the cardstock…
![]()
Once in place, bring in your SAMJ and position it so that it is snugly in the corner of that imaging sheet again…
![]()
When happy with the placement of it over your image, remove the imaging sheet CAREFULLY so that you are left with your cardstock image & SAMJ…DO NOT move the SAMJ!
Ink up your stamp using Versamark Ink…and stamp your stamp firmly down, again making sure it is pressed firmly into the corner of the SAMJ…
![]()
Remove your stamp and quickly sprinkle on your Clear Embossing Powder…dont worry about how much you use as you will return the excess back to the pot…
![]()
Pick up your cardstock and carefully shake the excess off – I use a piece of folded scrap cardstock to shake the powder onto…you can also use a Powder Pal (pg 196) to keep the powder under control which I use underneath my folded cardstock…
![]()
SARAH’S TIP – if you are using embossing powders or glitters in warm climates and have a ceiling fan on above – be sure to turn the fan off when you use these powders – from experience I can tell you that if the fan is on, the powder goes absolutely everywhere!!!
And then use your folded cardstock as a funnel to guide the powder back into the pot…
![]()
Once all the powder is shaken off, this is what your image will look like…
![]()
Turn on your Heat Tool (pg 196) and quickly move it across your image, holding it at a 45 degree angle – as you do this you will see the powder change to a glazed look meaning it has melted and adhered…as soon as you see this, move on to avoid over-heating…
When melted, you have one beautifully glazed stamped image…
![]()
WANT TO PRINT OUT THIS TUTORIAL? PLEASE CLICK HERE FOR A PRINTABLE VERSION WHICH WILL OPEN IN A NEW BROWSER WINDOW
Click HERE to view my other tutorials