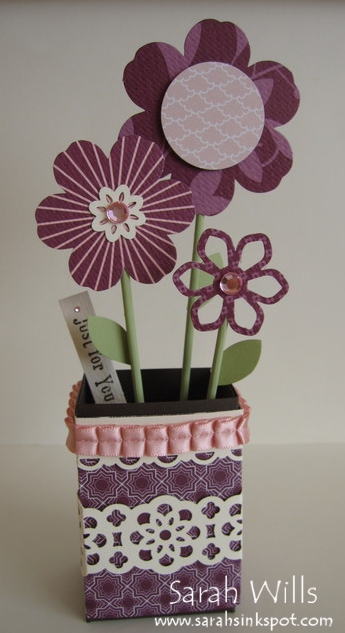
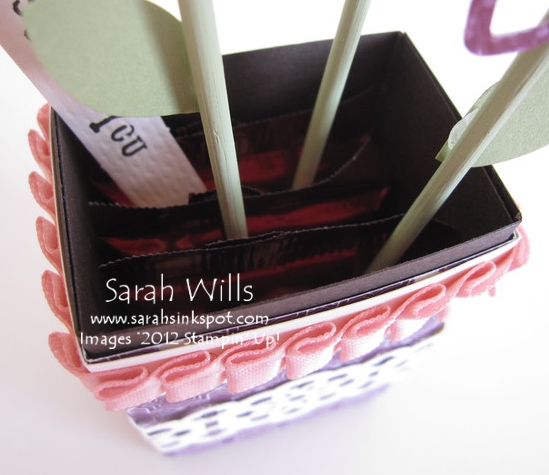
This Mini Chocolate Flower Vase would be a beautiful treat to make for teachers, friends & family for Valentine’s Day, Mother’s Day, Birthdays – any special occasion – and it is so much fun to make.
It’s hard to see how big it is from the photo but to give you an idea, it measures just 8″ high by 2 1/2″ wide -and it is so cute!
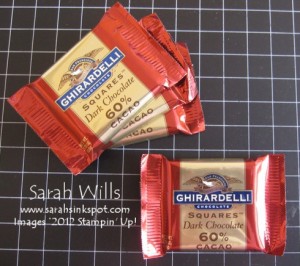
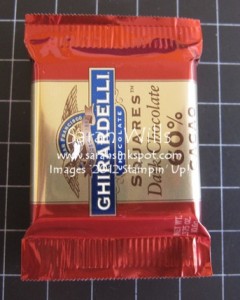
The chocolate consists of 4 individually wrapped Ghirardelli squares that are contained in the bottom Vase part and they simply slide out so that they can easily be eaten by the recipient.
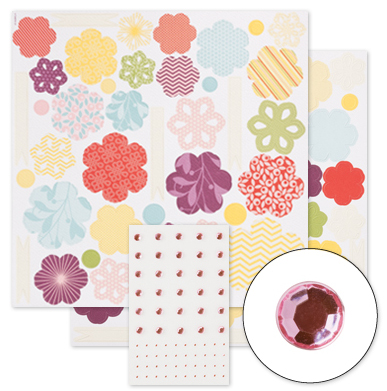
Those patterned Die Cut flowers? They are ready-made for you which makes this vase even easier to put together! You can find them in the Blossom Builders Designer Printed Kit on pg 18 of the Occasions Mini Catalog and in just ONE KIT you get enough flowers & Pink Jewel Rhinestones to make at least EIGHT Mini Chocolate Flower Vases making it a fabulous deal at just $9.95 for that Kit…
Here are the Printed Die Cuts & Rhinestone Jewels that you get in Blossom Builders Designer Printed Kit – LOTS of them – they are die cut meaning you simply gently push them out to use them and those Rhinestones are self-adhesive too!
Click on the picture below to view this Kit in the online store…
PURCHASE YOUR BLOSSOM BUILDERS DESIGNER PRINTED KIT FOR JUST $9.95 BY CLICKING HERE!
Here is my tutorial so that you can make your very own Mini Chocolate Flower Vase – at the end of this tutorial you will find a printable version too so that you can print it out and keep it for reference.
The Vase Base…
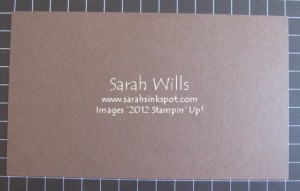
Cut a piece of cardstock to be sized 7 5/8″ x 4 3/4″…
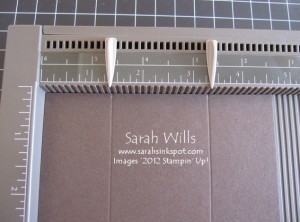
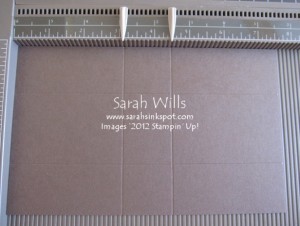
Place it into your Simply Scored Scoring Tool with the shortest edge along the top (or paper trimmer with score blade inserted) and score down at 1 3/8″ and again at 3 3/8″…
Turn around so that the longest edge is along the top and score down at 3 1/8″ and 4 1/2″…
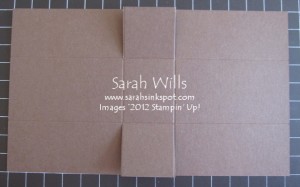
Remove from your Scoring Tool and use scissors to trim along the following 4 lines to make tabs…
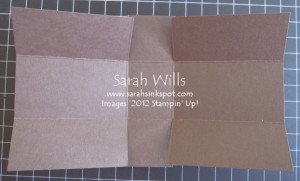
Fold along all score lines…
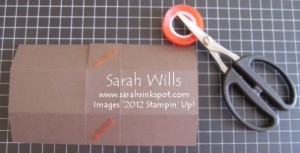
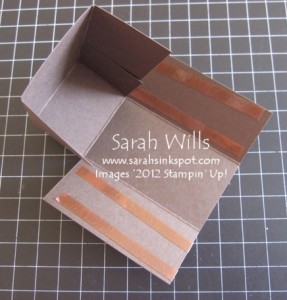
Turn over and apply Sticky Strip tape to the two small tabs…
Remove the backing and fold up half the box and stick in place onto the tape…then apply Sticky Strip to both long side panels…
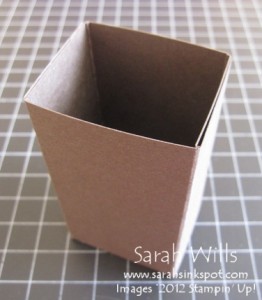
Remove the backing, fold up each side and adhere in place…
The Chocolate Filling…
You will need 4 individually wrapped Ghirardelli squares that you can find in grocery & big box stores…and a sheet of Dimensionals…
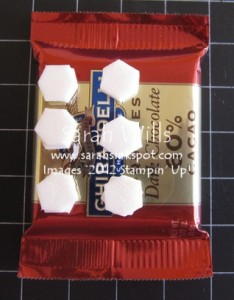
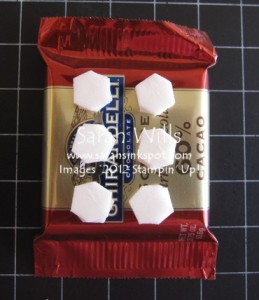
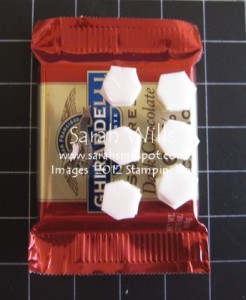
Take the first chocolate square and apply two lines of Dimensionals along the left edge- make sure that the crimped foil parts of the packet are at the top & bottom and you place your Dimensionals going up like I have done below…
You will need to then add a second layer ontop of the first to give you double the dimensional height…
Take your second chocolate square and adhere in place on top…
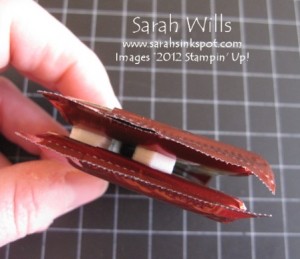
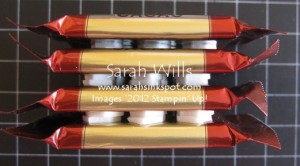
When you turn them onto the side this is what you should see…
Then repeat – onto the top of the second chocolate square lay out the Dimensionals except this time make your rows over towards the right so that they are central – this will make sure that you can stagger your flowers across the vase…
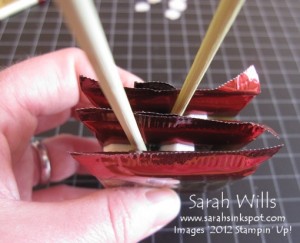
And then adhere the third chocolate square on top…from this photo you will see that by staggering the rows your flower stems will be staggered but dont have alot of wiggle room so they will stay in place…
And repeat again – onto the top of the third chocolate square lay out the Dimensionals except this time make your rows over on the right edge…
And adhere the last & fourth chocolate square in place – turn to the side and this is what you will see…
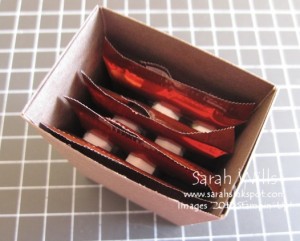
And this is what they will look like in the Vase base…they slide in and out easily…
To decorate the Vase…
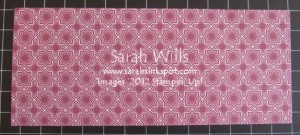
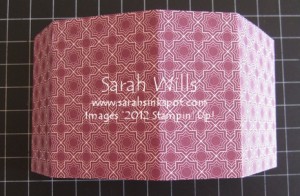
Cut a piece of Designer Series Paper to be sized 7″ x 2 7/8″…
Place into your Simply Scored Tool with the longest edge along the top and score at 1 3/8″, 3 1/2″ and 5″…
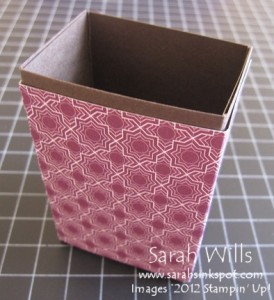
And adhere to your Vase base…
Embellish and decorate as wished.
Flowers…
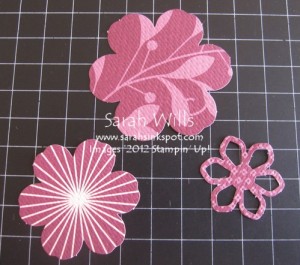
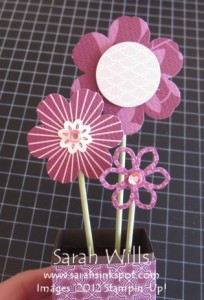
Take 3 Die Cut Flowers from the Blossom Builders Designer Printed Kit…you can keep to one color or mix & match…
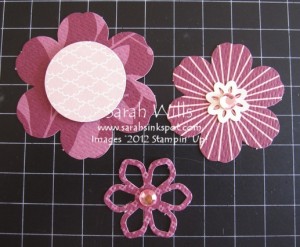
And embellish as wished – I added Pink Rhinestone Jewels from the Kit and made a large flower center using my 1 1/2″ Circle Punch…
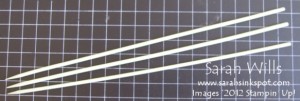
Take 3 wooden skewers and paint them green…
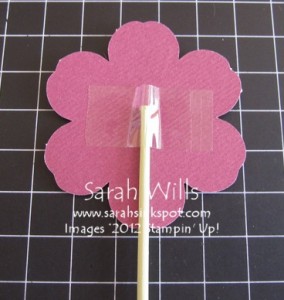
Attach a skewer to the back of each flower and secure using tape…
Trim the skewers to the size you want – I use wire cutters to do this – and insert into your Vase base…
Leaves…
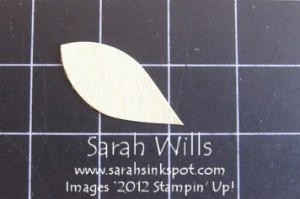
If you wish to add leaves to the stems punch out a flower shape using the 5-Petal Flower Punch…
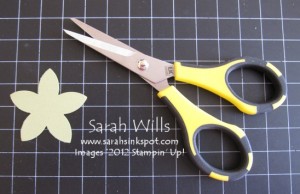
And then trim to size using sharp Paper Snips…
And adhere to the stem using a Mini Glue Dot – to attach it so that the glue dot doesnt show, I roll the dot between my thumb & finger & add to the leaf…
Add a tag or sentiment and voila – there is one CUTE chocolatey floral treat!
WANT TO PRINT OUT THIS TUTORIAL? PLEASE CLICK HERE FOR A PRINTABLE VERSION WHICH WILL OPEN IN A NEW BROWSER WINDOW
Please click HERE to view my other Project Tutorials
