I hope you enjoyed the Inky Friends Blog Hop this past weekend and that you came away with some fab gift packaging inspiration for the Holidays!
Over the next three days I am showing you the full details of what I used to make each of my projects along with a FREE Project Sheet which contains all measurements, colors and supplies that I used to make each one of them along with step by step directions with photos – just look for the red words near the end of the post and click on the link – you can then download or print the Project Sheet to keep for reference.
First up today I am showing you the Wallet Gift Card Holder…
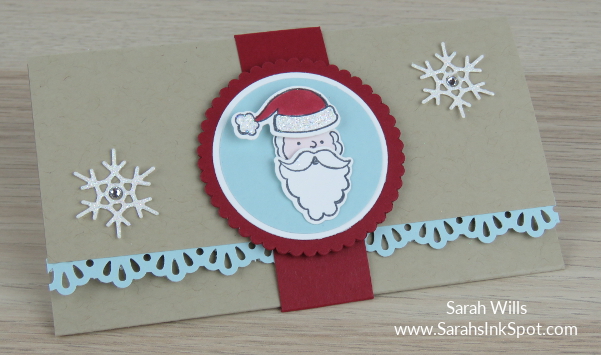
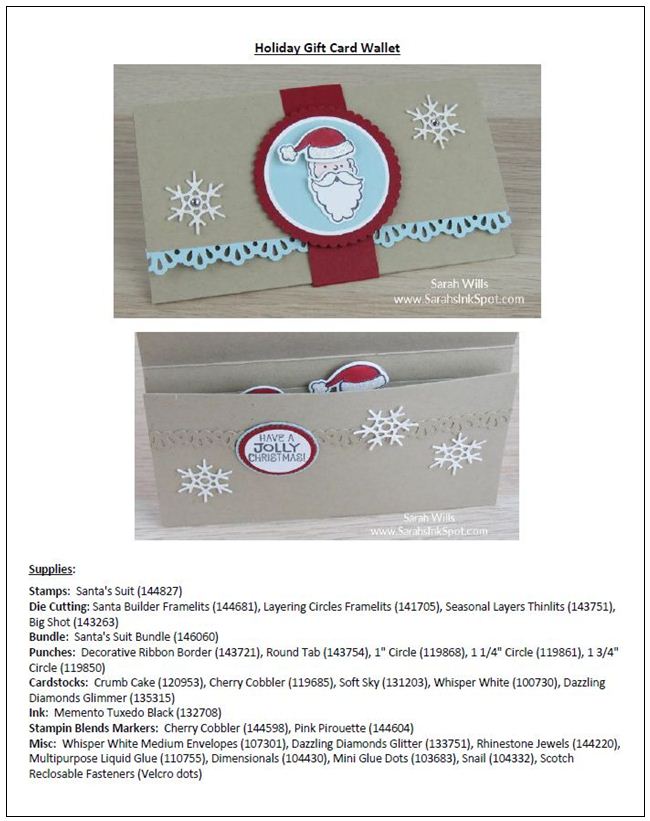
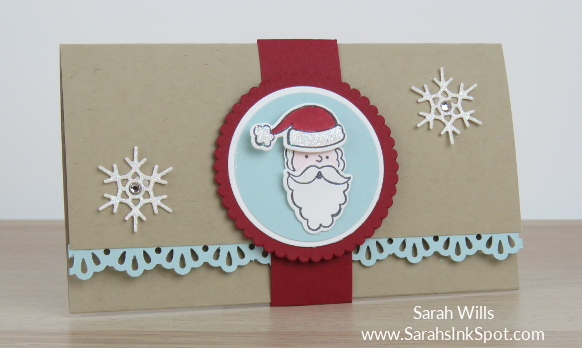
The base, insert and belly band are all very simple to make in literally minutes and you can decorative simply or more complex depending on how much time you have – either way it will turn out great!
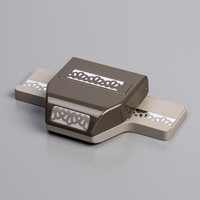
I used Crumb Cake for the base color, Cherry Cobbler for the belly band and added some Soft Sky for a bit of a frosty look – that pretty blue border was made with the Decorative Ribbon Border Punch.
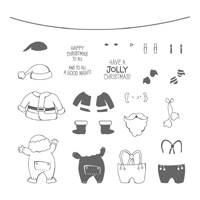
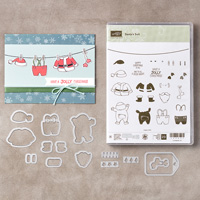
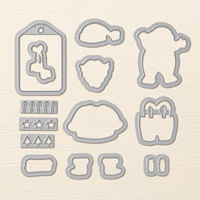
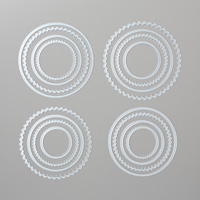
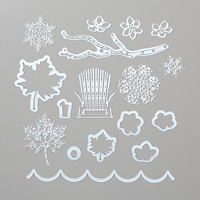
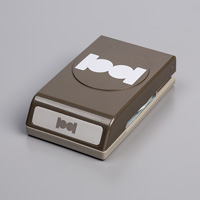
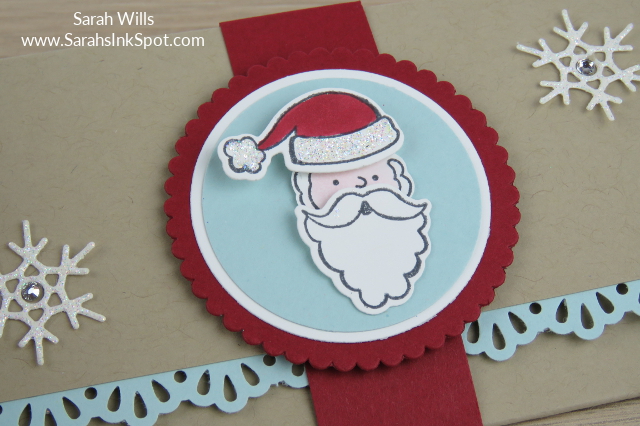
Santa’s head was made using stamps & dies from the Santa’s Suit Bundle and layered on circles made using various Circle Punches with the scallop circle shape cut using a die from Layering Circles Framelits.
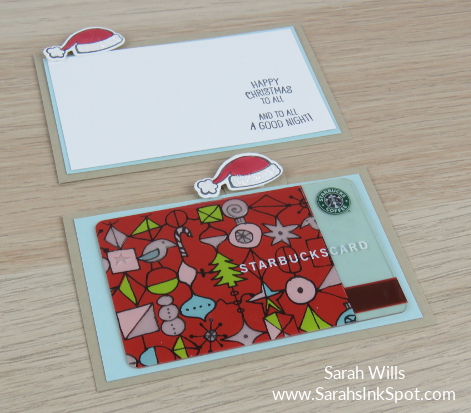
Take off the belly band, open that top flap and this is what you see inside…a couple of cards tucked into a white holder with little hats that act as the tabs to pull them out…
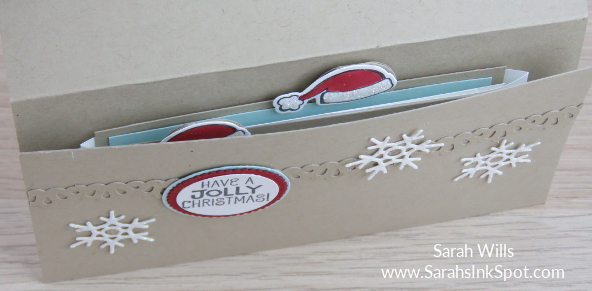
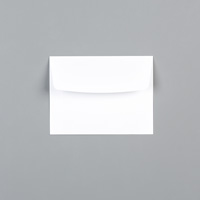
That white holder is simply a medium Whisper White Envelope that is folded in half and the ends cut off – step by step directions are on the Project Sheet – it’s the perfect quick insert!
And sliding out are two cards – one to write on and the other to attach a gift card onto…
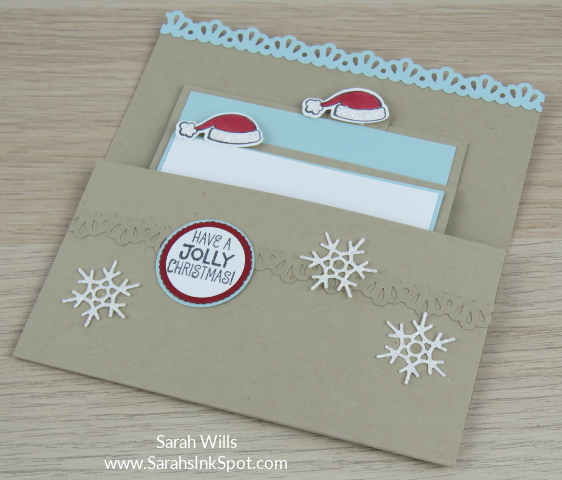
Those Santa hats are so cute to use as tabs! But to make the tab very strong so that it can withstand the tugging, underneath there is a tab that it is adhered to that I made using the Circle Tab Punch – super strong and the little hat sits on top!
One of the cards is the perfect size to add a gift card to using a Mini Glue Dot – it will hold it nicely in place but allows the gift card to be peeled away easily when it’s time to use it…
Here’s a close up of the belly band feature…LOVE that little Santa in his sparkly Dazzling Diamonds glitterized hat!
I cut some sparkly snowflakes out of Dazzling Diamonds Glimmer paper to decorate the panels and added Rhinestone Jewels to the centers – because of these raised embellishments, the belly band doesn’t easily slide off and so I added Velcro Dots to the back of the band so that it can be peeled apart instead to protect the snowflakes…
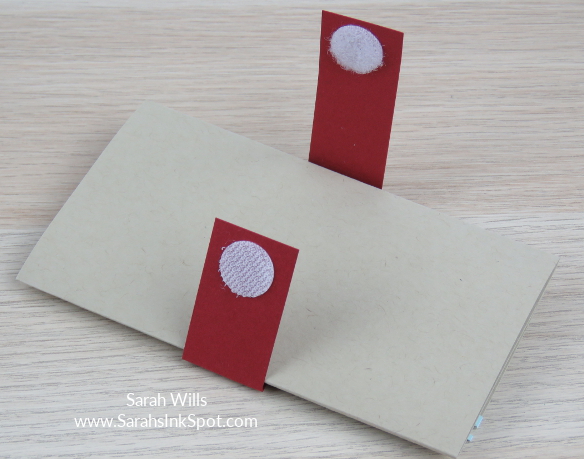
But if you have a flat stamped front panel, you can use tape or glue dots to hold the belly band together so that it can slide off of either end.
And here is another look at the finished item – cute, perfect for the Holidays and quick & easy to make – perfect for this busy time of year when you want to give a gift card that has a handmade touch but you don’t have bunches of time to do it!
WANT MY PROJECT SHEET FOR THIS GIFT CARD HOLDER? It has a full list of items I used to create this project along with step by step instructions! Click HERE to find it – then you can download it or print it out to keep for easy reference!
Here are the supplies I used to make this project – click on any of the products below to find them in my Stampin’ Up! online store:
Other supplies used: Scotch Reclosable Fasteners (Velcro Dots), gift card
Thanks so much for coming by – come back tomorrow to get the Project Sheets & Supply Lists for those cute Window Pizza Boxes!

Current Specials:
USE MY NOVEMBER HOST CODE to get yourself a FREE STAMPIN’ BLENDS MARKER IN THE COLOR OF YOUR CHOICE plus BONUS with qualifying order – click HERE to find out more!
