Welcome back and I hope you enjoyed our 3-D Thursday Team Blog Hop yesterday – I love that we all came up with very different ideas on how you can use those Mini Paper Pumpkin Boxes – we didn’t plan or coordinate at all, so it was really fun to see how we each created with the box!
I promised you more photos plus full details of my project along with a FREE printable/downloadable Project Sheet so that you can recreate your own – you will find the link to that FREE PROJECT SHEET FOR THIS BOOK BOX + NOTECARD ENVELOPE SCRAPBOOK + BOOKMARK by scrolling down this page – look for the red words to find it!
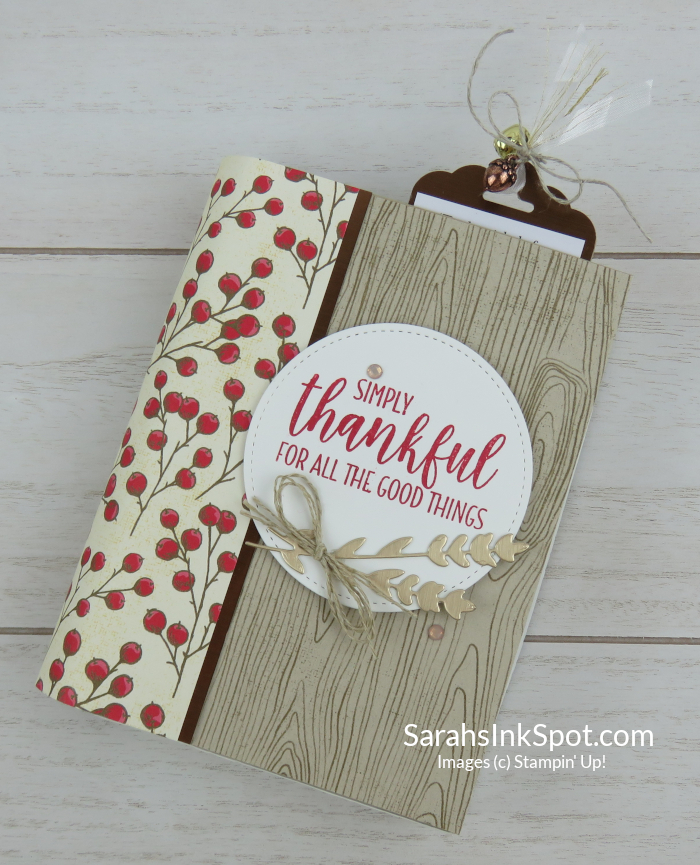
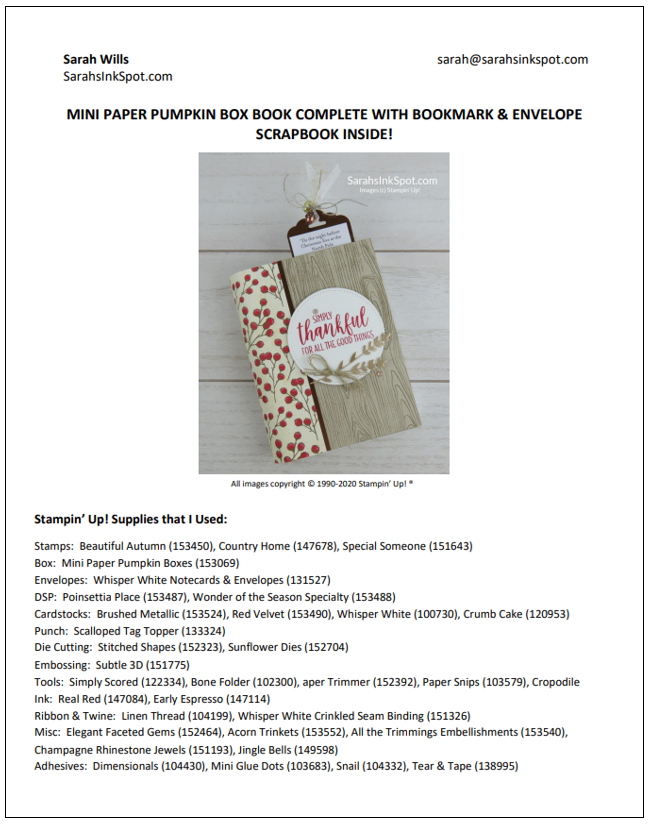
Here was my project – my Mini Paper Pumpkin Box transformed into a Book containing a Notecard Envelope Scrapbook Album plus Bookmark…
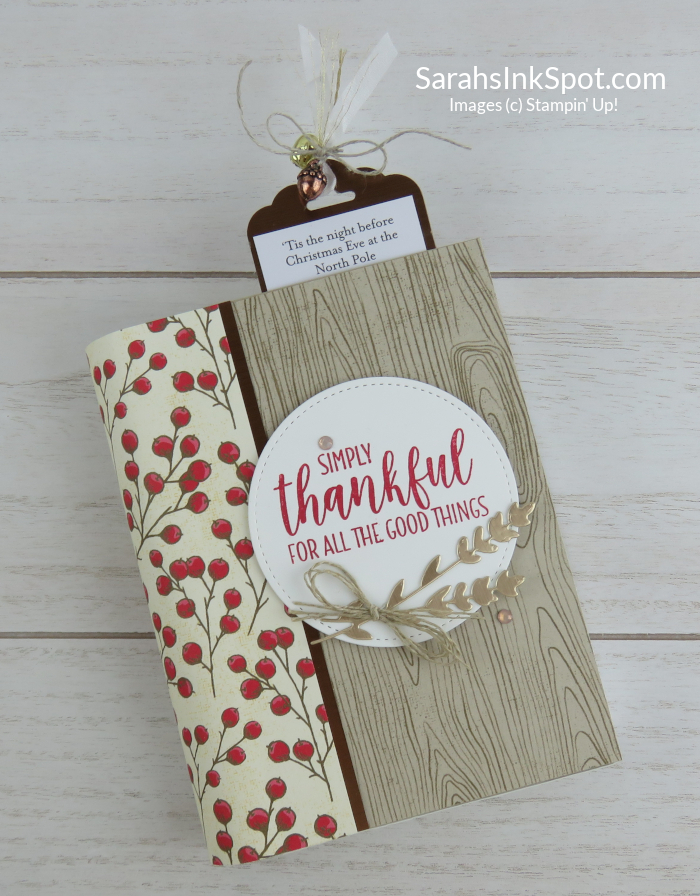
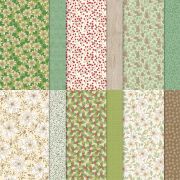
It was so much fun to create this! Those papers are just gorgeous and I love them so much I’m on my third pack! You can find both patterned papers I used on the cover in Poinsettia Place DSP
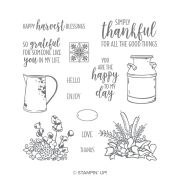
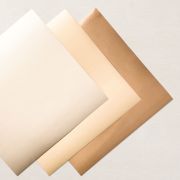
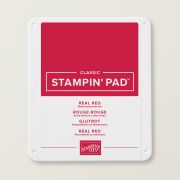
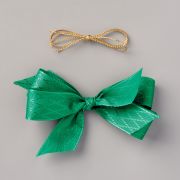
Here is a close up of that big bold sentiment – I used a stamp from Country Home and Real Red Ink to coordinate with the berries on the spine and cut it out using a large circle die from Stitched Shapes Dies. The foliage is cut using dies from Sunflowers Dies and Brushed Metallic Cardstock and the bow is tied using three pieces of Linen Thread
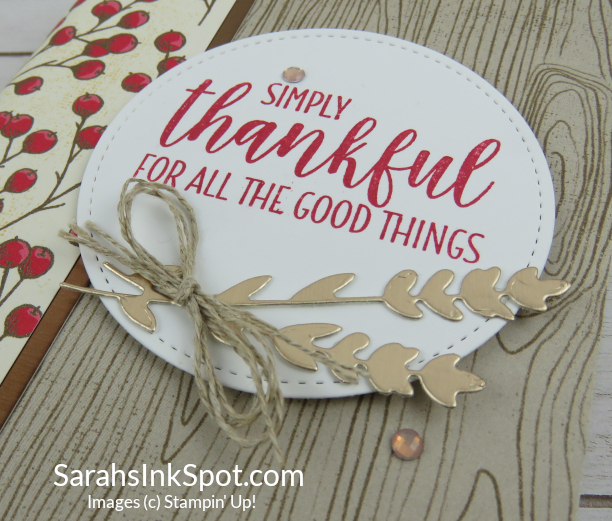
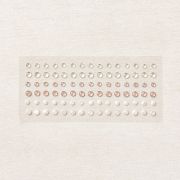
I dotted around a couple of gems from Elegant Faceted Gems for a festive, sparkly finishing touch!
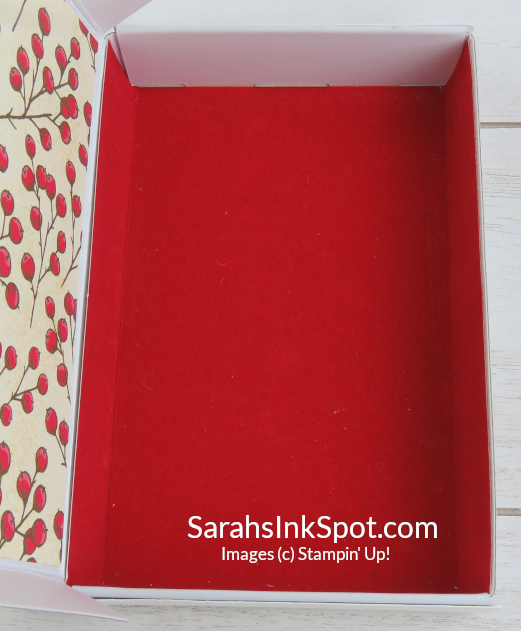
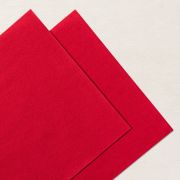
Open up the lid of the box and this is what you see – I used Red Velvet Paper to the line the base for a touch of luxury – I love how furry this paper is LOL!
The Envelope Scrapbook Album nestles nicely inside and is easy to pull out. I wanted to match it to the outer book cover and so used the same papers and used Linen Thread to bind it together…
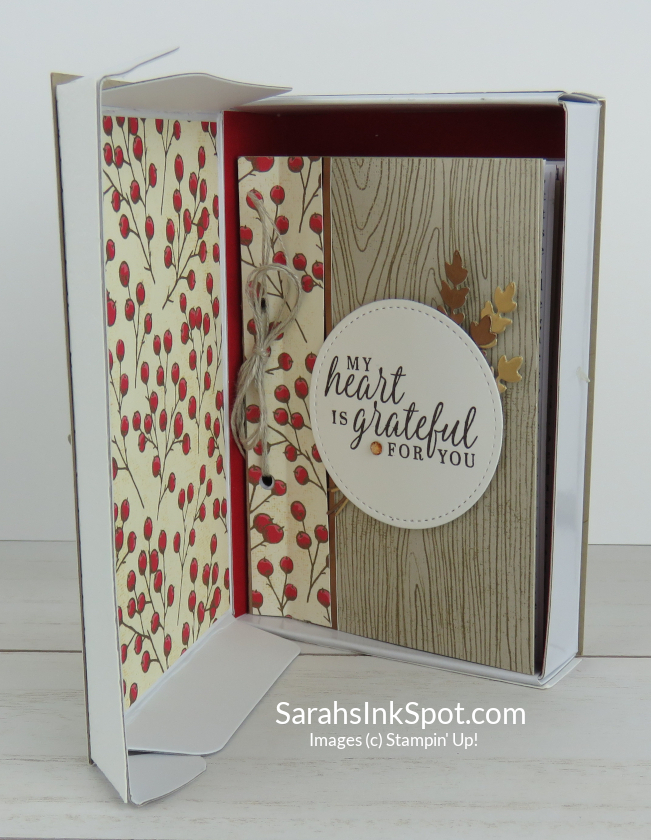
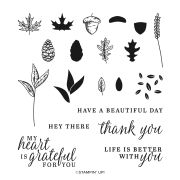
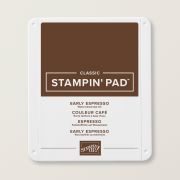
And in keeping with matching it to the outer book, I also added a large sentiment to the inside book – I used Early Espresso Ink and a stamp from the set Beautiful Autumn to do this, die cut it out using another stitched circle die and used Dimensionals to pop it ontop of some more die cut Brushed Metallic foliage pieces…
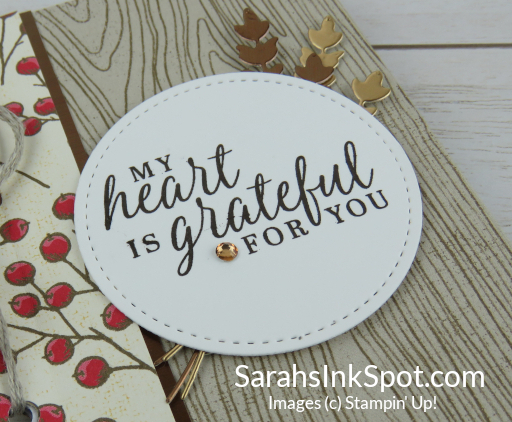
Those pieces were not quite long enough to create the look I wanted of top & bottoms sticking out of the circle so I cut each piece in half to get that look.
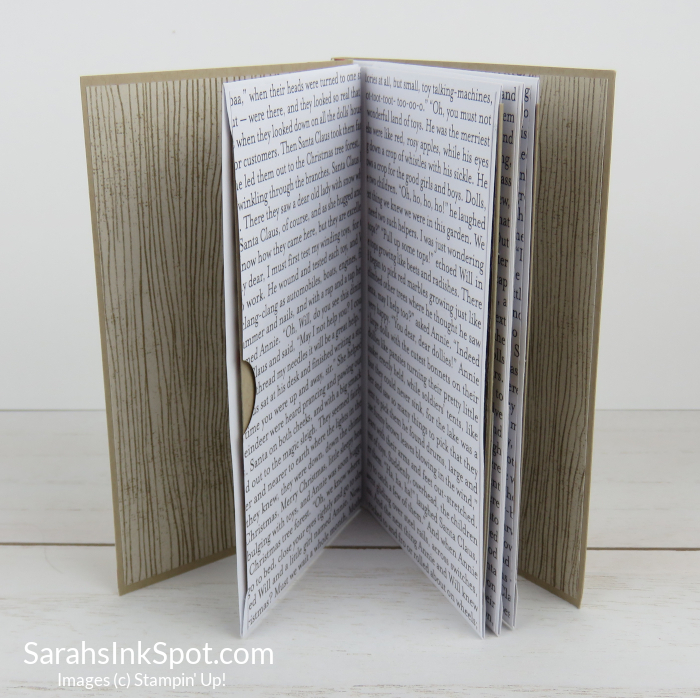
Here is a look at the back of the Envelope Pages – here you can see that I covered them with ‘script’ papers from Wonder of the Season DSP and you can see those notches I created using a Circle Punch on the side of each page – this is to make pulling out the scrapbook pages from the envelopes easy…
\And here is a look at the other side, front facing – same papers and here you can see the little pages that are nestled in the envelopes all pulled out…
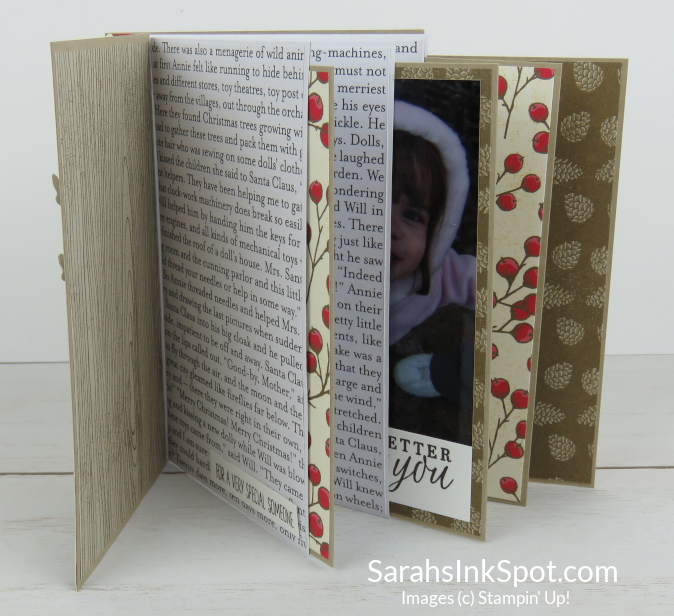
Turning Envelopes into scrapbook pages is so easy to do and fun too! I cut the flaps off of the envelopes, scored them and stacked them – easy peasy! I have created albums with the Medium sized Envelopes but these are the smaller Notecard sized White Envelopes
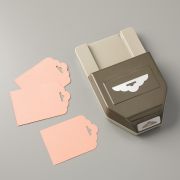
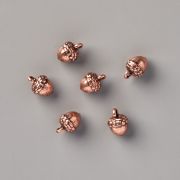
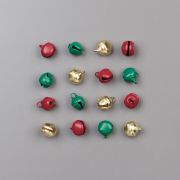
And the Bookmark was super easy to create – a 2″ strip of cardstock that I shaped the top of using the Scalloped Tag Topper Punch – then I trimmed it to size to be 7″ long and decorated with papers – on the top I added Whisper White Crinkled Seam Binding with a little Gold Trim and a little Acorn Trinket and a little gold Jingle Bell tied on to finish it nicely – I love how they pop out the top of the Book and jingle around when you move it!
WANT THE FREE PROJECT SHEET FOR THIS PROJECT? Click HERE to find it – then you can download it or print it out to keep for easy reference!
I had SO MUCH FUN creating this project and it inspired me to use these cute boxes more – here are the product details – click on the blue words to view in the online store:
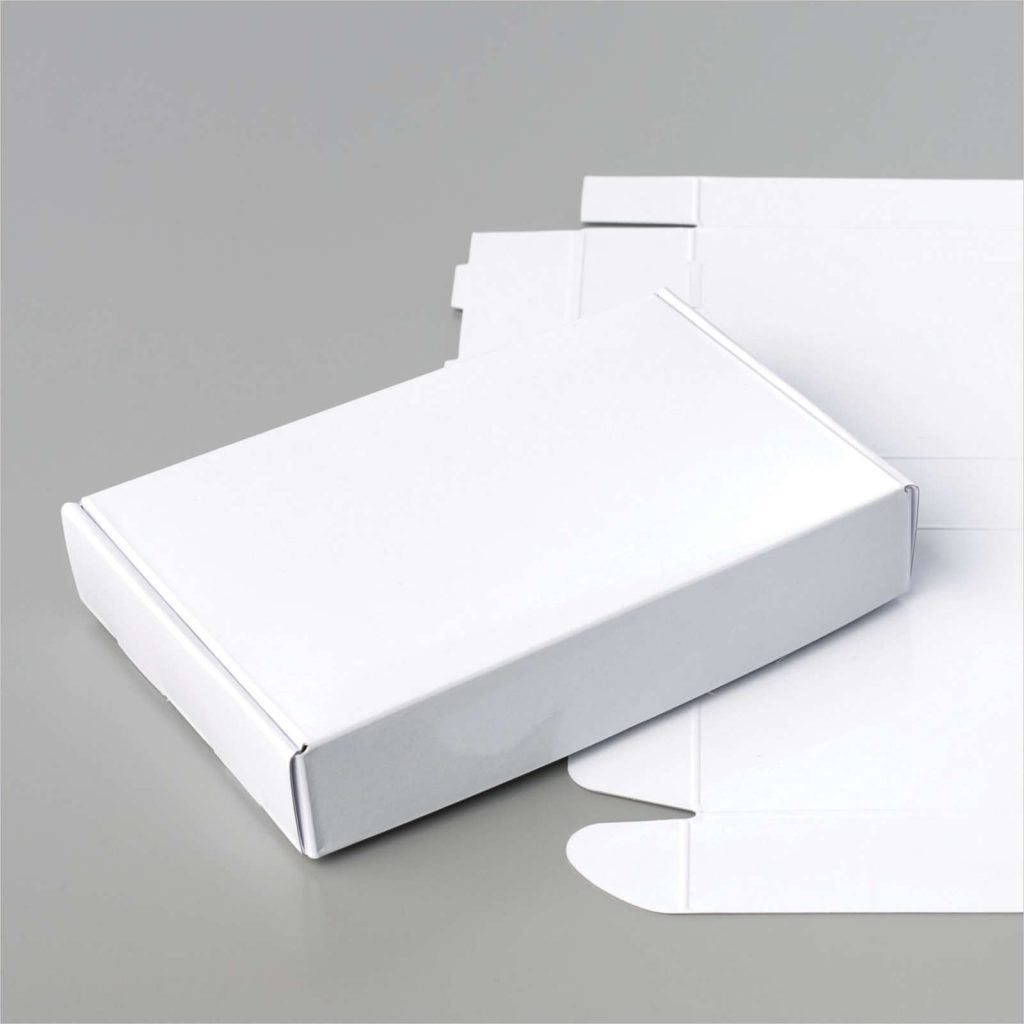
- 153069 Mini Paper Pumpkin Boxes – $7.50 for a pack of 10
Here are the supplies I used to create this project – click on any of the products below to find them in my Stampin’ Up! online store:
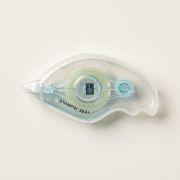
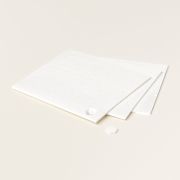
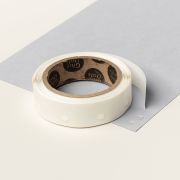
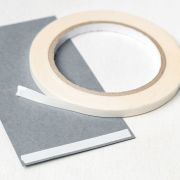
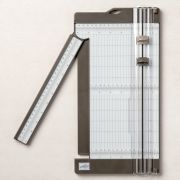
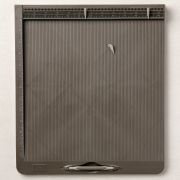
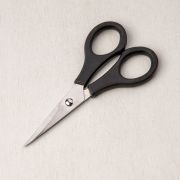
And here are the Adhesives & Tools I used on this project:
Thanks so much for visiting – be sure to come back and visit me again – to make this easy, you can subscribe to my blog using the ‘Get Blog Posts by Email’ button on the right so that new posts will be delivered automatically into your inbox!

Current Specials:
DON’T FORGET TO USE MY HOST CODE – ZEE67KCX – to get yourself a FREE WINK OF STELLA GLITTER BRUSH with a $50 spend CLICK HERE to find out all about my Host Code program that gives YOU a FREE gift with EVERY order that you place in my store!




Nicely done! Thanks for sharing!