Welcome to the first ever 3-D Thursday and to kick it off, a blog bop to introduce you to my 3 fellow fabulous designer friends on the team who are wonderfully talented – and they are Debbie Henderson, Jenn Gulch and Twila Davis!
You will see a link at the end of this post that will take you to the next blog – you won’t want to miss what these girls have created for you so be sure to follow the links to see all four fabulous projects – AND on each blog you will find a link to a FREE Project Sheet giving you a printable/downloadable tutorial that you can keep so you can make your own projects like ours!
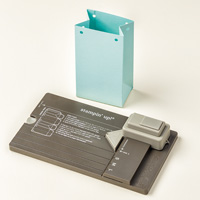
On this hop we were challenged to create a project using the Gift Bag Punch Board so you will see 4 different ideas that we came up with – it is close to the end of the school year here and I have had Teacher gifts on my mind a lot and so I decided to use this punch board to create a gift box to hold a set of Notecards & Envelopes that I think will make a great gift for a Teacher – if it’s too late to make it for them before the end of the school year, I think this would be a great gift to make over the summer as a gift for the next school year!
And so here is my project, a Box of Cards that I made using the punch board…and let me tell you how much I LOVED working with the new pretty patterned papers and that utterly beautiful new Host stamp set featuring this CUTE bird – Feathery Friends!
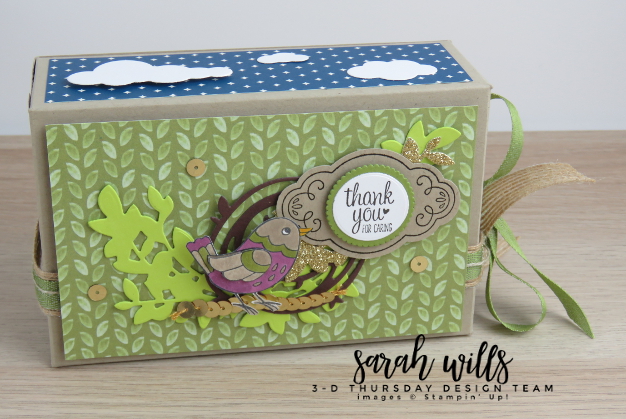
I wanted my box to have a bit of a whimsy nature feel to it and found all the supplies I needed using a whole bunch of brand new products from the new Annual Catalog! How fun it is to use new toys! Do you spot some of the new things that I used?
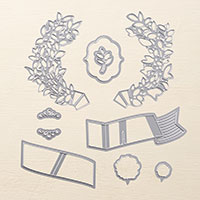
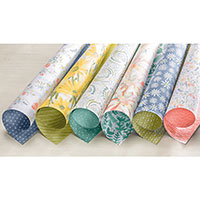
The Designer Series Papers I used are brand new – the leafy paper is from Delightful Daisy DSP and the sky piece is from Eastern Elegance – and the leafy tree pieces are cut out using a lovely die from the brand new Lovely Laurel Thinlits pack and some of that vibrant new Lemon Lime Twist cardstock…ready for more new product?
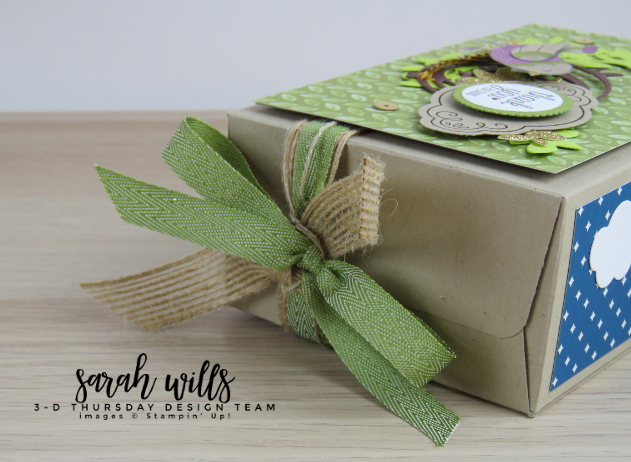
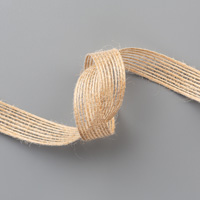
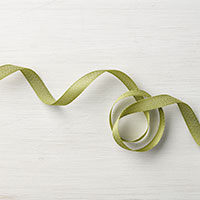
The box is held shut with ribbons – I used Burlap on the bottom which I tied in a knot to hold the box closed and then I added some decor using a piece of the brand new 3/8″ Old Olive Chevron Ribbon tied in a bow and a piece of Linen Thread over the top of that…
Untie the ribbons and this is what is inside…a set of 10 stamped & decorated Notecards & Envelopes ready for giving that I think a teacher is going to find really useful! And Stampin’ Up! make it easy to put together a stack of cards like this because you can buy a set of 20 Notecards & Envelopes for just $6 in either White or Vanilla – find them on pg 195 of the new Annual Catalog – they are a great size and fit absolutely perfectly in this box!
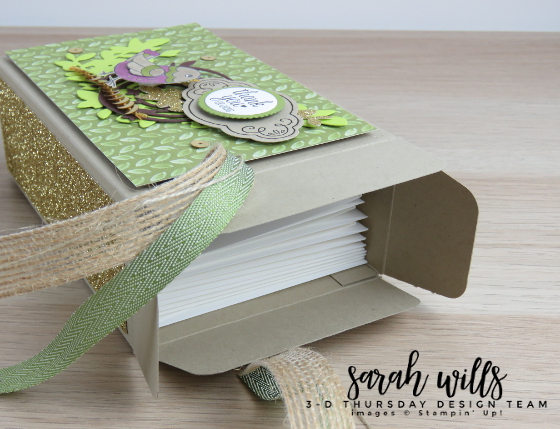
Want to see what cards are inside this box? Not today but come back next week and I will be showing them to you here along with full photos & details!
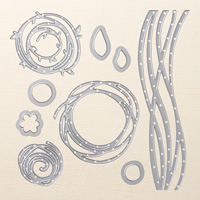
But I can show you how I decorated the outside of my box today and here it is – I wanted the front panel to have a tree theme and so used leafy background paper and some die cut pieces to make the nest and leaves – the nest is made using a die from Swirly Scribbles Thinlits entwined with those lovely leaf die shapes – I popped a little gold & glitter in there too – after all, everything has to have a little bit of sparkle, right?
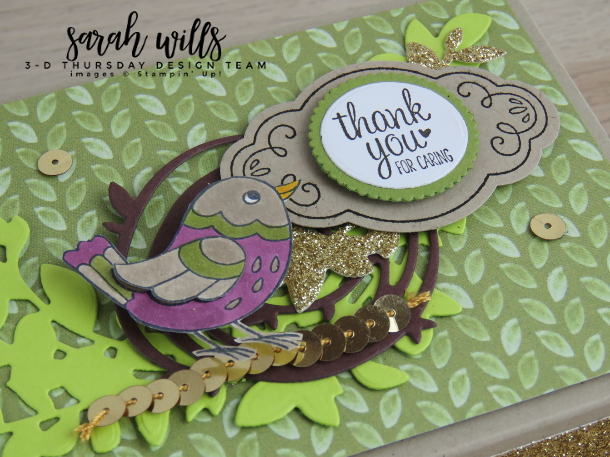
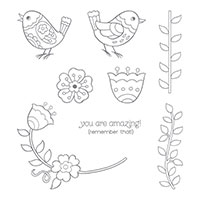
The stamps I used are also all brand new – the bird is from the fab new Host set called Feathery Friends and he has a friend in that set too who is also very cute! I colored him using the colors Crumb Cake, Rich Razzleberry & Old Olive with a splash of Pumpkin Pie for his beak. I wanted him to stand on a branch and so I used a piece of Gold Sequin Trim to create that…
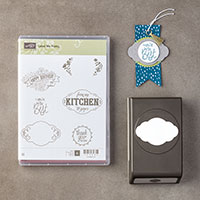
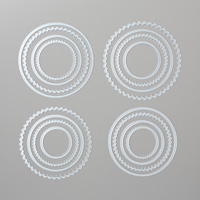
The ‘thank you’ stamp is from Label Me Pretty as is the swirly design stamped beneath it which I punched out using the coordinating Pretty Label Punch and I layered the ‘thank you’ image onto a piece of Old Olive that I shaped using a die from Layering Circles Framelits.
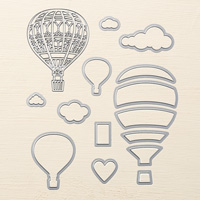
On the top of my box I wanted to create the sky above the tree and used a piece of DSP and some die cut clouds to do this – you can find these cool cloud dies in Up & Away Thinlits and they are super versatile…think not just clouds…but sheep…cotton candy…thought bubbles…if you don’t have them, think about getting them – I find them essential in my stash!
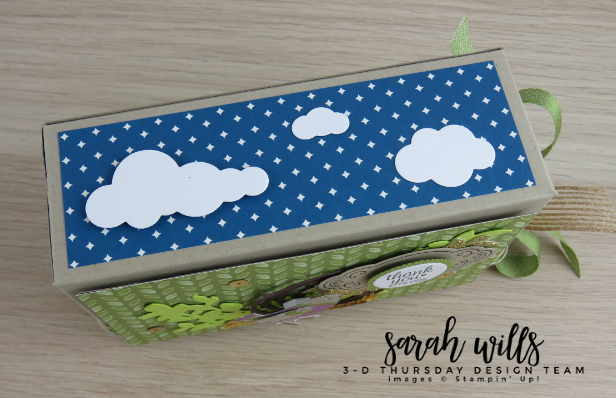
This box was surprisingly quick & easy to make using just the Gift Bag Punch Board and a piece of 12×12 cardstock and you could make quite a bunch of them in a very short period of time – and then you can make your box as simple or as complex as you like with the decorations that you put on it.
Please click on the graphic below to go to the next stop of our Blog Hop – your next hostess is Twila Davis at Stamp a Little Longer – I know she is going to wow you with her Gift Bag Punch Board project – and please be sure you visit all 4 blogs so you can meet all of us!
AND be sure to come back next Thursday – each Thursday we are going to be showing you a new freshly designed 3-D project along with FREE Project Sheet!
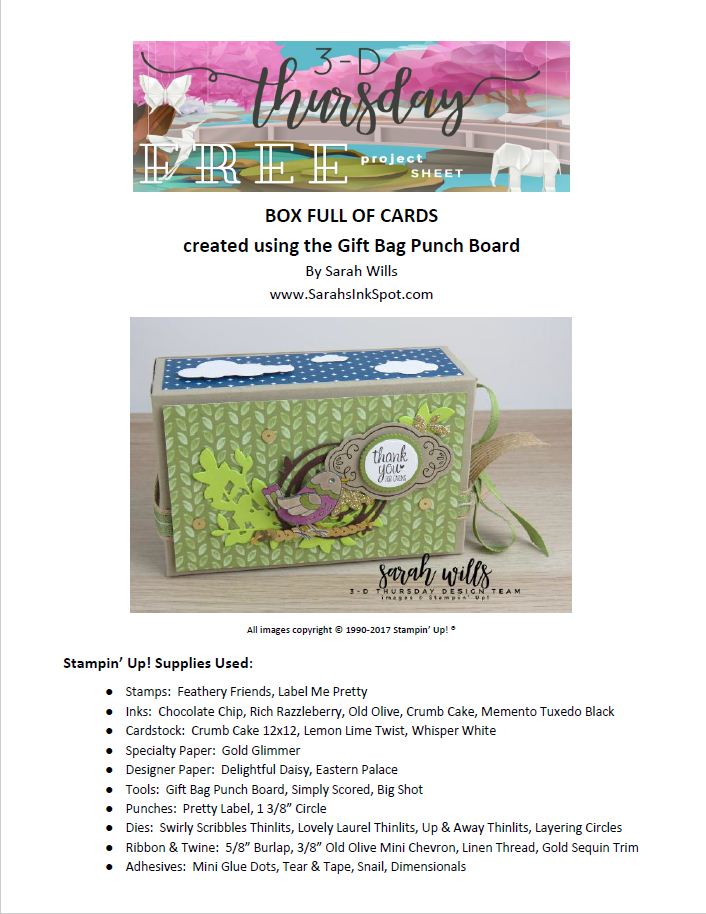
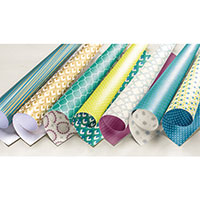
Here are the supplies I used to make this box – click on any of the products below to find them in my Stampin’ Up! online store:
Thank you for visiting…I hope you come back soon!





Awesome box, Sarah! I love 3D projects and am very excited about your new blog!
Wow! I love the box, so colorful and fun
Great project, Sarah! I love it!