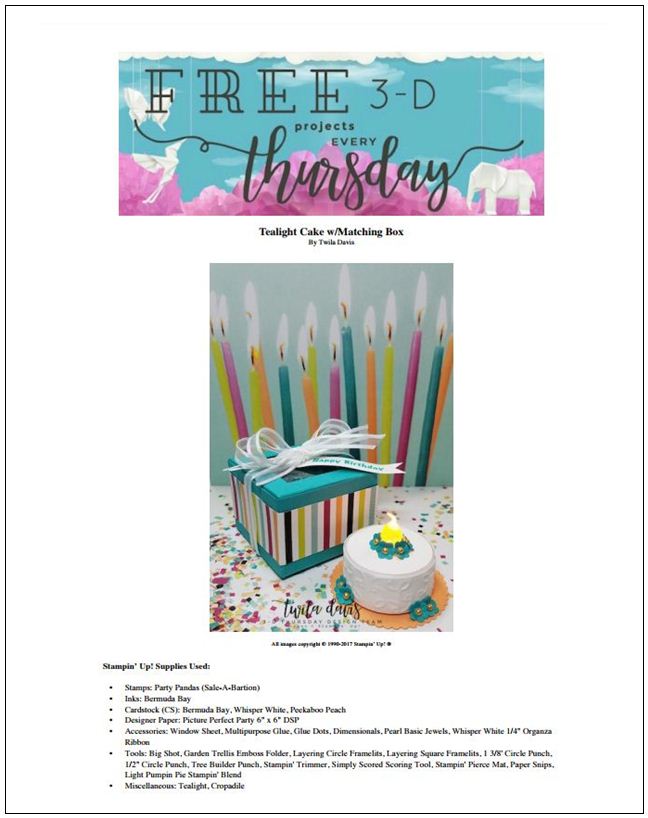
Welcome to 3-D Thursday and this week we have a cute project for you – it’s a Tealight Cake nestled in a matching box!

This week’s project was created by the fabulously lovely Twila Davis over at Stamp a Little Longer and she came up with this sweet project – further down this post you will find a link to the FREE Project Sheet that has step by step instructions & color photos so that you can create your own beautiful project.
And here it is…how cute is this? It’s a sweet tealight cake that pops into a box – what a great alternative to making a card for a special someone for their birthday!
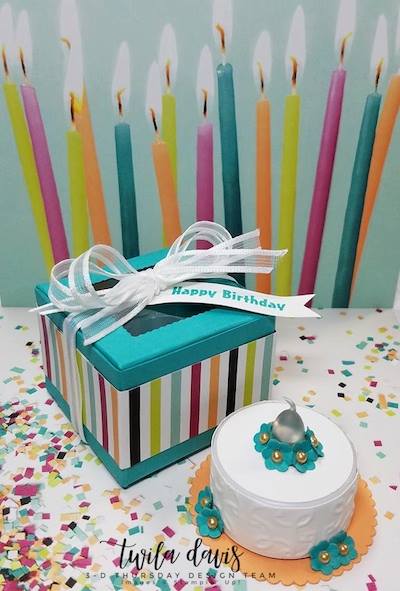
As well as birthdays, I think this would work well for many other celebrations too such as weddings, engagements, retirements and for those of you from the UK I think that this would make a fab Christmas Cake!
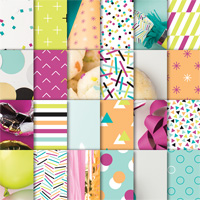
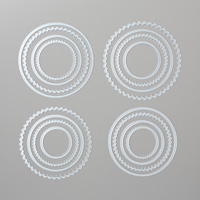
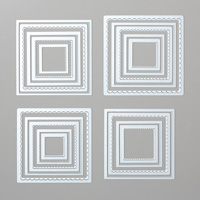
The box is created using Bermuda Bay cardstock and the scalloped square window in the top was created using a die from Layering Squares Framelits. I love the bright & colorful band of paper wrapped around the box which is from Picture Perfect Party DSP featured on pg 5 of the Occasions Catalog.
To get inside, simply take the pretty Organza Ribbon off, open up the box and this is what you see…
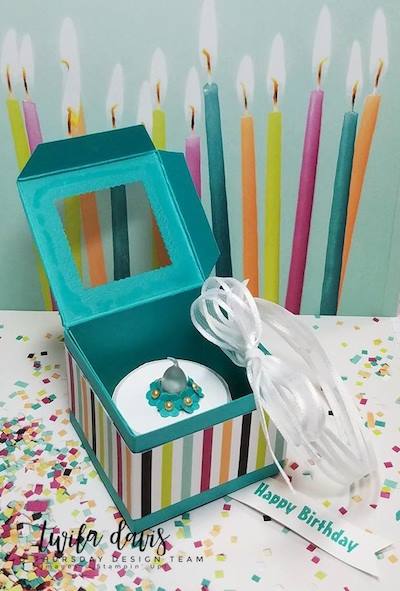
A pretty tealight turned into a cake! The ‘Happy Birthday’ stamp is from Party Pandas which is just one of the stamp sets you can get for FREE during Sale-a-bration – click HERE to find out more.
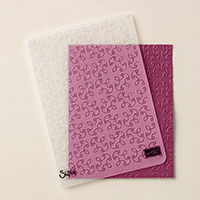
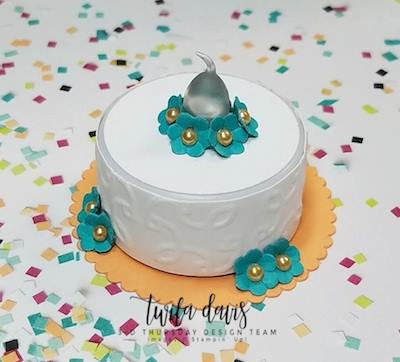
The white cardstock strip wrapped around it was textured using the Garden Trellis Embossing Folder which gives it such an elegant look and check out those sweet flowers…
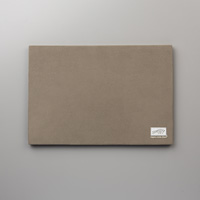
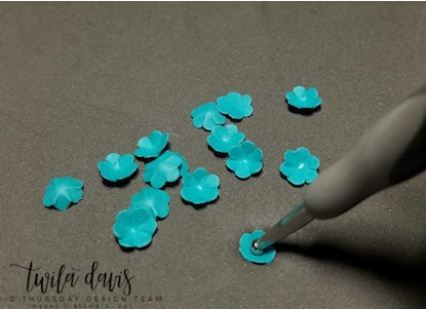
Twila showed a tip on how to indent the centers of flowers quickly and easily on the Project Sheet but I absolutely loved it and wanted to share it here too – you simply lay your flowers out onto the Pierce Mat and use the Score Tool to push down into the center of each – how neat is that?
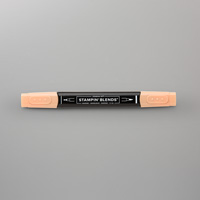
The flower centers are Pearls that have been colored using the Light Pumpkin Pie Stampin’ Blends Marker – another idea that I think is fab – using these alcohol based markers you can color your Rhinestones and Pearls any color you want! Find them all by clicking HERE
And finally when you switch the tealight on, this is what it looks like…
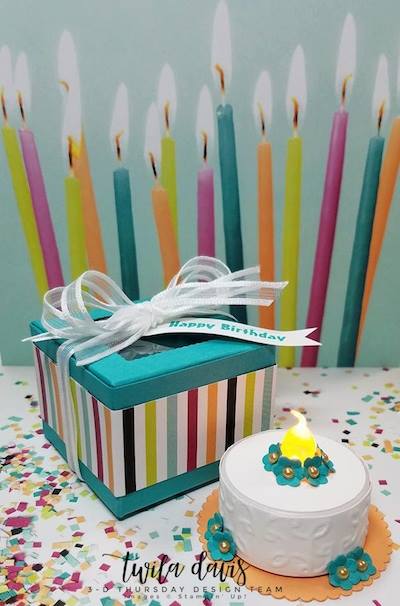
How pretty would that be in the dark? I absolutely LOVE this idea and can’t wait to get going on a few of my own…
WANT THE FREE PROJECT SHEET FOR THIS PROJECT SO YOU CAN MAKE IT TOO? Click HERE to find it – then you can download it or print it out to keep for easy reference!
IF YOU WOULD LIKE FREE COPIES OF THE OCCASIONS/SALE-A-BRATION CATALOGS please CLICK HERE to fill in your mailing details and I will be happy to pop them into the mail to you!
Here are the supplies used to make this project – click on any of the products below to find them in the Stampin’ Up! online store:
Additional supplies used: Tealight, Crop-a-dile
Thanks so much for visiting – be sure to come back next Thursday for the next 3-D project – to make this easy, you can subscribe to my blog using the ‘Get Blog Posts by Email’ button on the right so that new posts will be delivered automatically into your inbox!

Current Specials:
MY NEW FEBRUARY HOST CODE IS HERE GIVING YOU UP TO THREE FREE GIFTS FROM ME! CLICK ON THE BUTTON BELOW TO FIND OUT MORE!
