Welcome back – I hope you enjoyed our 3-D Thursday Team Blog Hop yesterday and got some inspiration on how to use those amazing little tins!
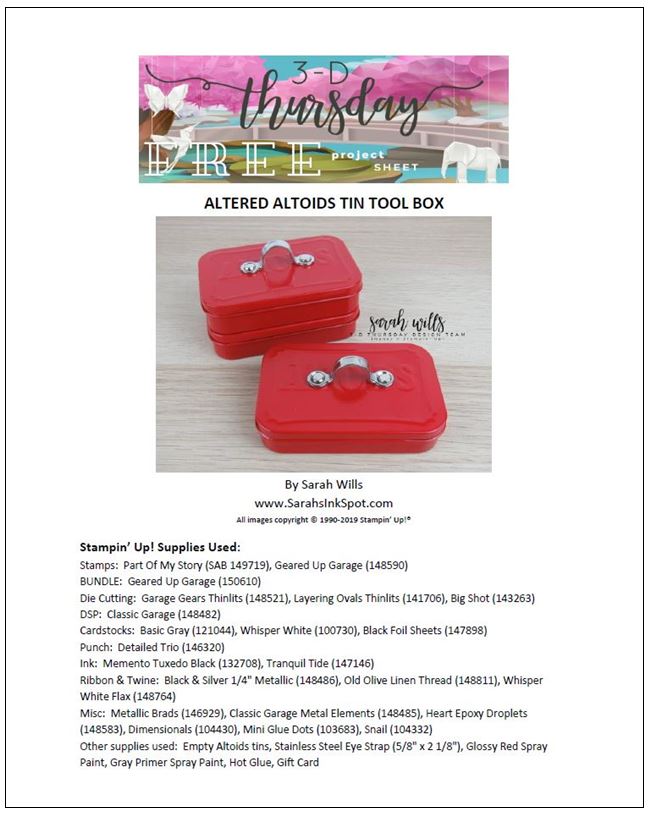
Here are more details of my Tool Box project plus close up photos and my FREE PROJECT SHEET that you can find further down this post – look for the red words to find it!
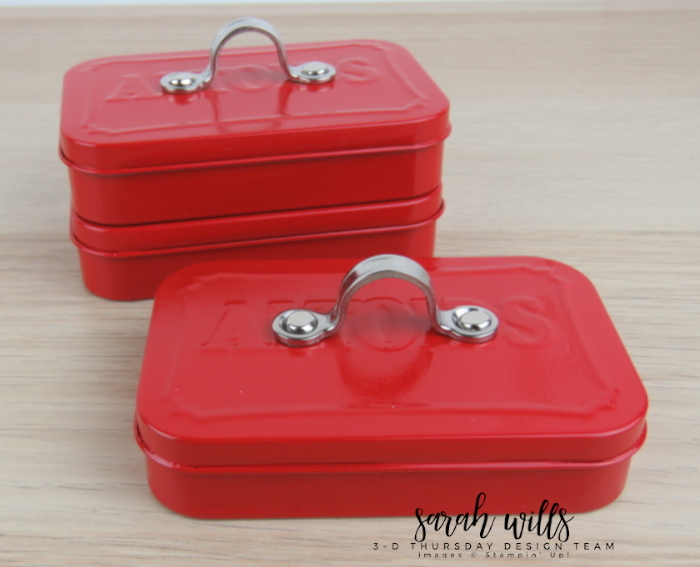
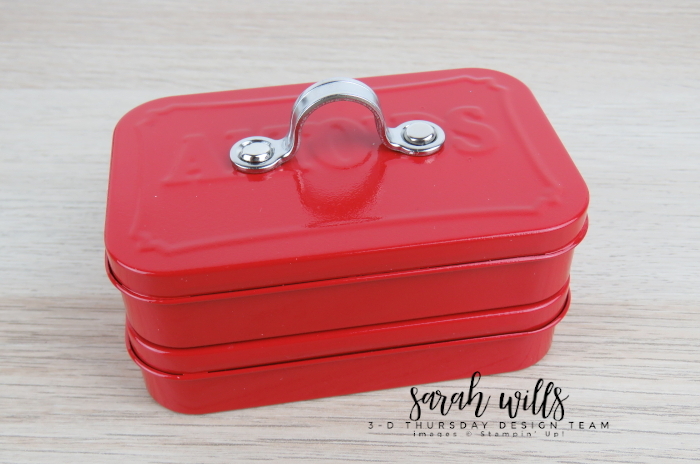
So here are my Tool Boxes – I made a single one and a double stacker…
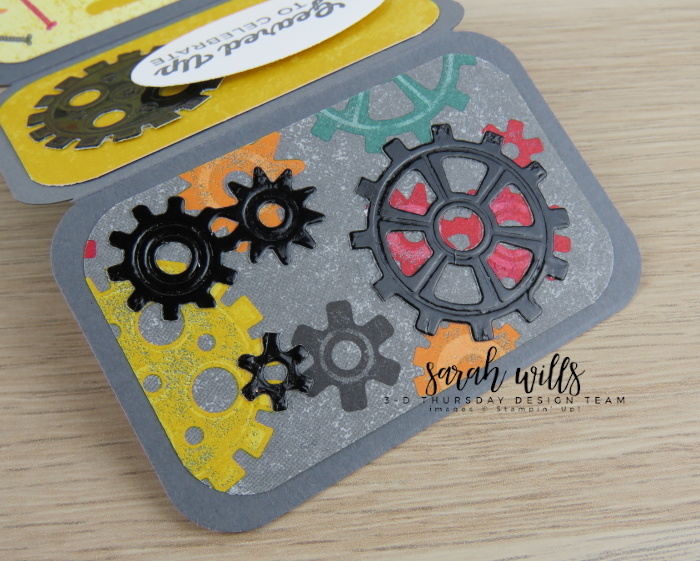
The scrapbook album inserts are created using a piece of 11″ x 3 1/4″ cardstock that you then score at 2 1/8″ intervals and round the corners to get a nicely fitting concertina style insert. Here they are before I adhered them into the tin – one side:
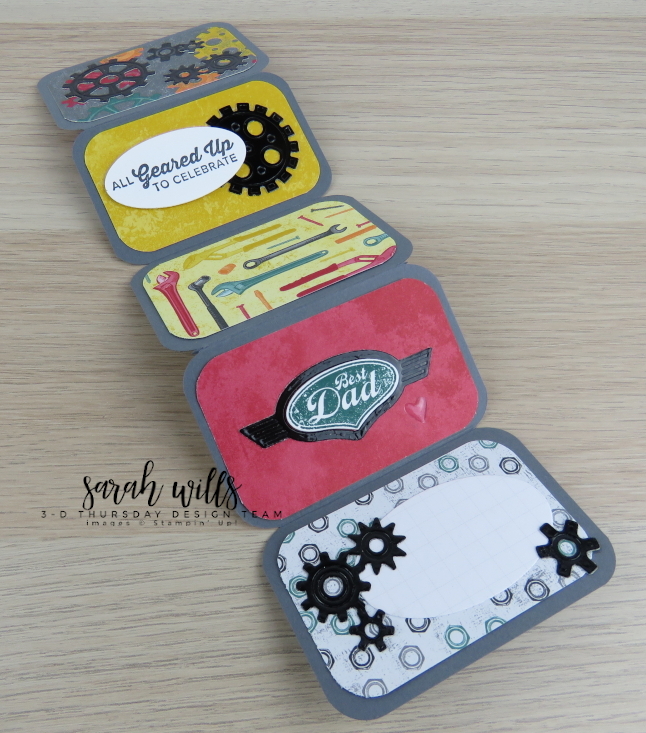
And here is the other:
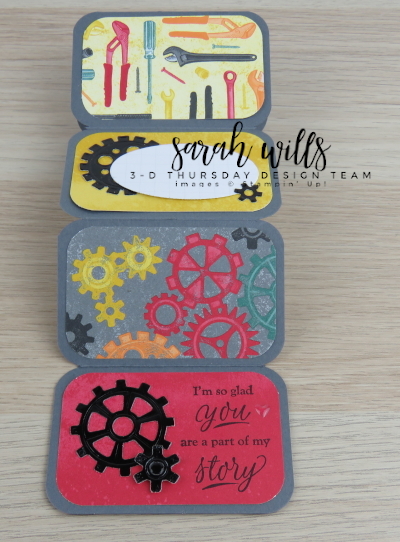
On both sides I have alternating panels of patterned paper so that I can add photos at a later time and then I have a couple of panels for journaling messages – I shaped them using an Oval die and cut them from some leftover Memories & More Grid Paper that I found in my stash, and decorated it with some small cogs…
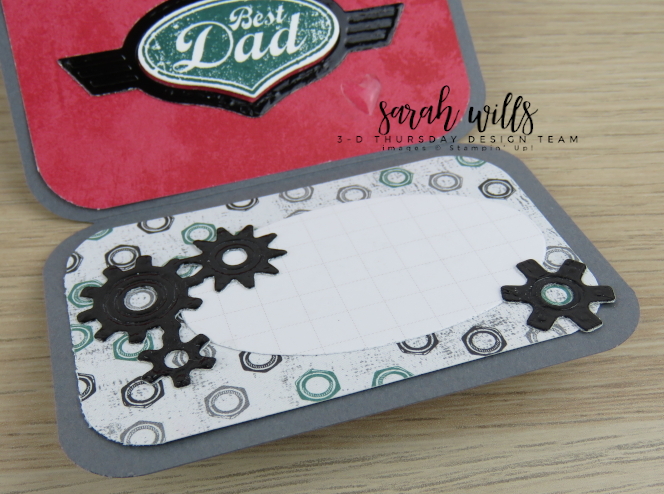
And here is the other journaling panel…
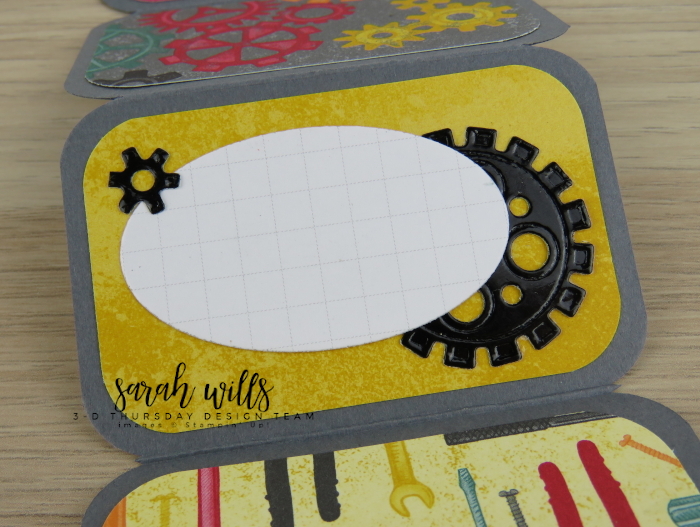
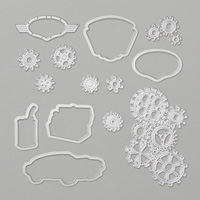
And the other panels I decorated with sentiments and those fantastic Black Foil Paper die cut cogs – see how shiny they are? You can find those cog dies in Garage Gear Thinlits, the link to find them is the supply list below
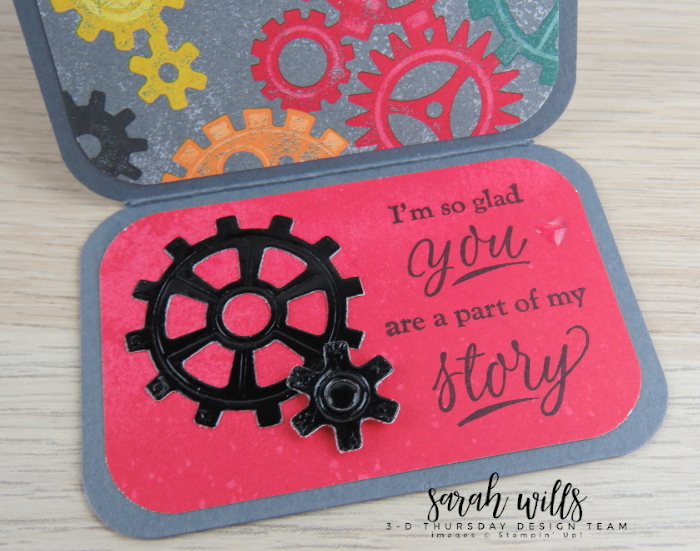
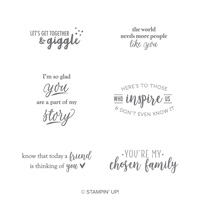
This below is one of my favorite stamps and was perfect to use here – it is from the Sale-a-bration stamp set Part of My Story that you can get for FREE with a $50 order and if you want to take a look at what stamps you get in it, it is the first item in my supply list below…
Another fun stamp from the set Geared Up Garage…
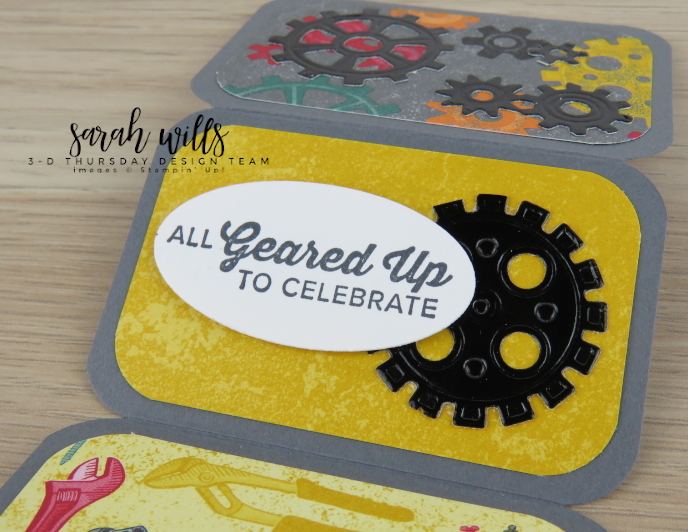
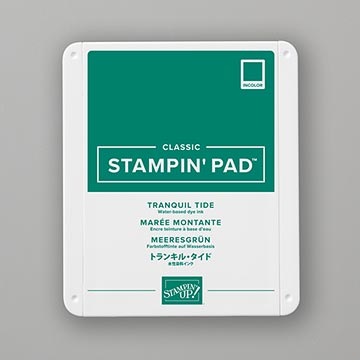
And this has to be my absolute favorite of the bunch – stamped in Tranquil Tide Ink and surrounded by a Black Foil frame set on red paper…
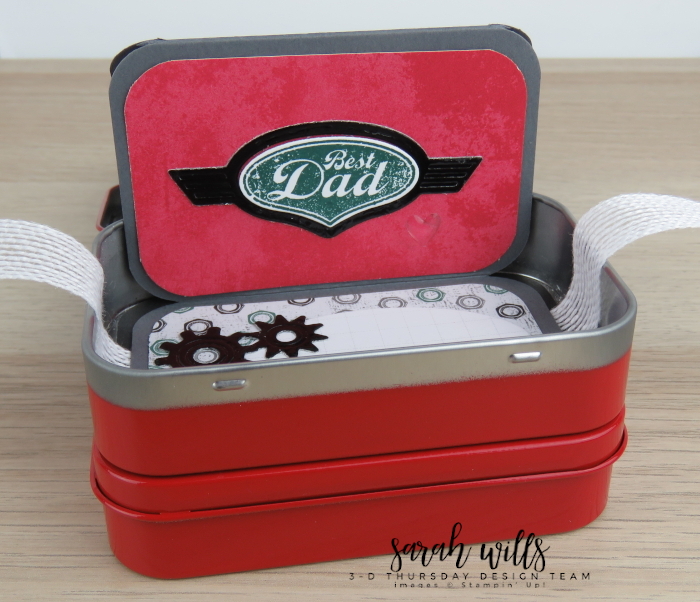
As detailed in my Project Sheet I actually sprayed these tins closed and it worked beautifully – if you keep your paint layers thin, your lid will open and close like normal and look at what a neat line it has where the red paint meets the silver part that is covered by the lid – no longer will I take these tins apart to paint them!
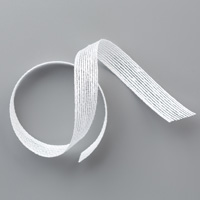
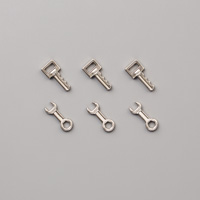
And don’t forget you can bling up any part of it – I choose to add a metal key and wrench tied onto the White Flax Ribbon using a piece of Olive Green Linen Thread – ALL of those items right there can be found in the Occasions Catalog or by clicking HERE
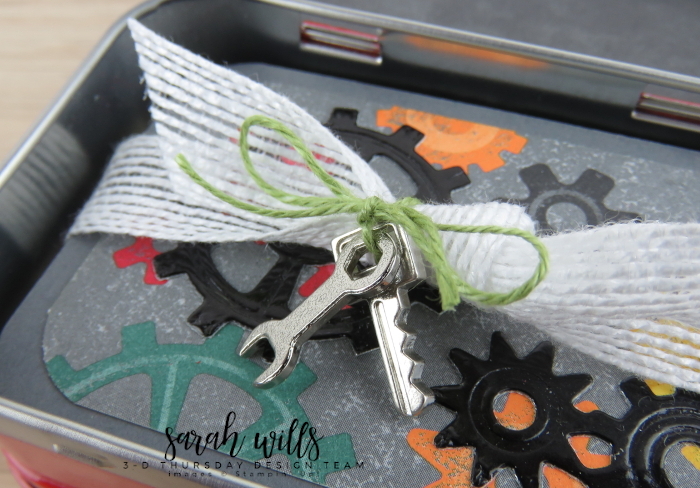
You can make a single Tool Box or stack em up – I love two together because you have room for a gift card and room for some fun scrapbook panels – if you do stack them, I highly recommend that you put your gift card in the bottom box as the top one is likely to be opened way more frequently plus it could be left open on show.
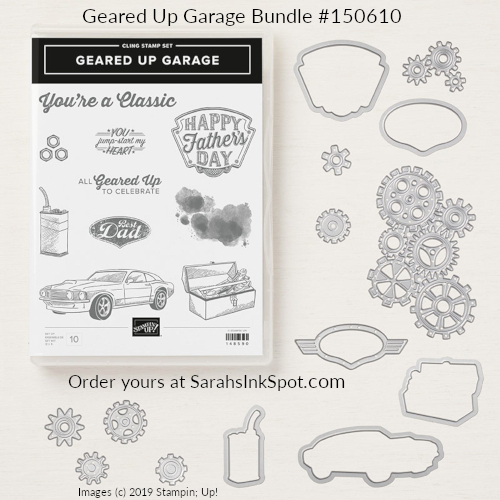
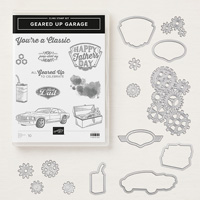
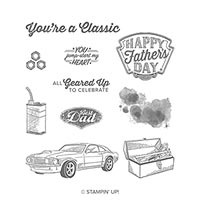
You can find the stamps & dies that I used on this project in the Geared Up Garage Bundle and here is what you get in it – click HERE to find it in the online store:
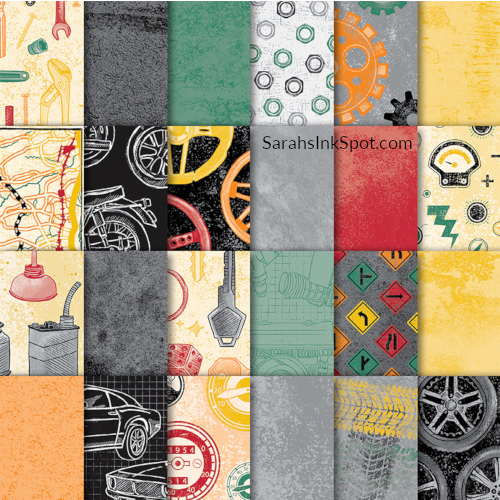
And here are all of those fun papers that I used that come in Classic Garage DSP:
This project was SO MUCH FUN to create and I can’t wait to make more – want to make one too?
CLICK HERE TO FIND MY ALTERED ALTOIDS TIN TOOL BOX PROJECT SHEET!
Here are the supplies I used to make this project – click on any of the products below to find them in my Stampin’ Up! online store:
WANT FREE COPIES OF THE NEW UPCOMING OCCASIONS & SALE-A-BRATION CATALOGS?
Thanks so much for visiting – wishing you a wonderful weekend!

Current Specials:
MY NEW JANUARY HOST CODE IS HERE GIVING YOU A FREE NEWLY RELEASED STAMP SET WHEN YOU USE IT! CLICK ON THE BUTTON BELOW TO FIND OUT MORE!











Your tool box is so darn cute and definitely very creative. Think it would be great for a Valentine’s project as well. I love your idea. The paper you used is on my next order and right down to the little tool embellishments. Now I will have to start buying Altoids! TFS!
This is so dang cute Sarah!!!
what did you use for the metal handle? Oh, you are so creative…love love this…thanks