And it is simply STUNNING! There are many, many amazing new products in it and I can hardly wait to get to show you some of the amazing things you can do with the new goodies…
Ready to see a special little something I created last night using a new stamp set & co-ordinating punch from this fabulous new mini? Read on to see it…it’s cute!
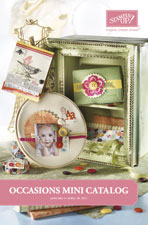
This is what the new Occasions Mini Catalog looks like – to view it online simply click on the picture of it below…
Want a FREE printed copy of this Occasions Mini Catalog? Simply click here to email me your US mailing address and I will get one out to you – PLUS I’ll include a free Sale-a-bration Catalog with it!
And now onto my card that uses the new set Build a Blossom and it’s co-ordinating punch Blossom Petals Punch…to view the new items that I used to make my card, simply click on the blue words which will take you to the online store where you can view and order them.
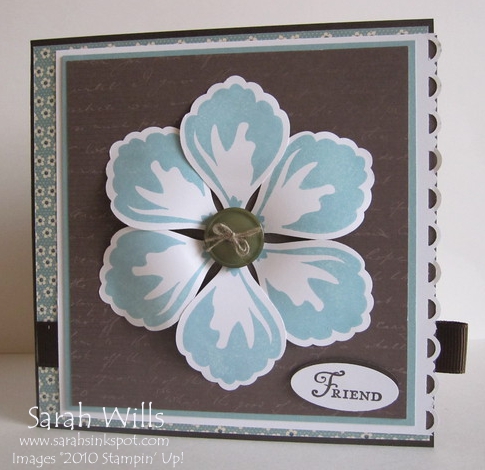
And because it’s Tuesday, I have also incorporated a little Tutorial in here too to help you make those GORGEOUS petals pop off your card! Here is my card…what do you think?
The Stamp Set and Punch are both featured on pg 12 of the Occasions Mini – Build a Blossom is a set of 12 and is available in both Clear and Wood Mount versions – it has a co-ordinating punch called Blossom Petals Punch and you can use both of these together to create some beautiful cards quickly and easily, just like my card above that I made in half an hour…honestly!
I stamped my petals using Baja Breeze Ink onto Whisper White card stock and punched them out using that punch…the stamped images line up beautifully with the punch and you can stamp & punch 5 or 6 of these within minutes…
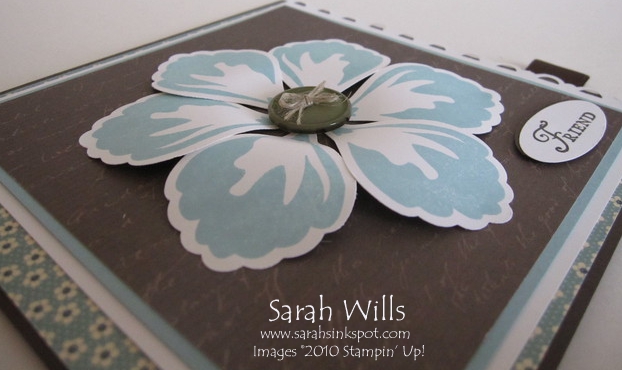
I used a very easy technique to curl the petals to make them really pop out and look very realistic…I added a Designer Button in the center and tied a piece of Linen Thread into a bow to complete my flower – here is a side view so you can see it better…like it?
The Designer Series Papers I used are also from the Occasions Mini – my flower is mounted onto a piece of paper from the pack Botanical Gazette (pg 26) and I used Mini Glue Dots to gently adhere the petals in place – those dots hold them beautifully and are very easy to apply.
Want to see how easy it is to make those curved petals? Click HERE where you will find my free tutorial in my Technique Tutorials section – there is also a printable version too for you to print out & keep!
See that beautiful blue floral paper I used as a background? It’s from the pack Springtime Vintage (pg 15) – and there is even fabric that matches these patterns that you can find on pg 16…cute!
To finish up, I added a sentiment from another new set in the Mini called You’re a Gem which is an extremely versatile set and a bargain at just $11.95 for 8 stamps – I stamped and punched ‘friend’ out using my Oval Punch and I trimmed the edge of my white card stock using my Scallop Trim Border Punch and finally I added a piece of Early Espresso 5/8″ Grosgrain and made a little tab sticking out the side for a neat feature…
I absolutely LOVE how those petals turned out – add some Designer Series Papers and there is one fabulous card!
TO ORDER YOUR STAMPIN’ UP! SUPPLIES ONLINE CLICK HERE!


