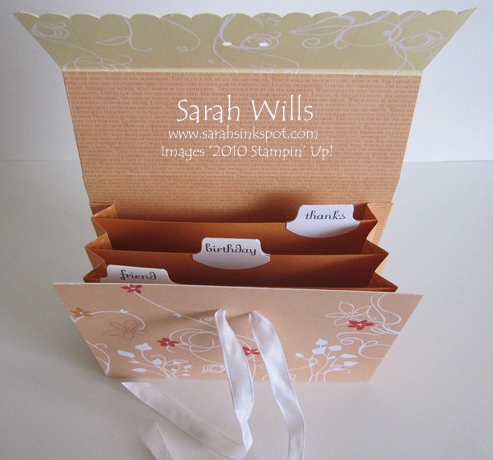
This would make a beautiful gift – it is large enough to hold standard sized cards (4 1/4″ x 5 1/2″), has 3 sections and would make a beautiful holiday gift for teachers, co-workers, friends & family…
You can choose what card types to fill it with and create labels for each divider…I added thank you, birthday and friend cards in mine…
Using Double sided papers make this a very quick and easy project to make but if you prefer, you can use plain colored cardstock and stamp or adhere patterned papers to it.
Here is my tutorial so that you can make your own Concertina Card Holder– at the end of this tutorial you will find a printable version so that you can print it out and keep it for reference.
Base:
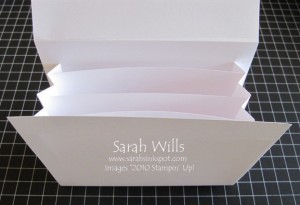
Take a piece of Designer Series Paper or cardstock and cut to be 6″ x 12″…I am using white cardstock in this tutorial but in my example above used some beautiful papers.
Place into your scoring tool or paper trimmer with the score blade inserted – make sure that the longest side (12″) is along the top and score at 4 1/2″, 6 1/2″ and 11″…
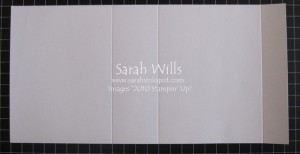 Fold along the score lines and put aside…
Lid:
Take another piece of patterned paper or cardstock and cut to be 6″ x 4″…it can be the same pattern as the piece above or different…
Place into your scoring tool or paper trimmer with the score blade inserted – make sure that the longest side (4″) is along the top and score at 2″ in from the edge…fold…
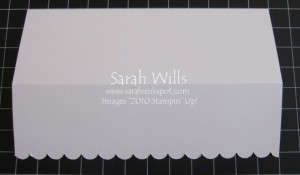
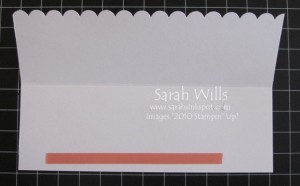
If you wish, you can shape one of the 4″ edges using a Border Punch – this will become the front flap…
Apply a strong adhesive such as Sticky Strip to the back section of this flap…
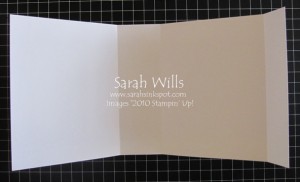
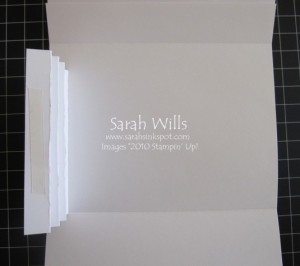
Take the base piece and adhere the lid to the smallest 1″ flap on that base piece…
And this is what you will have…
Sides:
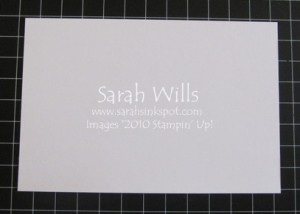
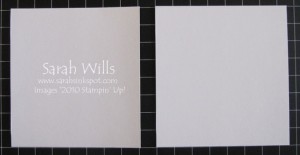
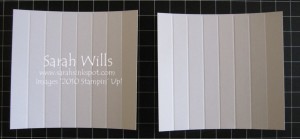
Cut two pieces of patterned paper to be sized 4″ x 3 3/4″ – again, these can be the same pattern or completely different…
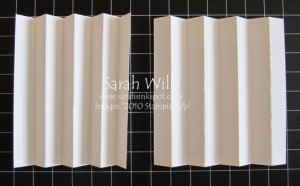
Place into your scoring tool or paper trimmer with the score blade inserted – make sure that the longest side (4″) is along the top and score at 1/2″ repeatedly all the way across..
Fold along each score line for both pieces – use a bone folder to ensure crisp & neat folds…
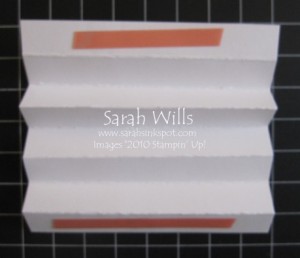
Take one of your pieces of cardstock and apply Sticky Strip to each end…
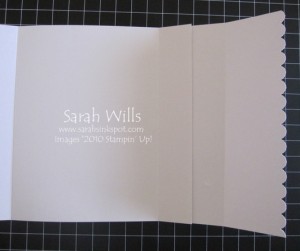
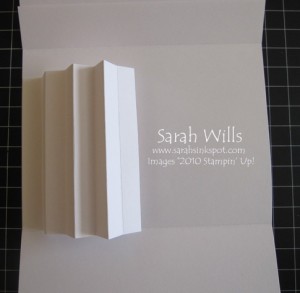
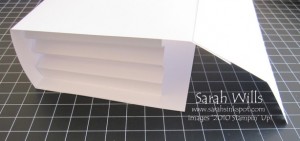
Adhere one side of the side panel to the back of your base piece, ensuring that the side panel butts up to the edge of the base…
Peel away the adhesive wrapper on the front end of the side panel…
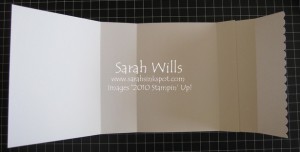
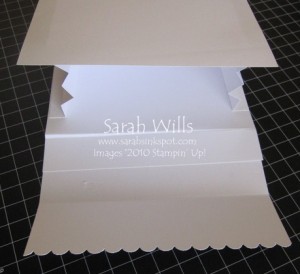
Fold the ‘bottom’ of the card holder up towards you and adhere the end of the side panel to the front base panel…
And repeat for the other side panel…
Inserts:
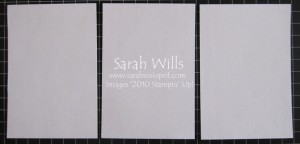
Cut 3 pieces of cardstock in a co-ordinating color to be 5 1/2″ x 3 3/4″…
Make tabs using the punch of your choice and write or use stickers or stamps to label each section…adhere the tabs onto each divider and place them into your base, sliding them into the slots that the concertina side panels make…
Closure:
I used ribbon to close my lid but you can also use a piece of sticky Velcro or a Magnetic closure. To use ribbon, simply take a small Circle Punch and punch holes through your lid – close the lid to the base and using a pencil make marks through those holes onto the base – use your small Circle Punch to punch holes on the base and thread your ribbon through…
And then you can fill your card holder with cards…tie through the ribbon to close the lid and there you have one cute and very useful gift!
I used papers from Sunny Garden DSP, the In Color Patterns Stack and white & Peach Parfait cardstocks. I used stamps from the set Fabulous Phrases to make my card divider labels and punched them out using the Round Tab Punch – I think it turned out cute…
WANT TO PRINT OUT THIS TUTORIAL? PLEASE CLICK HERE FOR A PRINTABLE VERSION WHICH WILL OPEN IN A NEW BROWSER WINDOW!
Please click HERE to view my other Project Tutorials

These will make great gifts!
Thank you! This was fun and so easy to make. Great way to give a cute set of gift cards to friends and family.