Did you come here because you you received this FREE Card Make & Take from me in the mail? Then this is where you will find out how to put it together!
You will have received two make & takes – this one and another featuring a cute line of Snowmen – click HERE to find out how to put your Snowmen card together.
Would you like to receive my two FREE Make & Takes in the mail?
ANYONE who places any order with me during August will receive these two FREE Card Make & Takes PLUS samples from the Holiday Catalog AND a free copy of that catalog should you not already have one!
Place your order by clicking HERE – I will automatically be notified of your order and will get your free goodies out in the mail to you super fast!!!
Who can order with me? EVERYBODY – existing customers and new customers…everyone!
You have the pre-cut cardstocks and stamped image in your kit – all you need to add are adhesives, time, maybe an extra embellishment or two, as wished and the card base.
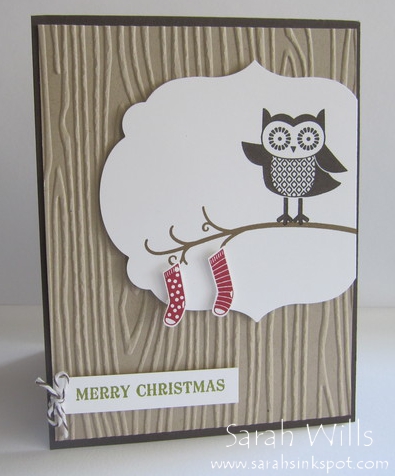
This Owl Card features a beautiful brand new stamp set that you can find on pg 13 of the Holiday Mini Catalog – it is a called Owl Occasions and is super cute – it features stamps that are suitable for other occasions during the year giving it lots of versatility.
Owl Card
Take out all the components of your Owl Card Kit -you have all supplies that you need to make it…
Let’s assemble your card:
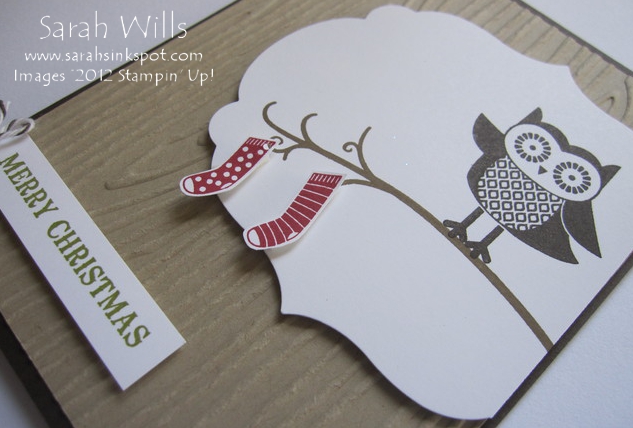
Take your piece of White cardstock that has those stamped images on it – the owl and the branch – it was shaped using my Big Shot and a die from Labels Collection Framelits (pg 191).
Take your Crumb Cake background – I textured this using a brand new Embossing Folder called Woodgrain that you can find on pg 33 of the Holiday Catalog – it is simply PERFECT for fall and winter crafting.
Adhere your owl layer onto that woodgrain background using Dimensionals to make it pop out…
Next take your stamped stockings – I punched them out using my Oval punch to give you the option to simply attach that straight onto your card or you can cut those stockings out like I did, and attach them individually – again, I used Dimensionals to do that.
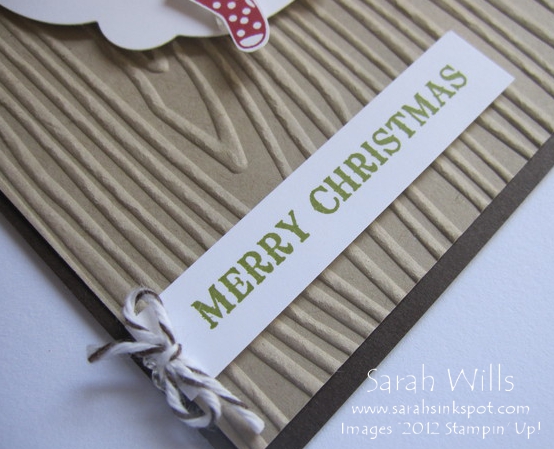
Then take your sentiment and adhere it to wherever you want it to be on your card – I chose the lower left corner to balance out the other layer.
And finally you will have a piece of Bakers Twine in either Early Espresso or Cherry Cobbler (pg 172) – I tied mine into a bow and attached it next to my sentiment – you can do the same or attach it to another part of your card – your choice!
And finally attach your card to a base – I used Early Espresso but any other colors featured on the card would work perfectly – Cherry Cobbler, Old Olive or Soft Suede…
Got questions? Email them to me by clicking HERE


