I hope you enjoyed the Inky Friends Blog Hop this past weekend and that you came away with some inspiration for those product suites…
In the post below you will find a few more details about the two projects I showcased along with FREE Project Sheets for each – they have all measurements, colors and supplies that I used to make each one of them – just look for the red words and click on the link – and then you can download or print them for reference.
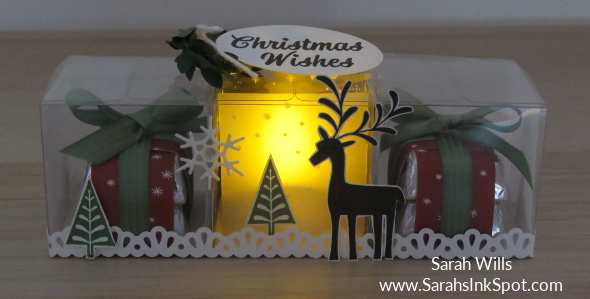
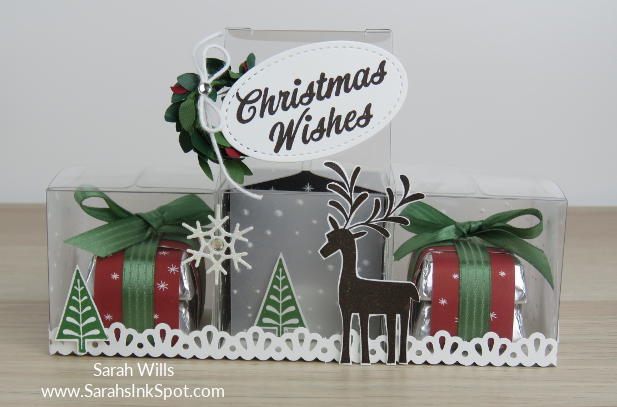
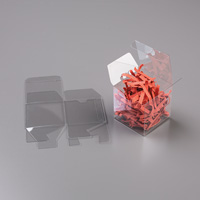
I used products from the Be Merry Suite for my projects – first up was my row of three Clear Tiny Treat Boxes into which I popped some gift wrapped Hershey Nuggets and a tea light in the center…
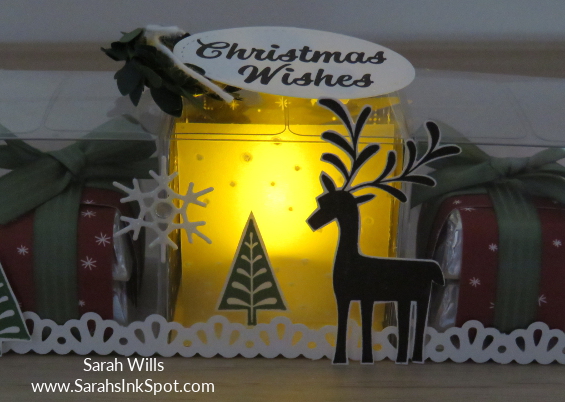
You could also pop a gift card on the top under the tag if you like to make it even more of a gift – here is what it looks like all lit up…
Isn’t that pretty? I love that warm glow! The tea light is very easy to get out as the tag on the top only covers the center lid – simply pull open that lid and it folds up cleanly and with no damage to the tag – I also happen to love how it looks when it’s open – you could display it like that too!
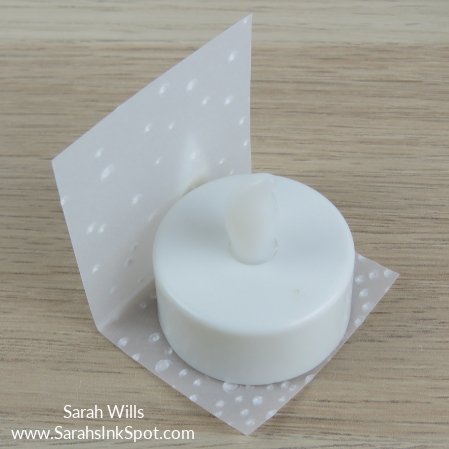
Then to turn the tea light on/off, you simply pull out it out – it is attached to a piece of embossed vellum by a glue dot on the front – that way it stays in place in the container but you can still easily access the on/off switch under the tea light…
Then you pop it back into the box and close the lid and voila – let there be light! I also love how the reindeer is silhouetted in the warm glow…it’s making me feel even more festive!
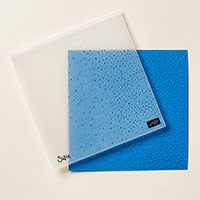
And here is a closer look at one of the end boxes – I made a panel that looks like falling snow that goes around all 3 sides of the end boxes to match the tea light holder – to create this I used a piece of vellum cardstock and the Softly Falling Embossing Folder – quick, easy and so effective!
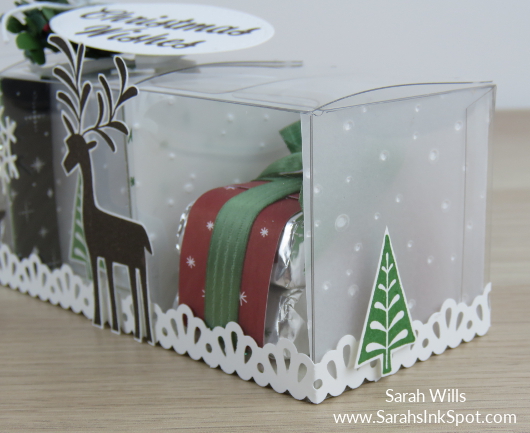
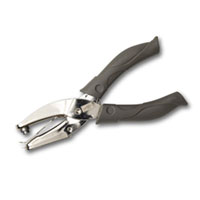
That bottom trim is made using the Decorative Ribbon Border Punch which is sooo versatile and fun to play with and I wanted to add a tree to each end to keep my woodland theme going all the way around.
WANT MY PROJECT SHEET FOR THIS ITEM? It has a full list of items I used to create this project along with step by step instructions! Click HERE to find it – then you can download it or print it out to keep for easy reference!
Here are the supplies I used to make this item – click on any of the products below to find them in my Stampin’ Up! online store:


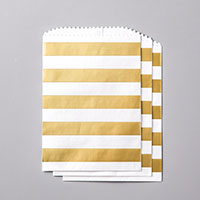
And now onto my second project, the Gold & White Striped Treat Bag…simpler than the one above, but looks fabulously elegant thanks to the beautiful striped treat bag and gold accessories!
Oh my how I love working with coordinating accessories – Stampin Up makes it so much easier to put together projects like this because you know they are going to match and look fab!
That big beautiful Merry Christmas creates quite the feature alone but add in a few gold accessories and it really steps it up…
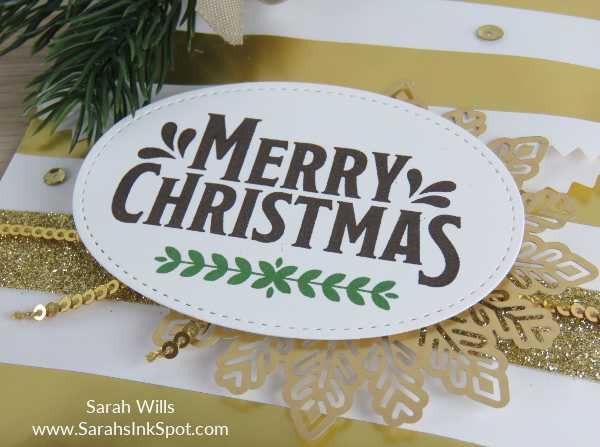
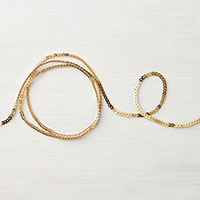
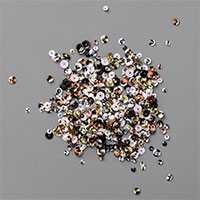
The snowflake is from Foil Snowflakes that are debuting in the Holiday Catalog on September 1st and the Mini Sequin Trim & Gold Glimmer Paper are both from the Annual Catalog…
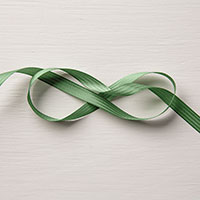
And see that greenery? Yup, another new item coming on the 1st – those Sprigs are great to work with and you can easily cut them with scissors if you want to shape them – I trimmed off the back bristles so that they laid flatter to my bag…
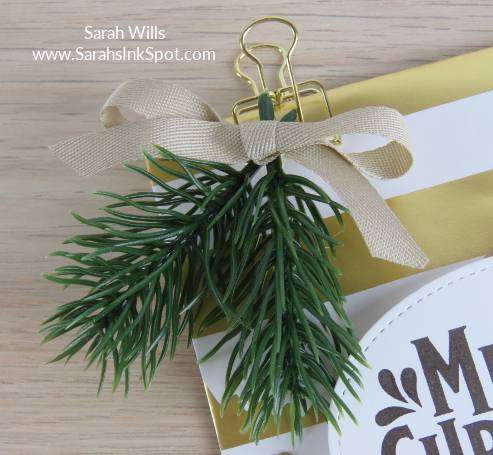
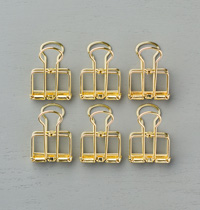
I used a little bit of hot glue to hold them together and then onto the Gold Binder Clip – that clip holds the bag closed and once you take it off, you lift the flap up to access the goodies inside – I positioned the front stamped panel so that it won’t be disturbed when opening and closing the bag.
I also modified this Treat Bag because I didn’t want a seam showing on any part of the front panel but wanted a flap over the front – want to know how I did that? It’s detailed on my Project Sheet!
WANT MY PROJECT SHEET FOR THIS ITEM? Click HERE to find it – then you can download it or print it out to keep for easy reference!
Here are the supplies I used to make this item – click on any of the products below to find them in my Stampin’ Up! online store:


Thanks so much for visiting – wishing you a wonderful week!

Current Specials:
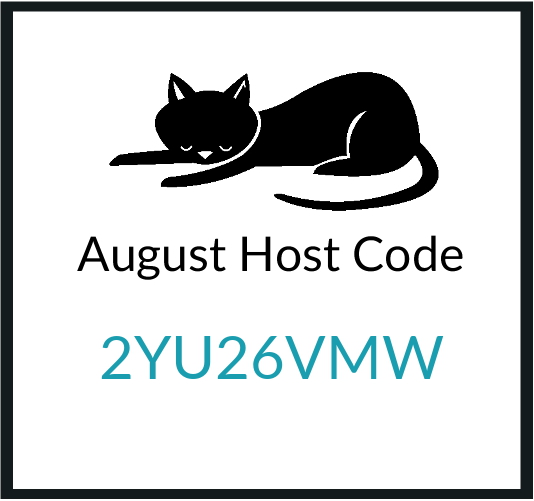
USE MY AUGUST HOST CODE to get yourself a FREE roll of ANY Stampin’ Up RIBBON of your choice – click HERE to find out more!

Sarah, thank you so much for sharing this with us and for the ability to pdf or download the instructions. I am going to so enjoy making these for Christmas.
Sarah! I love it even more with the tea light lit up! Fantastic idea!