I hope you enjoyed the Inky Friends Blog Hop this past weekend and that you came away with some inspiration for those fab new Fall themed Holiday Catalog products…
In the post below you will find a few more details about the two projects I showcased AND a bonus card along with FREE Project Sheets for all three – they have all measurements, colors and supplies that I used to make each one of them – just look for the red words and click on the link – and then you can download or print them for reference.
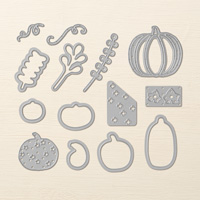
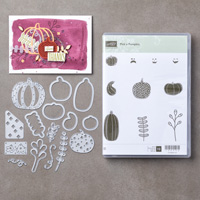
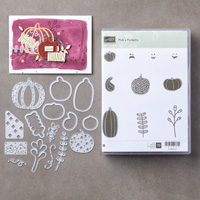
I used stamps from Pick a Pumpkin and the coordinating set of dies Patterned Pumpkins Thinlits for my projects – you can purchase the stamps & dies separately or both together as a Bundle and save yourself 10% – click HERE to find them.
First up I am going to show you my bonus card…
I wanted to keep it pretty clean & simple because whilst I love to make more complicated cards, that doesn’t help when the holidays roll around and historically I never quite manage to get all my cards given because I haven’t finished working on them!
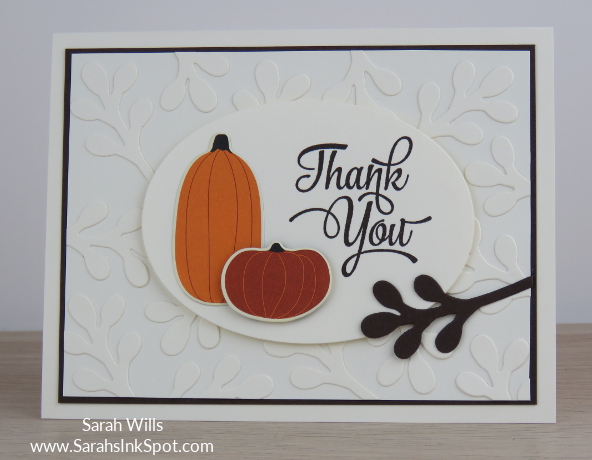
And so I decided that this year WILL be different! I designed a Thanksgiving card that I can batch make and that is portable so that I can work on it ‘on the go’ whilst waiting for my kids at their after school activities.
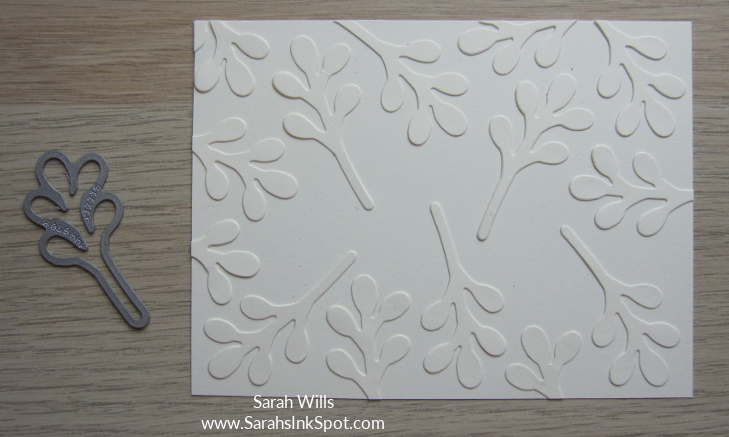
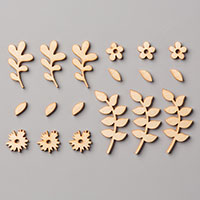
I used a die to create that raised background – it’s a leafy stem die from Patterned Pumpkins Thinlits and I cut a bunch of shapes and adhered them to a piece of card stock with the Fine Tip Glue Pen – I then trimmed the edges to cut off the pieces sticking out and this is the result…
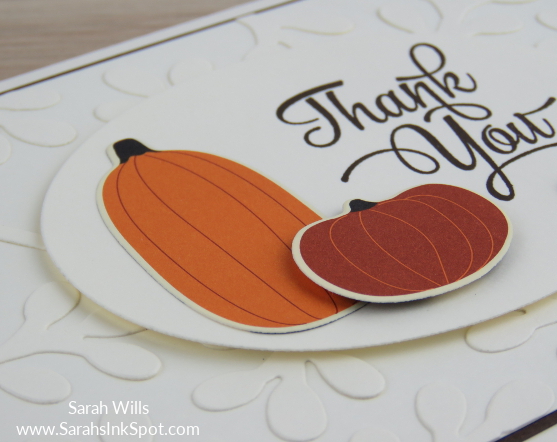
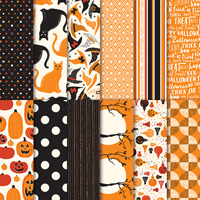
I then die cut two pumpkins out of a sheet of Spooky Night DSP and added them to my oval layer along with a stamped ‘Thank You’…
Did you know that there are dies in Patterned Pumpkins Thinlits that PERFECTLY cut out the pumpkins on that sheet of Spooky Night DSP? It’s true! Here you can see the four of them – how awesome is that? And look how many you can cut out of one sheet!

To batch make cards, I die cut all my pieces in one go (I like to watch movies while I do this !) and then I put all the pieces into a divided tray I found at Ikea (the Antonius basket insert) along with essentials like glue & Snail etc and that way I can work on my cards at home or grab the tray and take it out to the car to work on the go which works really well for me running around after the kids!
WANT MY PROJECT SHEET FOR THIS CARD? It has a full list of items I used to create this project along with step by step instructions! Click HERE to find it – then you can download it or print it out to keep for easy reference!
Here are the supplies I used to make this item – click on any of the products below to find them in my Stampin’ Up! online store:


From the weekend hop, first up is more info about my card that features a pretty blue die cut pumpkin…
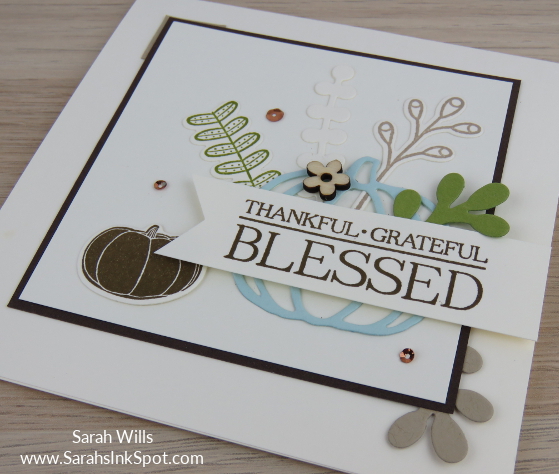
My card uses the colors Very Vanilla (with the Thick version for the base), Early Espresso, Soft Suede, Crumb Cake, Old Olive and Soft Sky for that blue pumpkin.
I love how the dies coordinate so perfectly with the stamps and that you can use them either to cut out stamped images or simply cardstock – I used a mix of both on my card and love how both look!
I added a little square of Crumb Cake tucked under the top left of the layer and a leafy stem under the bottom right to give the center panel a little bit of a framed look.
Here is a closer look at that panel…
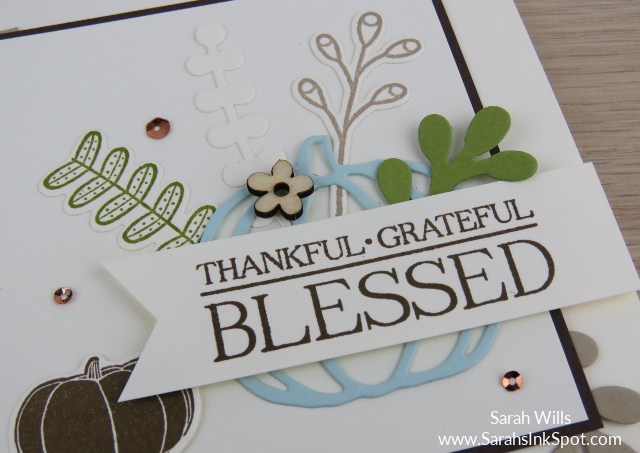
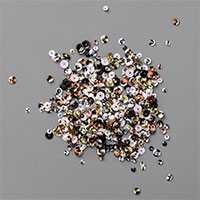
I used a wood flower from Touches of Nature Elements and dotted around a few copper sequins from Metallics Sequin Assortment – I love the look of copper – it just fits so well on Fall projects!
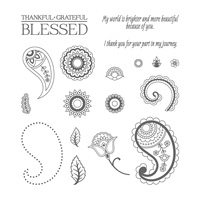
The banner uses a large stamp from Paisleys & Posies and I shaped it with the Banner Triple Punch.
WANT MY PROJECT SHEET FOR THIS CARD? It has a full list of items I used to create this project along with step by step instructions! Click HERE to find it – then you can download it or print it out to keep for easy reference!
Here are the supplies I used to make this item – click on any of the products below to find them in my Stampin’ Up! online store:


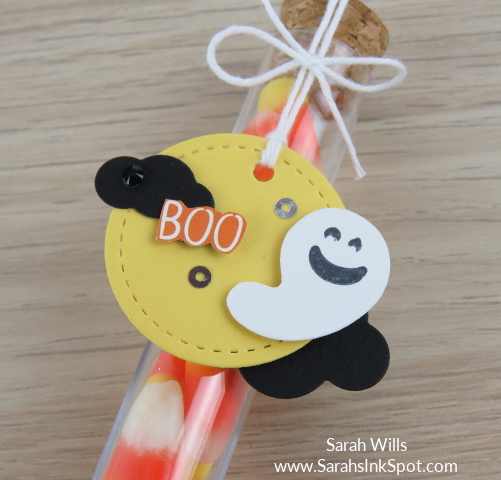
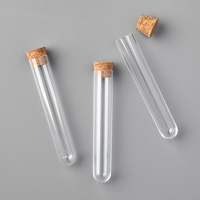
And now onto my second project, those Test Tube Treats with cute ghostly toppers…

I looped my bakers twine around the tag on each and then took it up and over the cork and secured it on the back with a little bit of Scotch tape – this just makes sure that the cork doesn’t fall out and the candies stay inside!
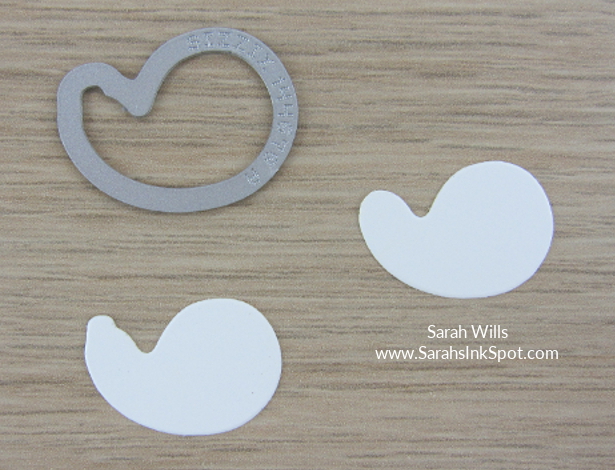
The ghost shape is super easy to make using the gourd die from Patterned Pumpkins Thinlits – simply use that die to cut a shape out of white cardstock and round off the smallest end with sharp scissors – the shape on the right is what you will end up with…
If you want a sad face on your ghost, you simply stamp a face using a stamp from Pick a Pumpkin – but if like me you want it to have a smiley face for a happy treat, you use masking tape to do this – I have detailed step by step instructions with photos on my Project Sheet that you can find by clicking HERE
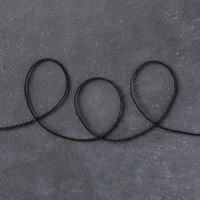
The spooked Jack-o-lantern tag uses Daffodil Delight for the yellow base which I shaped using the smallest circle die from Stitched Shapes Framelits and I attached it to the tube using Basic Black Solid Bakers Twine.
The jack-o-lantern is from a sheet of patterned paper in Spooky Night DSP which I cut out using a die from Patterned Pumpkins Thinlits…what makes me chuckle about this one is that it looks like the ghost is waving an arm out behind the pumpkin to scare him even more – BOO!!!
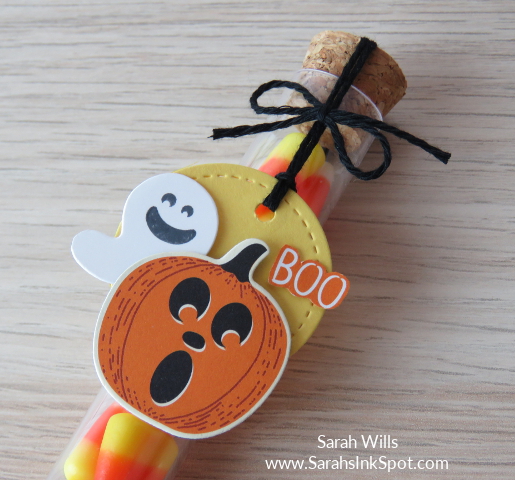
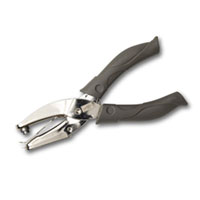
The ‘boo’ on both of the tags is cut from another sheet of paper that you can find in Spooky Night DSP – just be sure to use sharp scissors such as Paper Snips to make this easier.
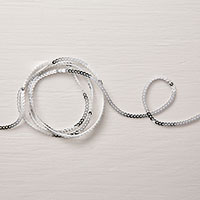
The Ghost flying through black clouds tag uses the same base but this time I attached it with Whisper White Solid Bakers Twine.
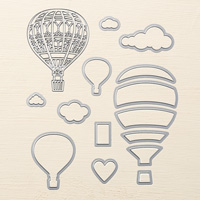
I used two dies from Up & Away Thinlits to make the black clouds and added a Black Rhinestone Jewel to the top one. Then I added the ghost using a Dimensional and a couple of Silver Mini Sequins from the trim to complete it…
If you want to purchase any of the Treat Tubes I urge you to do so as soon as you can, especially if you want to use them for Halloween treats, because there is always the risk that they will go into backorder status – I hear that they have been very popular so if you want any of them, grab them now!
WANT MY PROJECT SHEET FOR THESE TUBE TREATS? It has a full list of items I used to create this project along with step by step instructions! Click HERE to find it – then you can download it or print it out to keep for easy reference!
Here are the supplies I used to make this item – click on any of the products below to find them in my Stampin’ Up! online store:


Thanks so much for visiting – wishing you a wonderful week!

Current Specials:
USE MY SEPTEMBER HOST CODE to get yourself a FREE PACK OF HOLIDAY CATALOG EMBELLISHMENTS of your choice – click HERE to find out more!