I hope you enjoyed the Inky Friends Blog Hop this past weekend and that you came away with some inspiration for those fab new Christmas & Holiday products that are in the Holiday Catalog…
In the post below you will find a few more details about the two cards I showcased AND a little bonus item along with FREE Project Sheets for each of the cards – they have all measurements, colors and supplies that I used to make each one of them – just look for the red words and click on the link – and then you can download or print them for reference.
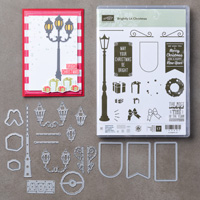
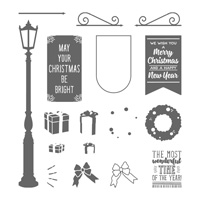
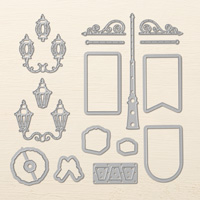
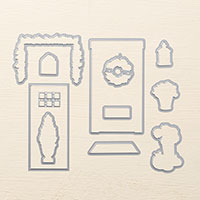
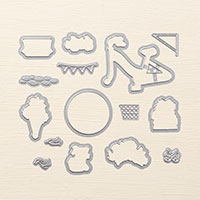
I used stamps from Brightly Lit Christmas and the coordinating set of dies Christmas Lamppost Thinlits as the basis for my cards – you can purchase the stamps & dies separately or both together as a Bundle and save yourself 10% – click HERE to find them.
First up is my bonus item that I wanted to show you…I haven’t scrapbooked for a long time but when I realized that you can use the scrolly swirly dies in Christmas Lamppost Thinlits to create a frame for a layer or a photo, my scrapbooking mojo got all fired up LOL!
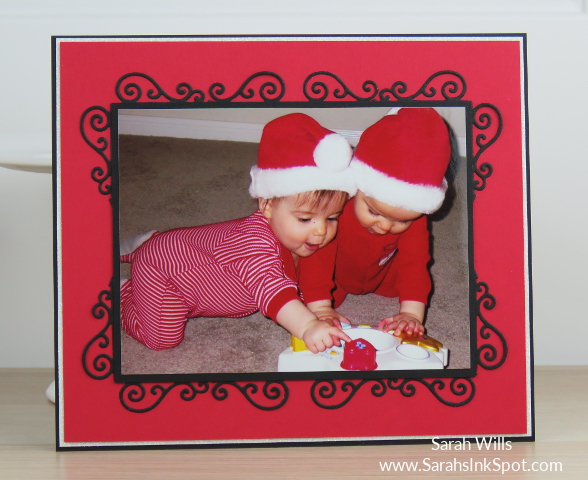
And I couldn’t resist pairing it with this photo…cute eh? One of my favorite photos of my girls when they were babies and they are now in high school (sigh!)…now this is not a finished scrapbook layout but I didn’t want to clutter it up with embellishments so that you get to see exactly what that frame looks like ‘in the raw’.
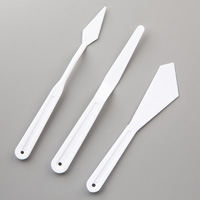
I used the two swirly dies to cut my black shapes and then I cut a black mat and attached it to the red base. I then used my glue pen to pop the swirly bits in place along the edges. If you turn your head 90 degrees on that photo above you can see how it would look vertically – just a beautiful effect!
And how cool would this be for Holiday cards? For mats and if you send out photo cards, you could use these swirls to create frames for your photos!
Here’s a closer look – to make it neat, once I had all the swirly bits glued down, I cut another black mat just 1/8″ larger that the first and adhered it in place over the top – this covers any gaps and joins for a nice clean look…
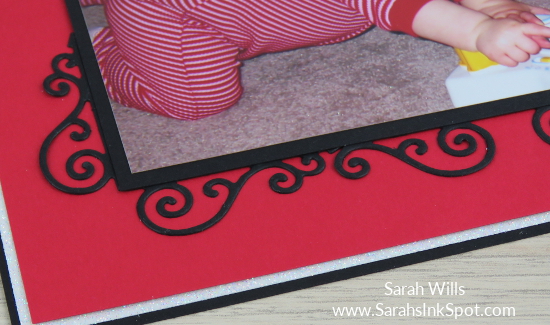
Oh that photo makes me smile :-)
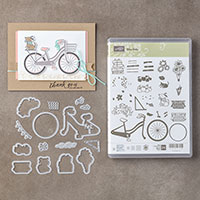
Going back to my blog hop cards – first up we have the lamppost and bicycle card…
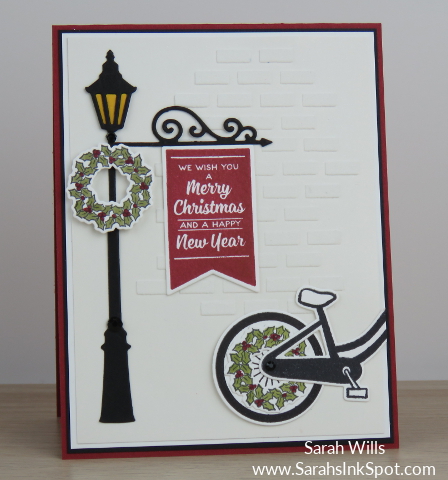
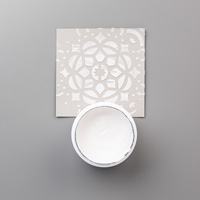
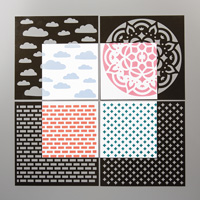
I used Embossing Paste and the brick wall stencil from Party Pattern Decorative Masks to create that background and WOW is that fun to do! If you haven’t used the Embossing Paste yet, you have to – it is simply fun times!
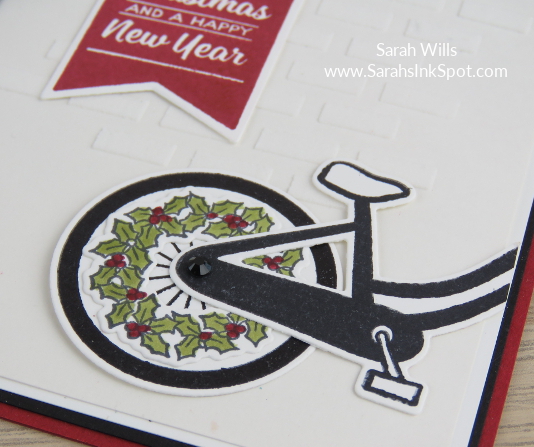
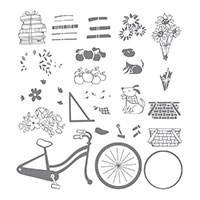
The bicycle components were stamped and die cut using items from the Bike Ride Bundle and when I realized that the holly wreath would fit inside the wheel, that was decided! I used a stamp & die from the At Home With You Bundle to make it…
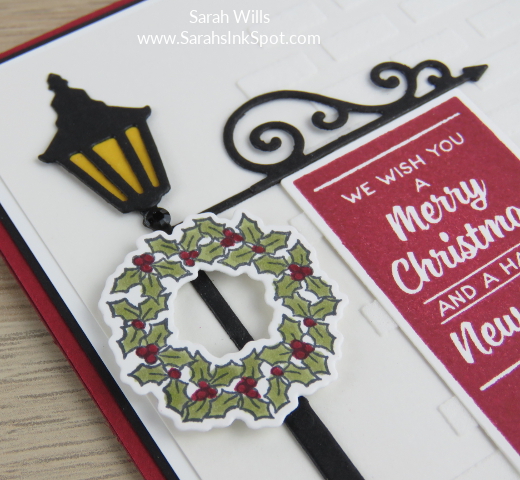
And here is a close up of the beautiful lamp, banner and another wreath…I colored in the wreaths with the NEW upcoming Stampin’ Blends – yup, alcohol markers are coming back baby – yay!
I popped some Black Rhinestone Jewels onto the stem of the lamp and also the center of the bike wheel for little finishing touches and love how this card turned out…
WANT MY PROJECT SHEET FOR THIS CARD? It has a full list of items I used to create this project along with step by step instructions! Click HERE to find it – then you can download it or print it out to keep for easy reference!
Here are the supplies I used to make this card – click on any of the products below to find them in my Stampin’ Up! online store:
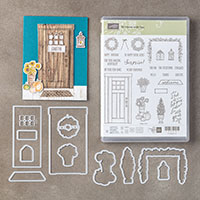


And here is my second card…
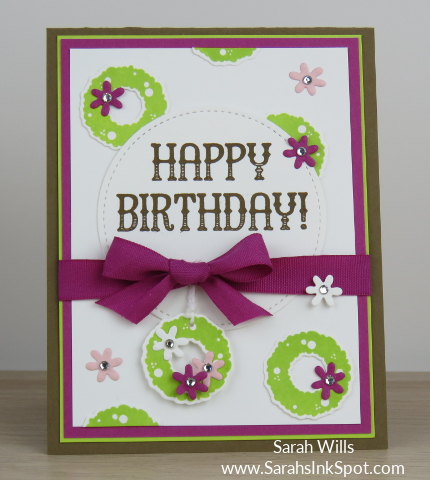
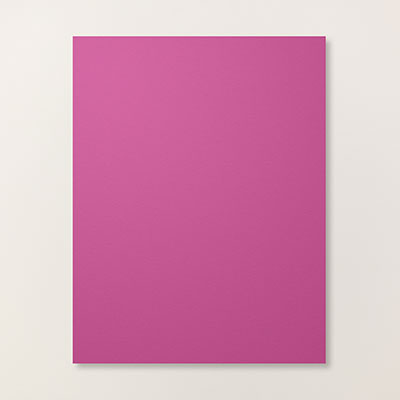
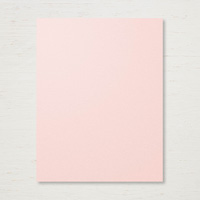
I love how the colors on this card work together nicely – Soft Suede, Lemon Lime Twist, Berry Burst, Powder Pink and Whisper White.
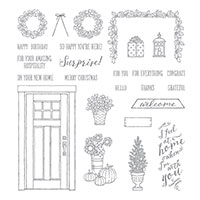
I used the wreath stamp from Brightly Lit Christmas to create those circles because I really wanted to show you how you can use stamps from a classically Christmas set in your everyday, year round crafting – these stamps are not just for Christmas!
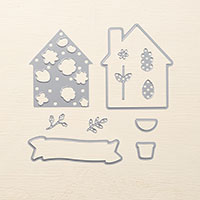
The little flowers are cut using a die from Welcome Home Framelits and I popped a little Rhinestone Jewel into the center of each for a bit of sparkle…
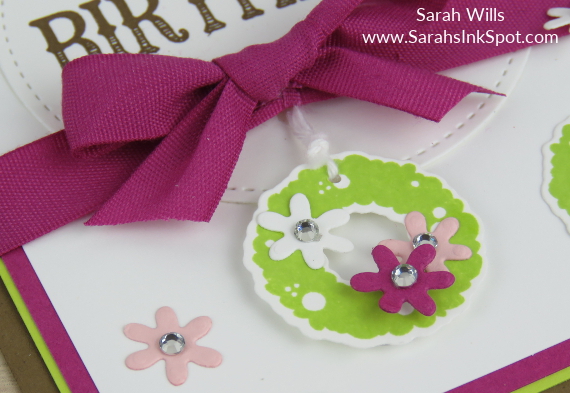
And that ribbon is just BEAUTIFUL to work with – it’s the Finely Woven Ribbon in the color Berry Burst and wow it ties so nicely – it’s one of those types of ribbon that ties a bow well every single time!
WANT MY PROJECT SHEET FOR THIS CARD? It has a full list of items I used to create this project along with step by step instructions! Click HERE to find it – then you can download it or print it out to keep for easy reference!
Here are the supplies I used to make this card – click on any of the products below to find them in my Stampin’ Up! online store:


Thanks so much for popping back – have a wonderful week!

Current Specials:
USE MY OCTOBER HOST CODE to get yourself a FREE PACK OF GIFT PACKAGING FROM THE HOLIDAY CATALOG of your choice – choose from Mini Pizza Boxes, Treat Tubes or Acetate Card Boxes – click HERE to find out more!