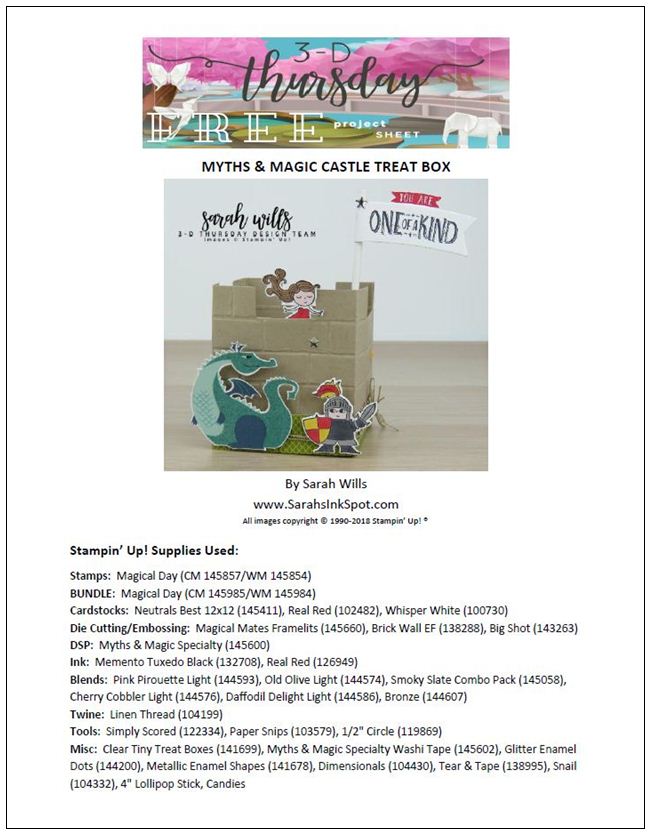
Welcome to 3-D Thursday and this week it is my turn to show you a little something and this was a fun little something to design – it’s a Myths & Magic Castle Treat Box!

I used some brand new products from the fabulous Occasions Catalog on this project and all are detailed below – but to make the base Castle box all you need is a piece of cardstock, score 5 score lines onto it, cut slits & shape the top edge, fold & adhere in place – no special tools needed! Then you can emboss, stamp & decorate however you wish!
Further down this post you will find a link to the FREE Project Sheet that has step by step instructions & color photos that you can save to your computer or print out and have on hand for easy reference PLUS you will find a full list of Supplies used to make this at the end of this post.
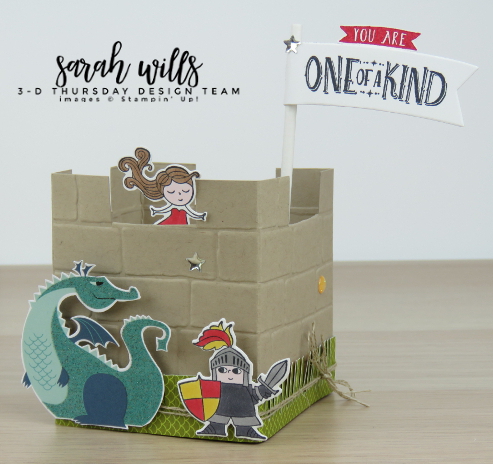
And here it is…I had a blast creating this fun little treat! You have the dragon and the knight outside the castle walls and up there in the turret is a princess – recognize her?
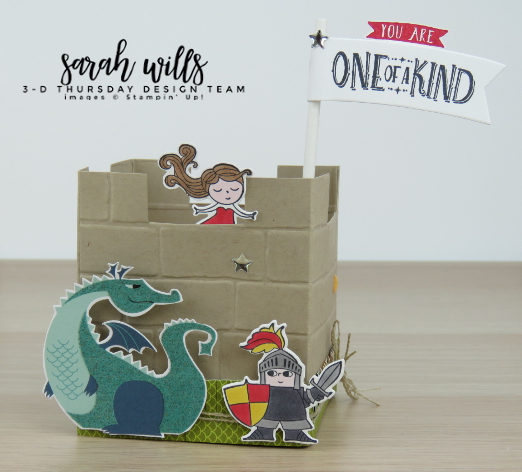
She is actually the Mermaid from the set Magical Day!
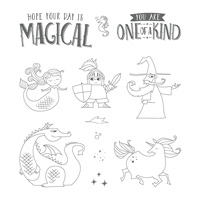
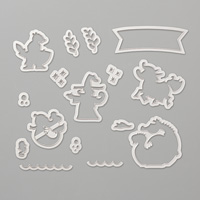
ALL stamps used on this project are from Magical Day – the knight, the mermaid-turned-princess and the wizard – and I used various Stampin’ Blends Markers to color them in. And you know what makes this even easier to create? The fact that there are matching dies for ALL of these characters in Magical Mates Framelits dies – no fussy cutting!
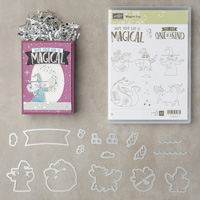
And you know what’s even better than that? You can get both together in a Bundle to save yourself 10%! Find the Bundles in the Supply List at the end of this post.
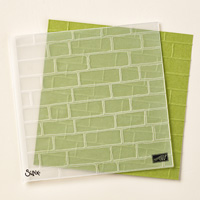
The Castle walls were textured using the Brick Wall Embossing Folder which I think gives it a great realistic look…
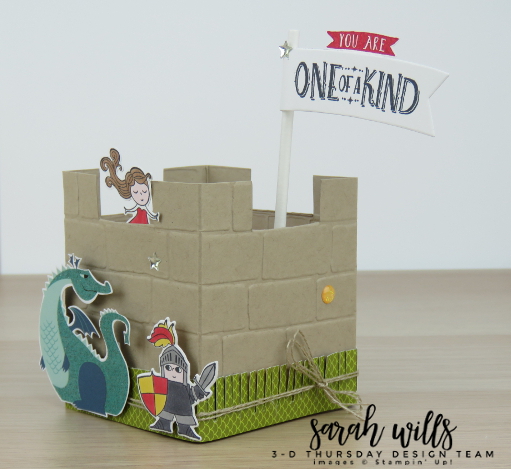
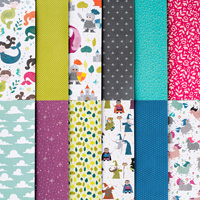
Oh that glittery dragon – he is PRETTY! There is a dragon stamp & die in the Magical Day Bundle but I loved the colors of this one which is an image on one of the sheets of paper in Myths & Magic Specialty DSP – YES – there is even a coordinating pack of scrapbooking papers too for this set of stamps & dies!!! Now the dies do not cut out those images on the DSP so I set to work with my Paper Snips and fussy cut him out.
I also used a green patterned strip of paper from that same pack of patterned papers to cut the grass and tied some Linen Thread around for a bit of an earthy look.
So, let’s peek inside the box…what’s in it?
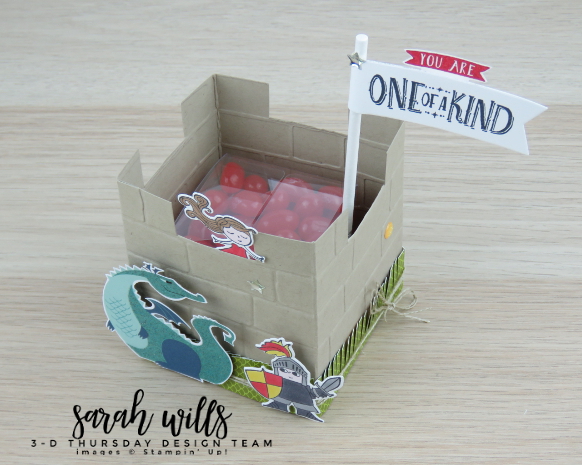
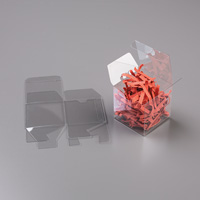
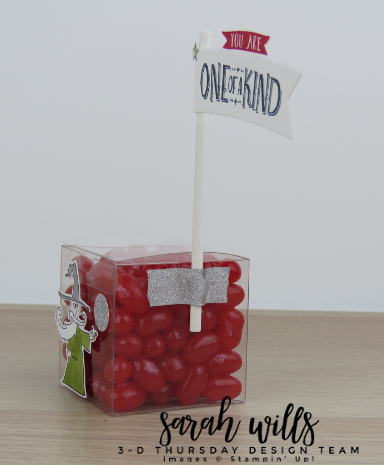
A box of Jelly Beans! Yum…I’m not going to tell you how many were eaten in the making of this! I popped them into a Clear Tiny Treat Box and added the wizard to the front – I went with green for his robes so that he would stand out against all that red…
And check out his sparkly crystal ball…
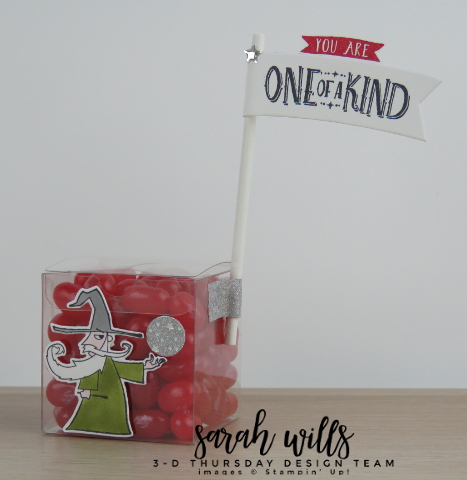
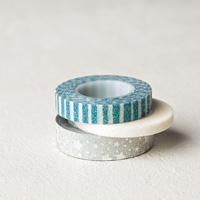
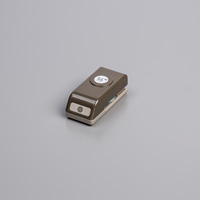
It’s a piece of washi tape from Myths & Magic Specialty Washi Tape which I popped onto a scrap of cardstock and punched out using my 1/2″ Circle Punch to create it – I LOVE the magical look of it – perfect for my wizard!
The flag pole is a lollipop stick and I cut the banner shape using a die from Magical Mates Framelits – I love that curved banner! The stamps on it are also from the set Magical Day and I attached it to the side of the box using another piece of that pretty silver starry Washi Tape…
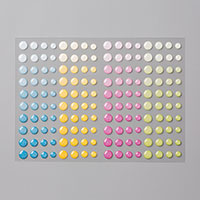
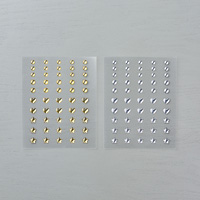
And to finish up I popped on some Glitter Dots and Silver Enamel Stars for a bit more sparkle & magic…
See what fun the Myths & Magic product Suite is? You know you want it – smile!
All items in this product Suite – the Stamp Set, set of Framelits Dies, Bundle, Designer Series Papers and Washi Tape – that I used on this project can be found on pg 37 of the new Occasions Catalog or by clicking on the links in the supply list at the end of this post.
WANT A FREE COPY OF THE STAMPIN’ UP! 2018 OCCASIONS CATALOG? Please CLICK HERE to fill in your mailing details and I will be happy to pop one into the mail to you!
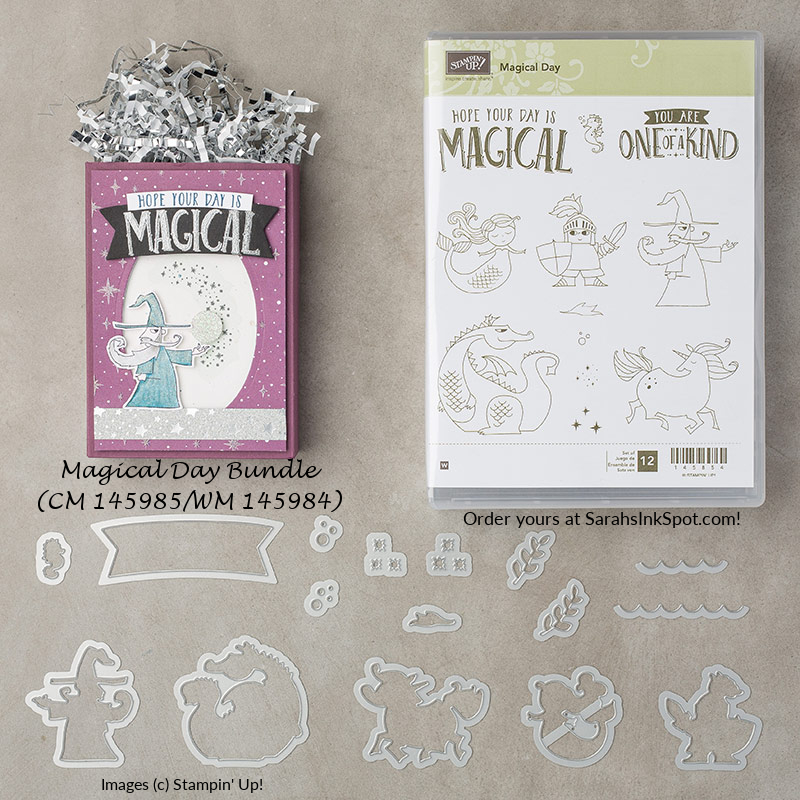
Remember I mentioned the Bundle where you get 10% off? Well here it is – the Magical Day Bundle of Stamps & Dies and this is what you get in it:
WANT THE FREE PROJECT SHEET FOR THIS PROJECT? Click HERE to find it – then you can download it or print it out to keep for easy reference!
Here are the supplies used to make this project – click on any of the products below to find them in the Stampin’ Up! online store:
Additional supplies used: Jelly Beans, 4″ Lollipop Stick
Thanks so much for visiting – be sure to come back next Thursday for the next 3-D project when it’s Twila’s turn to create something – to make this easy, you can subscribe to my blog using the ‘Get Blog Posts by Email’ button on the right so that new posts will be delivered automatically into your inbox!

Current Specials:
