Oh my I just LOVE the new cute little Halloween Happiness stamp…so much so that I found myself using it again today!
But this time I decided to make a card with some color and went for an orange, brown & green theme for a fresh and fun look…
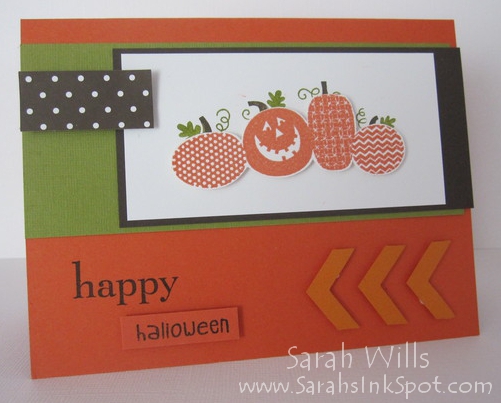
I you’ve not seen Halloween Happiness, you can find it on pg 20 of the Holiday Catalog or in the online store by clicking HERE – it is a single wood mounted stamp and features a row of pumpkins along with a sentiment at the bottom – you can use it as one stamp or use each part separately to give you more options.
The card base…is Tangerine Tango onto which I added a strip of Textured Old Olive (pg 22 Holiday Catalog).
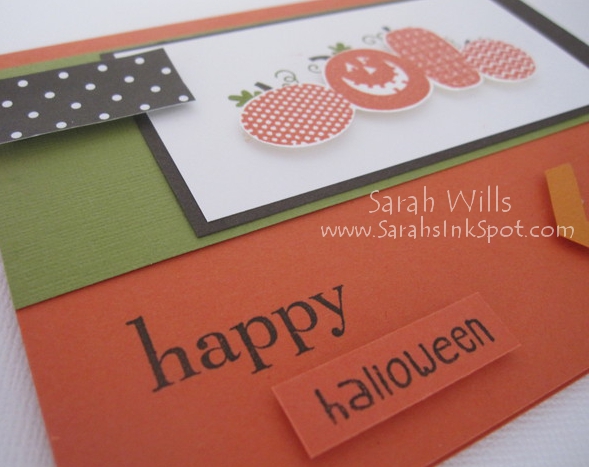
The words…the word ‘happy’ is from the set Happy Day (pg 112) – I simply inked my stamp using Early Espresso ink and stamped it straight onto the card base.
The word ‘halloween’ is part of the Halloween Happiness stamp – I simply stamped it using Early Espresso ink onto a scrap of Tangerine Tango, trimmed it to size using my Paper Trimmer and added it to the card base using Dimensionals to give that lift…click on the photo below for a larger view…
The Chevrons…like em? Oh so easy to do using the brand new Chevron Border Punch that you can find on pg 23 of the Holiday Catalog – I simply punched three chevrons and added them to my card base using Dimensionals…
Sarah’s Tip – if you are stamping on a budget, using those Dimensionals is a cheap & easy way to give your cards & projects a wow factor – see all the different elevations in my card above? SO simple to do and gives your card a real upgrade – and as for cost, well they cost less than 2c each!!! Find them in the online store by clicking HERE!
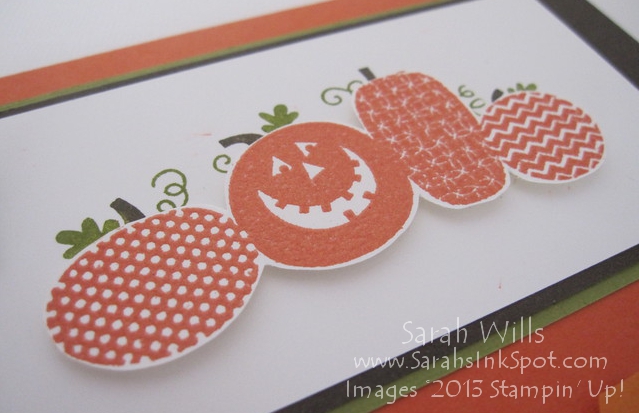
The Row of Pumpkins...for the back drop I simply cut a piece of Whisper White cardstock to size and used my Olive & Espresso Stampin Write Markers to color the stems & leaves on the stamp and stamped it onto the white base.
I cleaned my stamp and decided to emboss the row of pumpkins for a textured look (alternatively you can of course simply use orange ink if you don’t want an embossed image) – and so I inked up my pumpkins using Versamark Ink, stamped the image onto white cardstock, sprinkled on Tangerine Tango Embossing Powder (pg 167) and set it using my Heat Tool.
I then used my Paper Snips to cut the row of pumpkins out and added them to the backdrop using Dimensionals, taking care to line them up with my line of stems & leaves…I then matted the row of pumpkins onto a layer of Early Espresso and added it to my card base…
Finishing Touch…but my card still needed a little something something…and so I decided to add a little strip of polka dotted paper to that top left area from Neutrals DSP Stack (pg 152) and voila – it was the perfect finishing touch!
Here is the image of the stamp that I used today:
131859 Halloween Happiness $9.95

And here is that amazing new Chevron Border Punch:
132154 Chevron Border Punch – use it to create borders but also use those punched out bits as I did in my card today!
![]()
And these are the supplies that I used to make this card:
Cardstock: Tangerine Tango (111349), Pumpkin Pie (105117), Old Olive (100702), Early Espresso (119686), Whisper White (100730)
DSP: Polka Dot paper from Neutrals Designer Series Paper Stack (130132)
Punch: Chevron Border (132154)
Stamps: Halloween Happiness (131859), Happy Day (Clear Mount 103297/Wood Mount 130294)
Markers: Early Espresso (119680), Old Olive (100079)
Ink: Versamark (102283), Early Espresso (126974)
Heat Embossing: Tangerine Tango Embossing Powder (123106), Heat Tool (129053)
Misc: Stampin Dimensionals (104430)
CLICK HERE TO ORDER YOUR STAMPIN’ UP! SUPPLIES ONLINE!